Now that RG SAZABI has been completed, I will introduce the painting recipe and a photo review after completion.
The RG Sazabi we made this time has been modified with a small amount of work, such as simple details such as mono eyes and small thrusters, mold reshaping to erase the parting line when sanding.
Regarding the coating, the exterior is divided into two colors, red, while joints, internal parts, and weapons are partially metallic. Fine parts such as the power pipe of the neck and the interior of the vernier are painted with a brush and masking. Then, please start with the images after painting and before painting.
For the exterior red, I compared the finisher’s red paint and chose the color of my choice. I used Silk Red and Lumi Red, and I think it’s a brighter than the molding color. Originally I wanted to divide red into three colors like MG, but it was troublesome, so I finish with two colors.
Unfortunately, the water transfer decal for RG Sazabi was not released during production, so I used third part decals.
Only the shield emblem uses the included realistic decal.
The Hasegawa hologram finish sheet is attached to the forehead sensor, and it is painted in clear green from above. The detail of the mono eye is improved with the aurora and SP plate of the GEM dome which is a high queue part.
The power pipe around the neck and the shaft at the rear are masked so that they are painted in dark stainless silver (Gaia color).
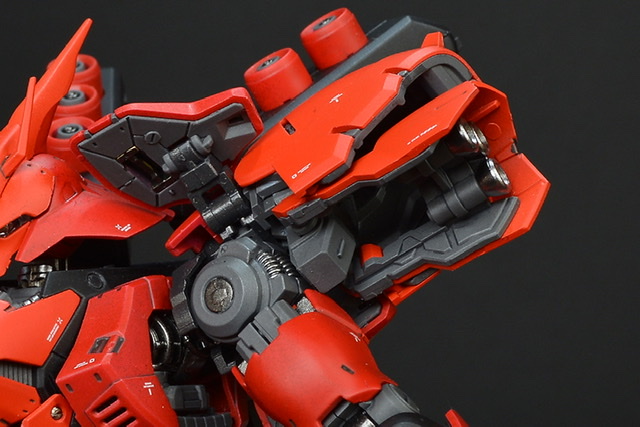
The detail of the mega particle cannon in the abdomen is improved by embedding a twin pipe of hi Q parts in the center. The left and right round molds on top of that are embedded with Evolve Works negative mold metal parts.
Part of the back of the front armor is painted in iron color, and the vernier of each part is painted in silver color inside and iron color outside.
Each part of the rear armor is also painted with an iron color. The small vernier on the side has a twin pipe embedded inside.
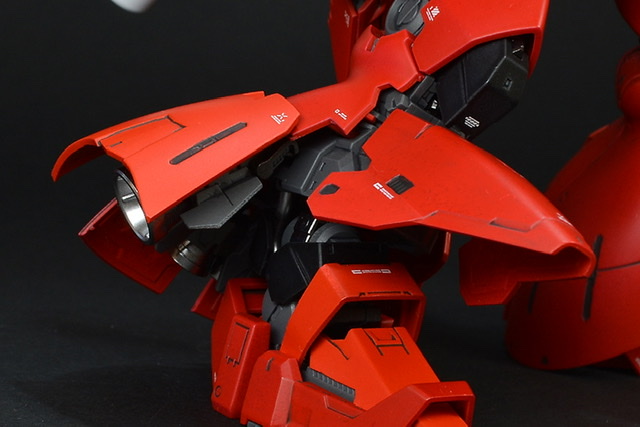
The shoulder armor is painted gray on the back of the armor that expands back and forth. The power pipe part inside the shoulder was also painted separately using masking sol.
The cylinder shaft on the back of the forearm is painted gold on the cylinder side and silver on the shaft. Here too, masking sol is used to paint the shaft side. The back of the knee had a parting line above the slit and looked bad, so I remodeled it using a plastic plate with a slit.
The soles are masked for fine iron color coding. The vernier is color-coded with silver inside and iron outside.
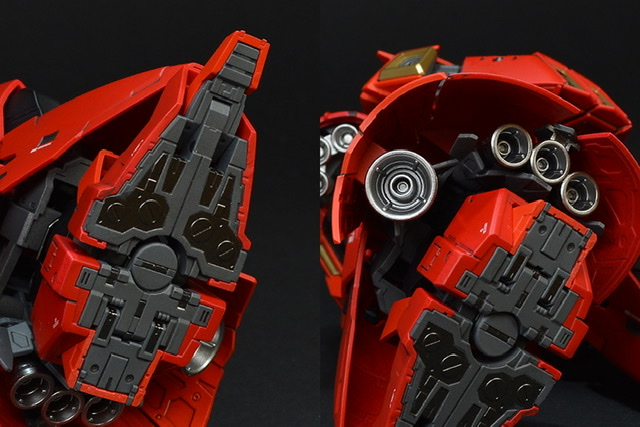
The inside of the funnel container is color-coded by iron color. There is a part that pulls out at the tip, but since the left and right molds also had parting lines, we remodeled it with a plastic plate.
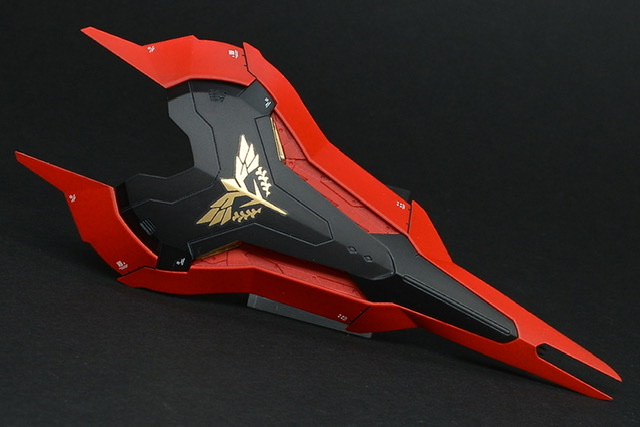
Funnel. The inside is painted in iron colors. The exterior red is also divided into two colors, the feather and the base.
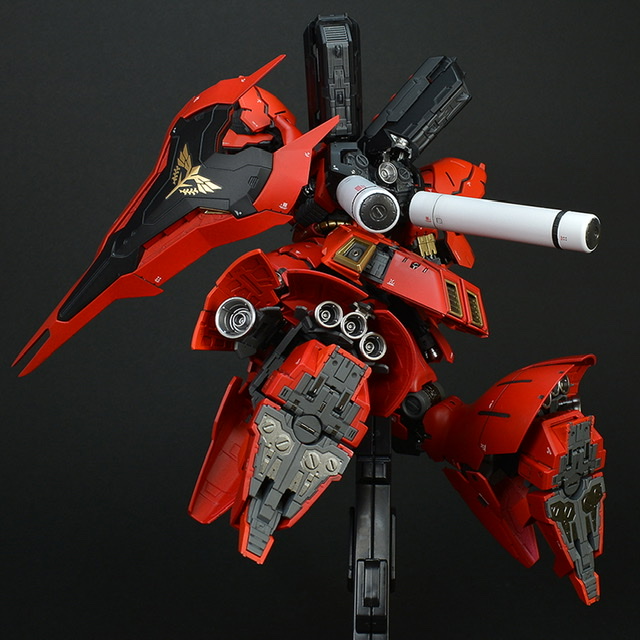
The backpack is painted silver inside the vernier. For the black armor parts on the left and right, the upper mold is reshaped with a plastic rod, and the lower round mold embeds the negative mold of Evolve Works.
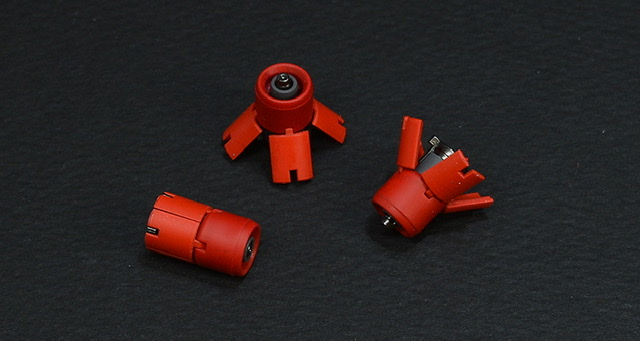
I don’t like black propellant tanks, so I painted them white. The circular mold at the bottom is masked in metallic gray and the connection to the backpack is painted in iron color.
shield. The back side is entirely gray, partly painted in iron color, and the neo-Zeon emblem has realistic decals on the front side. If you are concerned about the level difference on the sticker, you may want to cut the edge of the emblem and stick it if you are confident.
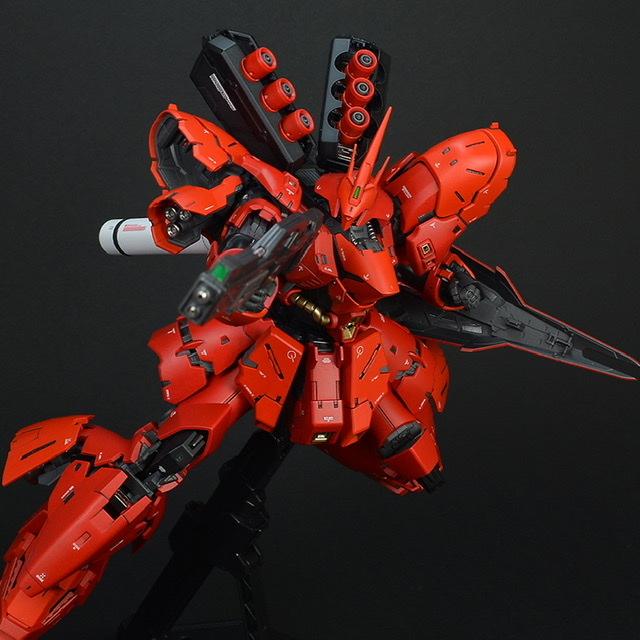
Beam shot rifle. The power pipe inside is painted metallic red. Since the barrel grip had a parting line on the mold, it was scraped off with the mold and reshaped with a plastic rod.
A twin pipe is embedded in the muzzle, and the sensor on it is laminated with two hologram finish sheets painted in clear green.
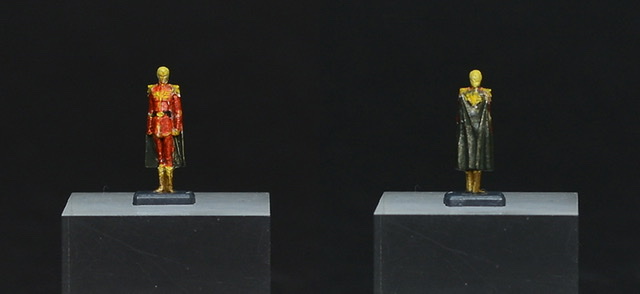
Char Aznable figure. Because it’s small, it’s quite difficult to paint differently;
RG Sotheby’s painting recipe.
■ RG Sotheby’s painting recipe
○ Exterior Red 1: (Base: Pink Suff) Silk Red (Finishers)
○ Exterior Red 2: (Base: Pink Suff) Lumi Red (Finishers)
○ Backpacks (Black): (Base: Suff) Flat Black (Gaia Color)
○ Interior / joint parts (iron): (Base: Suff, Ex-02 Black) Frame Metallic 1 50% + Gunmetal 50% (Gaia Color)
○ Interior / joint parts (light gray): (Base: Suff) Star Bright Iron 30% + Neutral Gray IV 40% + Flat White 15% + German Gray 15% (all Gaia colors)
○ Weapons, advanced MS, joint parts, etc .: (Weapon base: Suff) Star bright iron 40% + glossy black 45% + neutral gray II 15% (all Gaia colors)
○ Power pipes, shafts, vernier, etc. (Silver): (Base: Suff, partially Ex-02 black) Dark stainless silver (Gaia color)
○ Abdominal mega particle gun, power pipe, etc. (Gold): (Base: Suff, partially Ex-02 Black) Bright Gold (Gaia Color) 85% + Blue Gold (Finishers) 15%
○ Staining, painting of details: Flat Black, German Gray, Flat Brown, Dark Iron etc. (Tamiya Enamel)
○ Coating: Mr. Smooth Clear 50% + Clear 50%, Mr. Smooth Clear Matte
* Metallic master is used to dilute the iron part.
Since the advanced MS joint parts that are used partially move finely, I paint with a multi-primer to prevent biting and improve the bite.
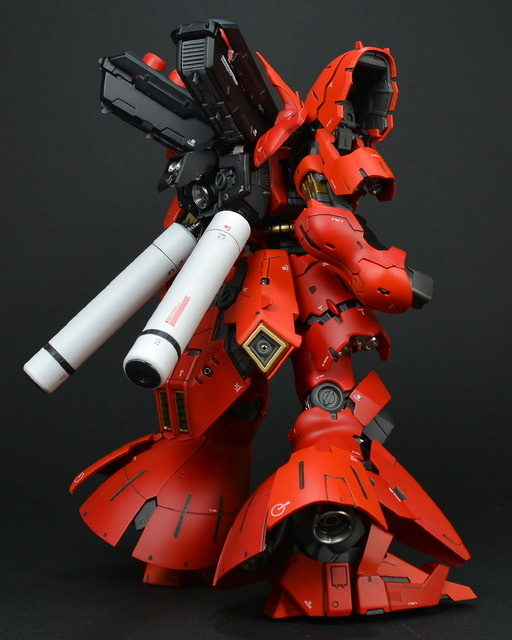
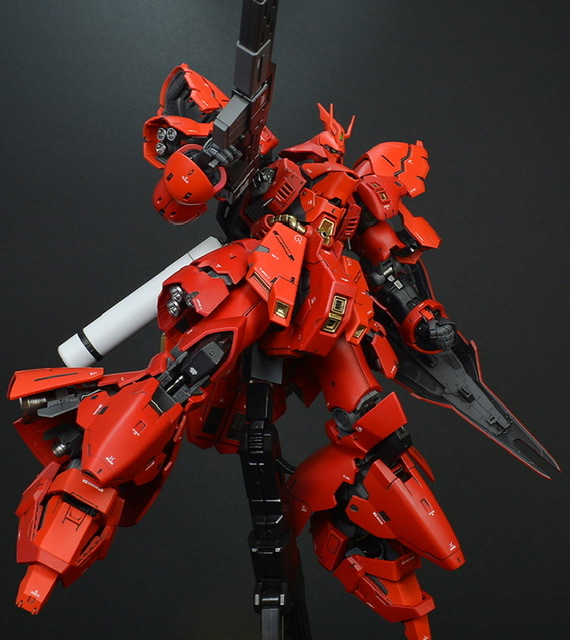
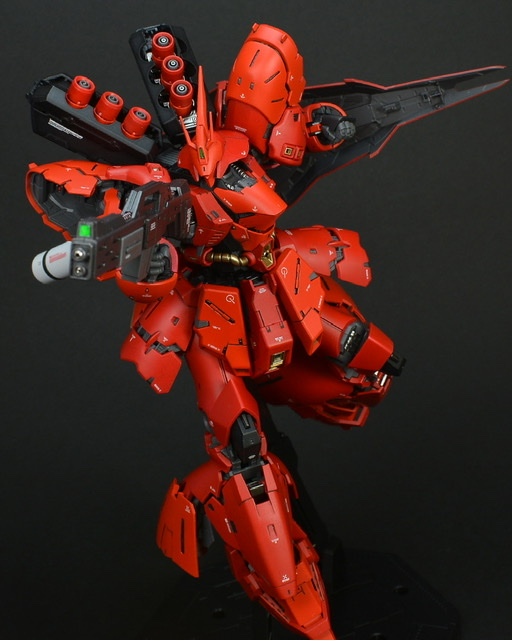
RG Sazabi has a good proportion and balance of shaping, and the armed figure has a stable look.
The shield easily interferes with the back funnel container and the propellant tank, so be careful of paint baldness due to rubbing.
Since it is an RG, it has many movable parts, and it is good that it can reproduce more human-like natural movements. It is easy to handle, so it is easy to pose, and it will flexibly respond to any poses. (During assembly, grease is applied partially to make it easier to move.)
Since it comes with a flat hand, you can reproduce the reloading effect by attaching it to the barrel grip of the beam shot rifle.
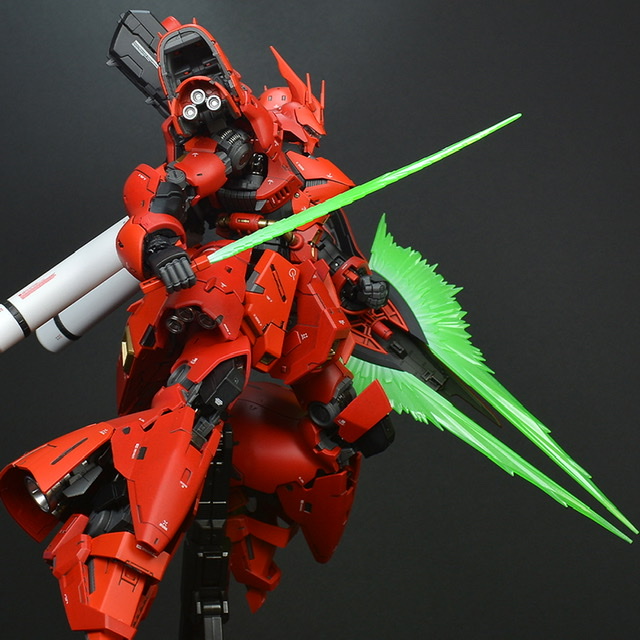
The beam blade is painted with pearl silver + clear green and has a flat white gradation.
Beam Tomahawk can be mounted on the shield. In addition to the beam saber, beam blades for beam tomahawk come with different shapes, so you can enjoy various effects by recombining.
Since the funnel can be fixed on the 3.0 mm axis, it is easy to display. The injection state can be freely produced. Since the interior is painted metallic, there is little interference and it can be easily deployed and stored.
Review by gundamsblog net
Translated by me myself and I (gunjap)