Gunjap Tutorials #1
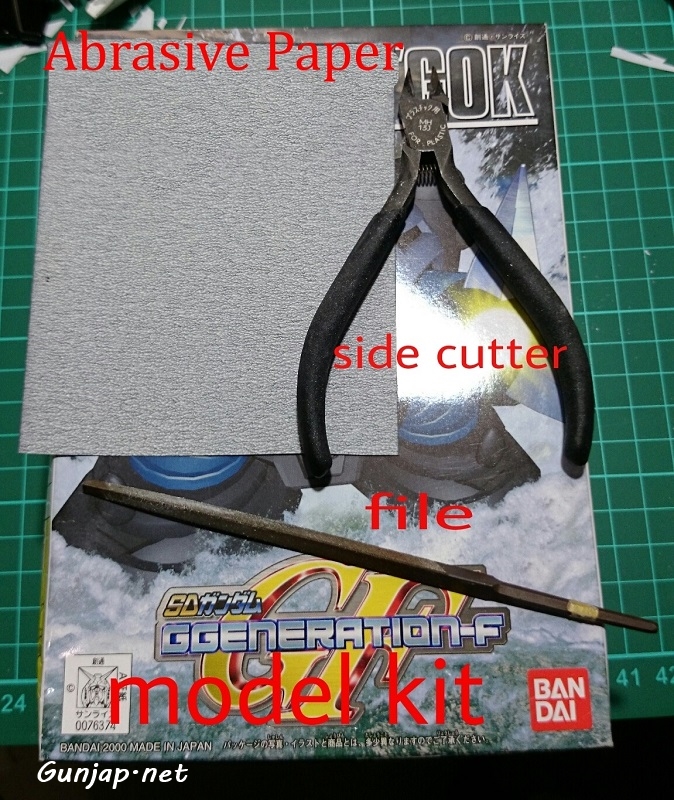
What you need:
1. Side cutter
2. File
3. Abrasive paper
4. a Gunpla 😉
 First, read the instructions and find the part that need to be cut.
so, use the Side Cutter.
Cut it from the bottom, so you can see what are you cutting! 😉
When you cut it, don’t cut it near the part but leave a small amount of runner on it.
Why? To avoid a damage of the part, if your side cutter is not sharp.


 Done? 😉
OK, you can see the nubmark left on the part.
How do we clean it?
Take the file and file the part gently.
And do it one way.
as you can see here below
 After a while, you can check if the nubmark has been removed or not with your nails.
Simply scratch the part and look for it. You can feel if the nubmark is still there.
When you feel no nubmarks anymore, use abrasive paper to smooth the surface.
 I use abrasive paper No.400, 600, 1000
After sanding, the parts will change color, a little whiter.
You just need to swap it with your hands and rub it for a while, and it will looks good.
 Do these steps to every parts.
If you just want to snapfit…. build it! 🙂
You put the stickers based on the instructions but if you want to paint it or remove the seamlines, don’t put the stickers and…..
See you soon for the Next Step 😉

