Remodeling work: HGUC 1/144 Mass-produced Qubeley episode 3 Ver. Full info, images, wip too and credits
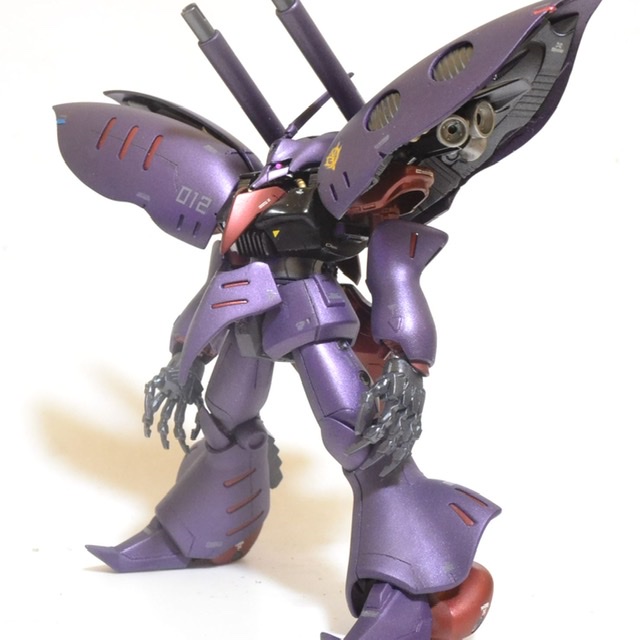
I made it with the energetic appearance of the mass-produced Qubeley shown by Marida at Gundam UC. At first glance, it doesn’t look like normal, but it took quite a while, so I’d be happy if you could watch it to the end!
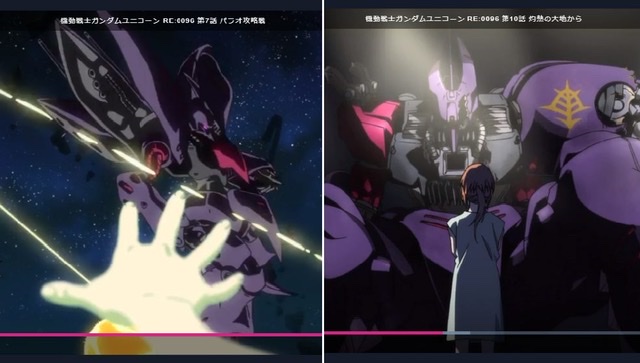
When I saw the mass-produced Qubeley in Battle Operation 2, I thought it was cool and I had to make it, so I used Battle Operation 2 as a reference for the silhouette. As for the color, I tried to reproduce the metallic color of the UC that I saw as a reference image during production as mentioned above.
By the way, the OVA version has episode 3, and the TV version has 7 and 10 episodes.
At first, I thought it would be possible to make a face, put it on my back and change the color, but I realized that the body and arms were completely different, so I had to undergo major surgery.
Main remodeling points
・Face creation
・Body width narrowed, armor made by yourself with plastic plate
・Creating an arm
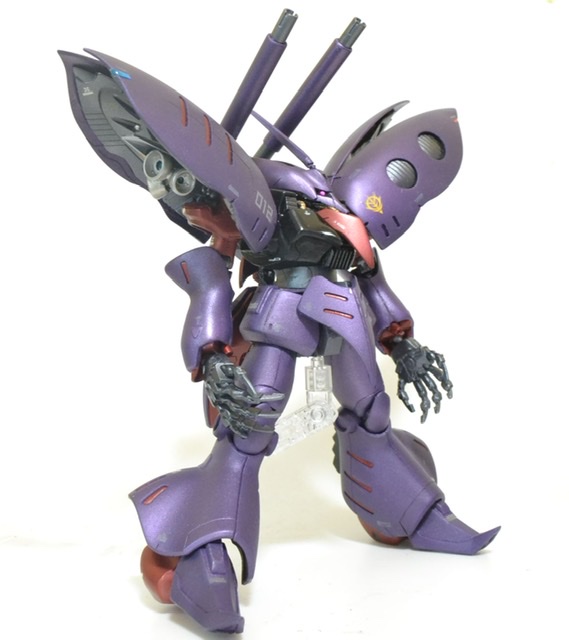
・Downsized shoulder binder (slightly smaller)
・Changed front armor shape, larger sides
・Creating a backpack
Only the wrist was dragged by Qubeley Damned and used 30MM optional parts.
Fluorescent paint is used for the monoeye and wing tip lights.
At first, I was planning to use a gloss finish without decals, but when I tried painting it, the surface was quite rough, so I changed to a matte finish with decals. I used a gray color for the body decal so that it would not stand out too much.
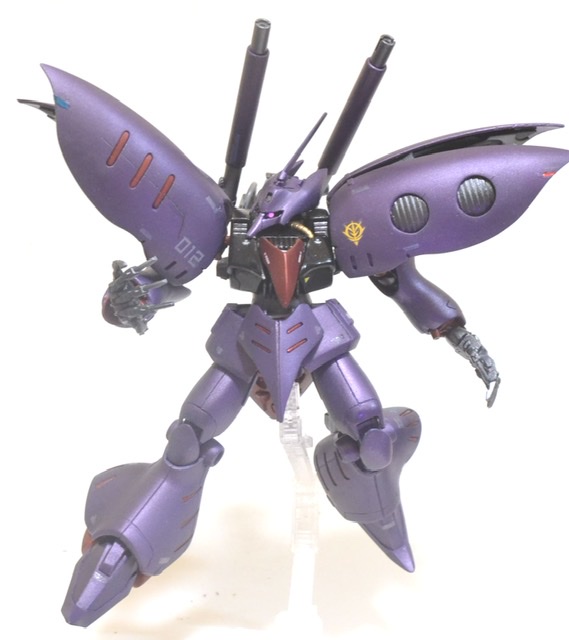
It is the numbering of the 12th unit in the image of Marida machine.
Along with the downsizing of the shoulder binder, I also made the right three vertical lines and the left ○○ a little smaller, and re-carved the two vertical details at the base.
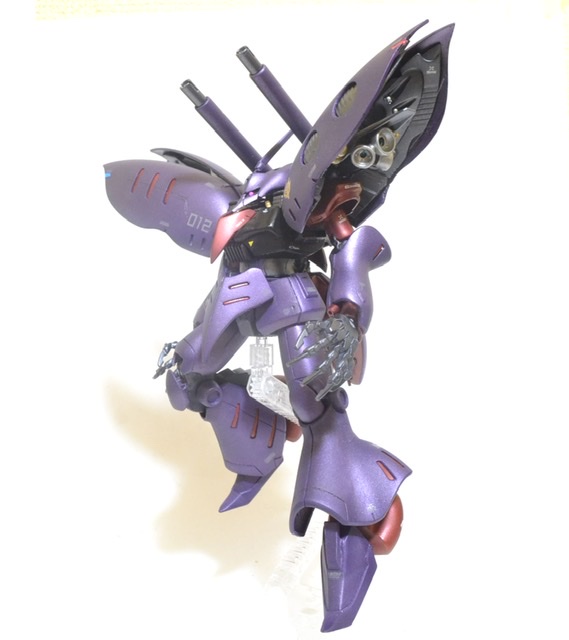
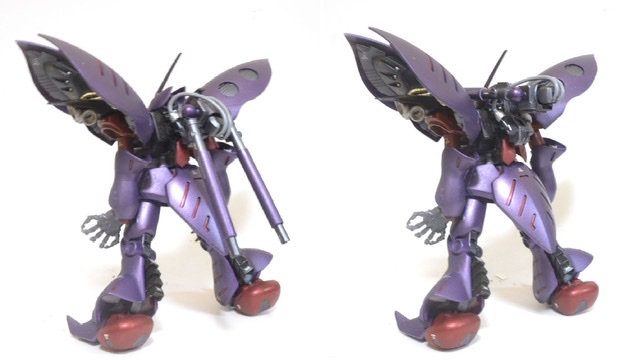
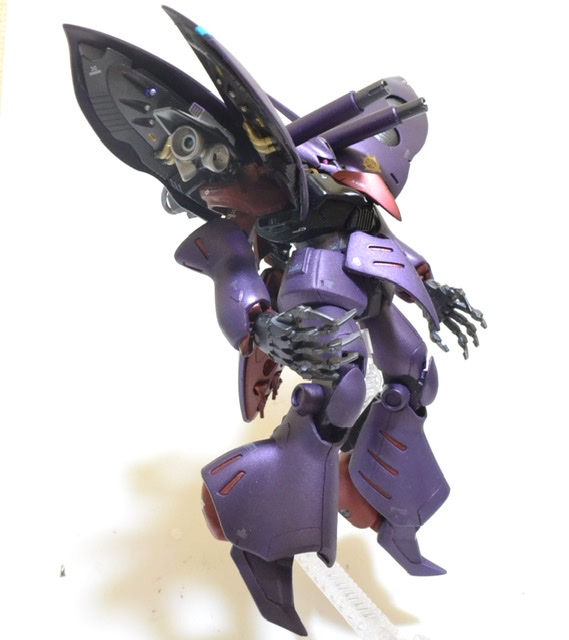
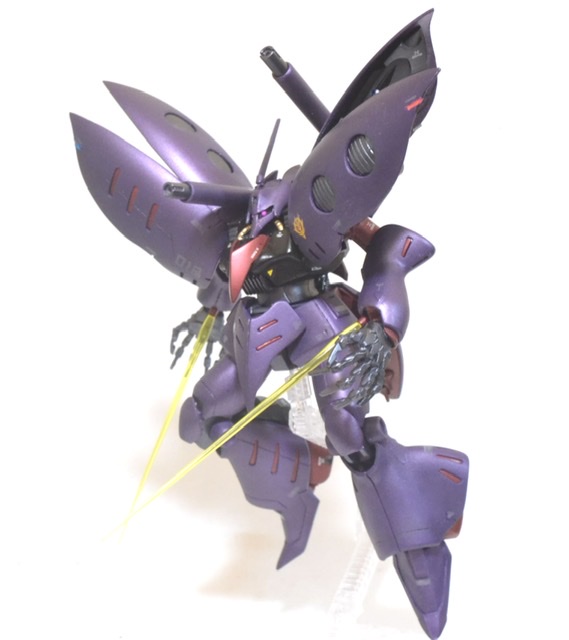
The backpack can now be tilted up (raised) so that the active cannon can be held in front of it.
This is because if you set it to a higher position from the beginning, the shoulder area will become noisy. This is the sticking point of this time.
I wanted to lay down the active cannon to this angle.
I added a thruster in the binder.
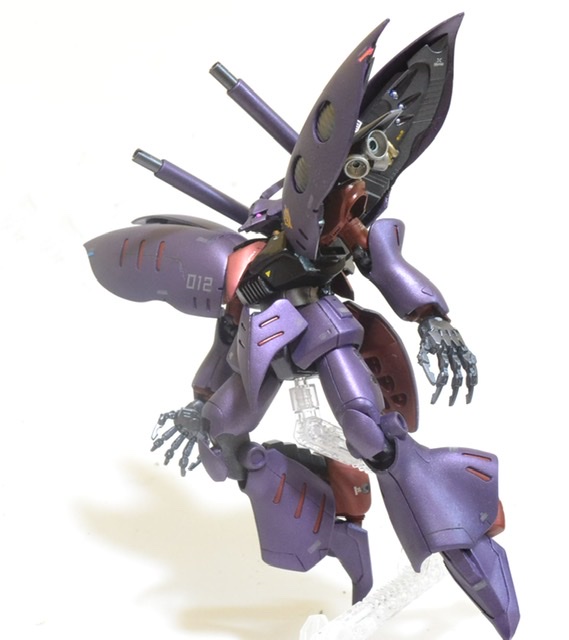
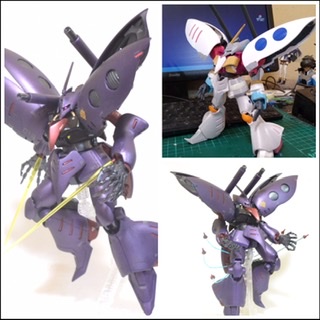
flight image
The mono-eye’s fluorescent pink became very pink when mixed with a little fluorescent blue-green. The light on the left shoulder remains fluorescent pink.
Battle operation 2 style
Seeing this picture of the gray in this pose inspired me to create it. By the way, I don’t play games.
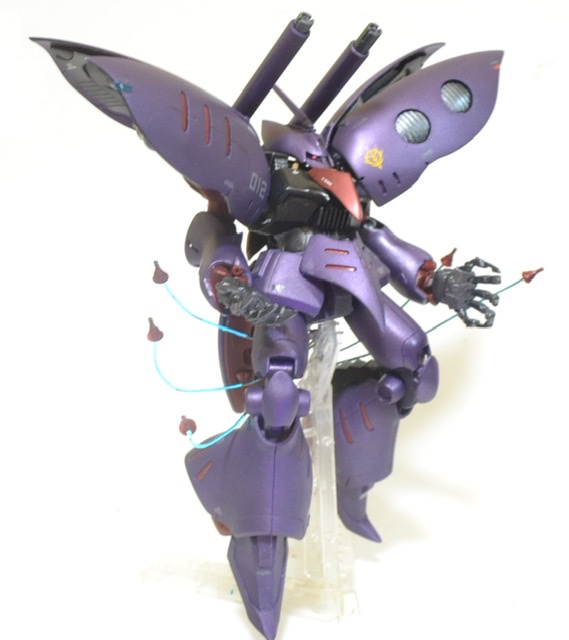
I made a special pedestal and tried to fly the funnel.
By the way, it seems that the mass-produced model has 30 funnels, but here it is still 10.
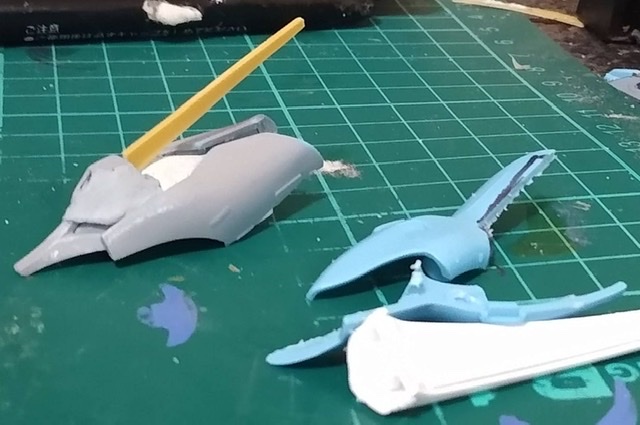
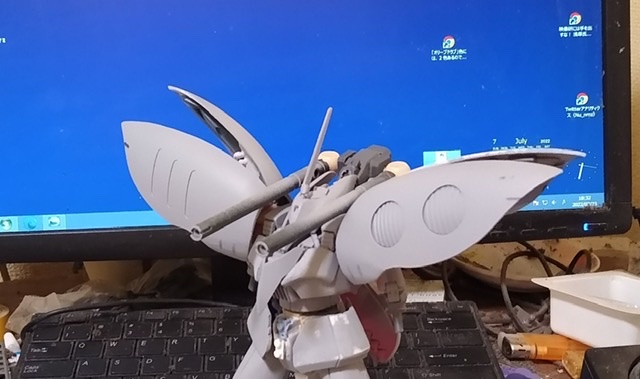
When I tried to make a face using the curved surface of Hygog’s arm, I thought it would work, so I started production in earnest.
Just realized that the arm is completely different and made it up somehow.
Qubeley’s knee + plastic board + some kind of arm + Hygog’s arm was carved until smooth.
It was a good idea for me to bring Qubeley’s knees to elbows.
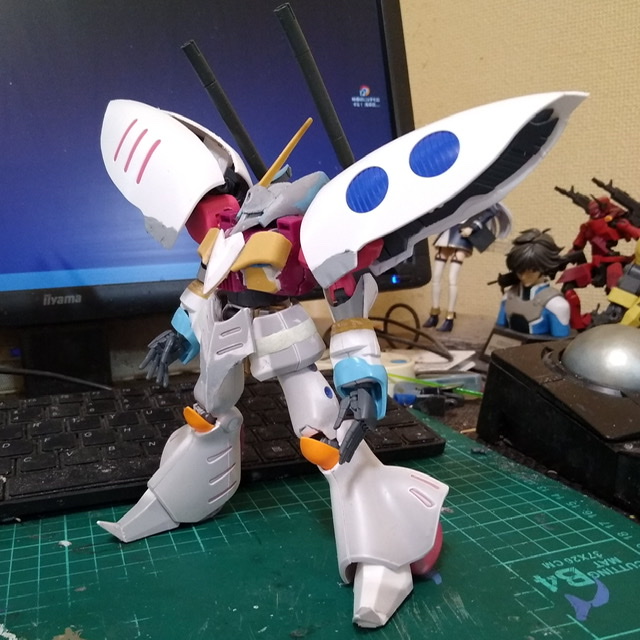
overall balance.
・The binder is cut so that the two vertical holes on the shoulder are removed.
In addition, a notch is made on the base side of the shoulder to make it curved. It should be quite small.
・The side of the waist is cut horizontally and stretched vertically.
・The arm looked like this before it was scraped.
・The knee is a part near the vernier nozzle of MG Kampfer.
* 2022/8/14 Updated the photo and text as a photo that makes it easy to understand the remodeling part came out
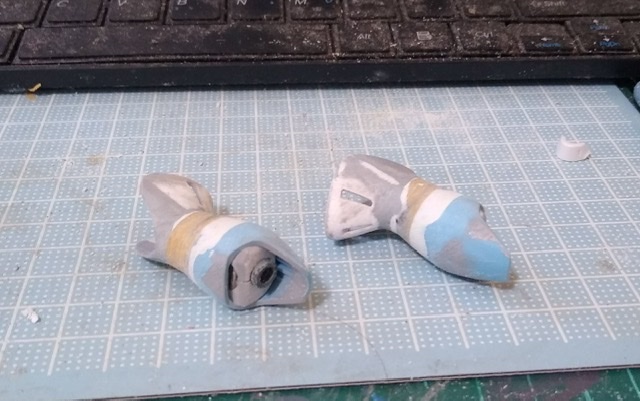
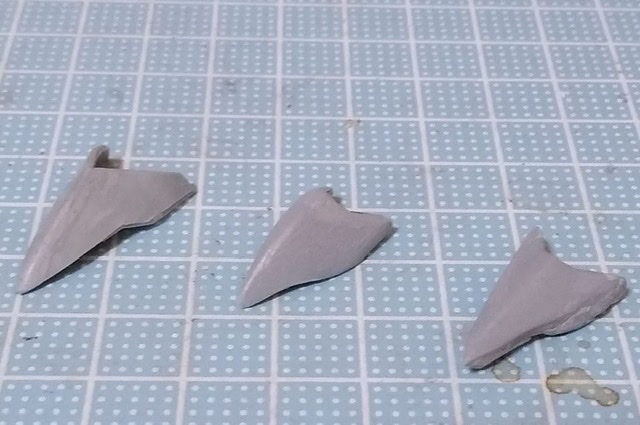
center chest armor
From the right, in order of prototype, plastic board + putty, scraping of some parts, self-made with plastic board.
I put 0.5mm plastic plates on top of each other with a gap and tried my best to make it look like a three-dimensional curved surface.
I couldn’t come up with a round part at the base of the active cannon, so I stopped working on it for a while, but I thought I could use a ball joint for a figure! I realized that and recently started again.
These are the two scenes that I imagined when painting.
・Paint used
Body color: Creos GX metal violet + Gaianotes bright royal blue + white, black, etc.
Red: Pearl Rose Deep Red *This is a nice color. (written in the previous work)
Joints etc.: GX metal black
Chest black: Black (glossy to match metallic)
At first, I planned to give the whole surface a smooth finish, but the surface was quite rough, so I kept blowing on it in a powdery manner so as not to stand out.
I saw on the internet that Qubeley’s setting was originally matte, so I thought this would be fine.
Thank you for watching until the end!
Work by .Nu
@Nu_nmz on Twitter