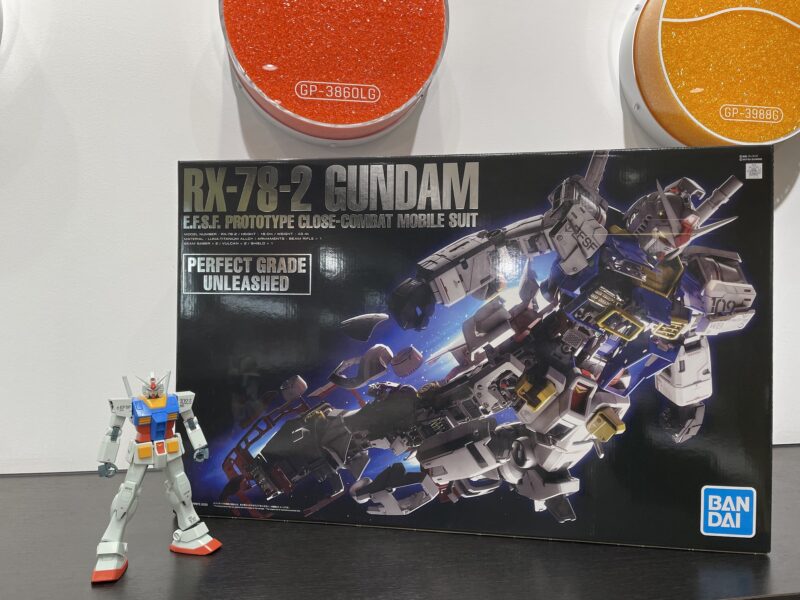
Introducing the first part of PG UNLEASHED 1/60 RX-78-2 Gundam Review
I am Yoshio from Gundam Base Fukuoka.
Here is the latest product to introduce this time.
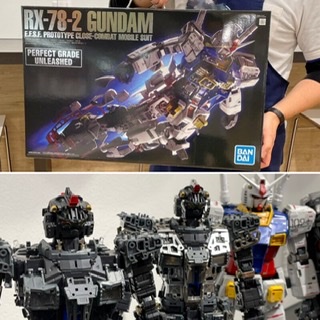
Hot new product.
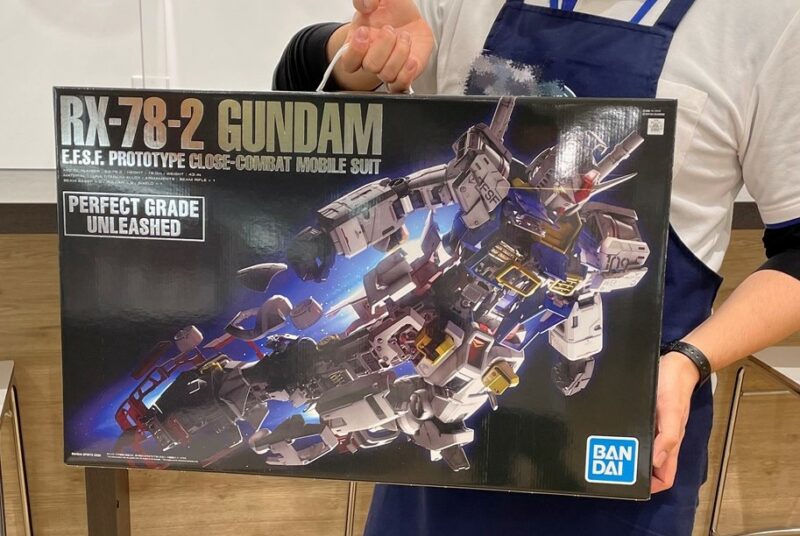
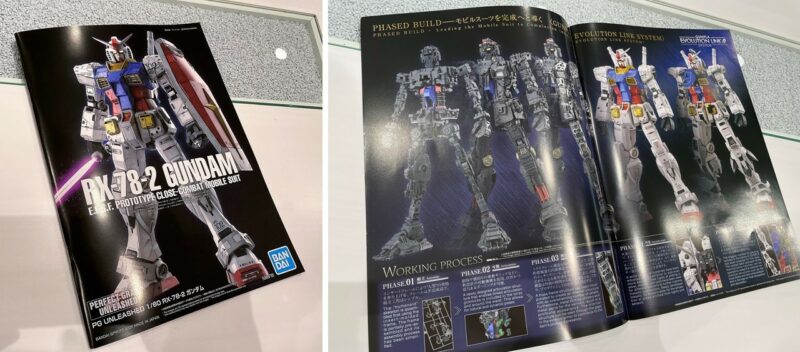
“PG UNLEASHED 1/60 RX-78-2 Gundam”
It’s finally here.
The “ultimate Gunpla” PG [Perfect Grade], which has been developed with the highest technology of all the times.
Both ultimate quality and FINE BUILD !!
A new answer that I arrived at after studying the 40th anniversary of Gunpla.
We report on the production just before the release !!
This time, I will introduce the features of the kit in two parts.
It’s a very big package! It has a handle.
The amount does not fit on the large desk in the build room of the Fukuoka store.
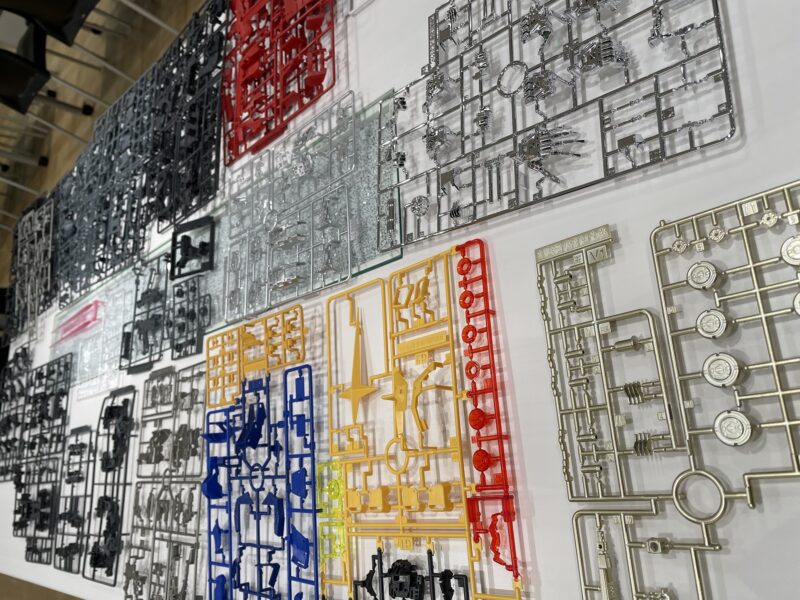
I will start introducing runners immediately
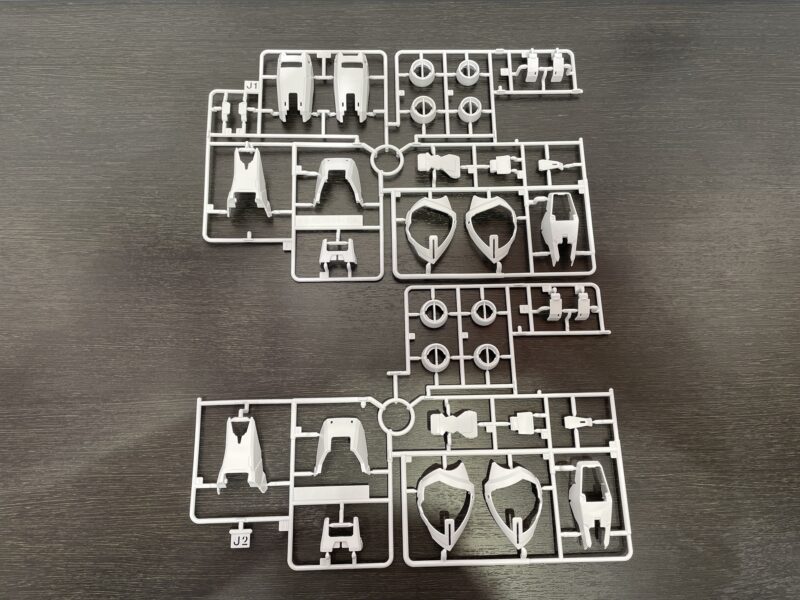
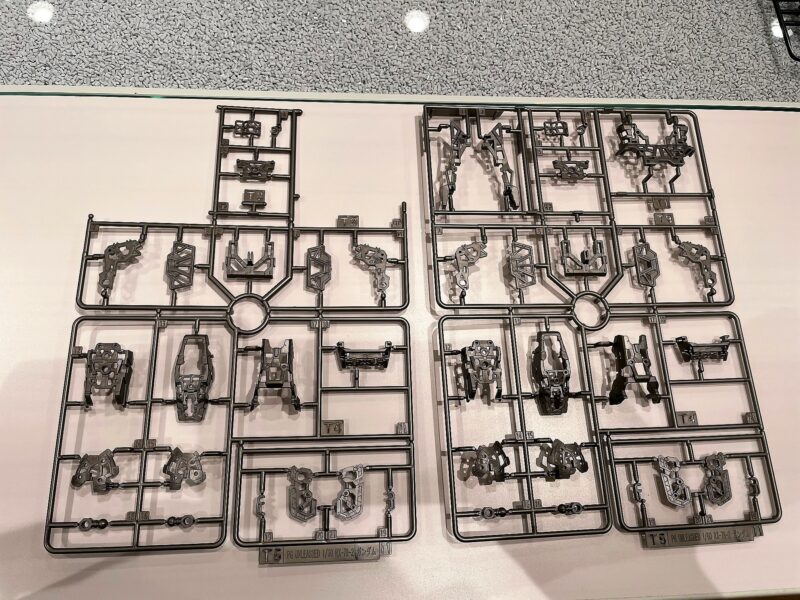
First are white runners, head and lumbar armor, and weapons runners.
Precision figures of Amuro and Sayla of the same scale are also included.
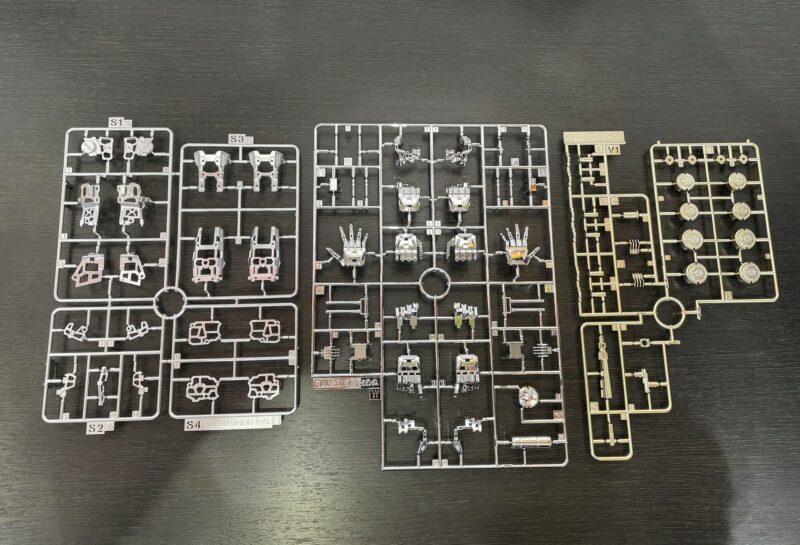
It is a multi-color molding runner. It consists of blue, yellow, and clear parts.
The red runner has parts for the torso, core fighter, legs, and shield.
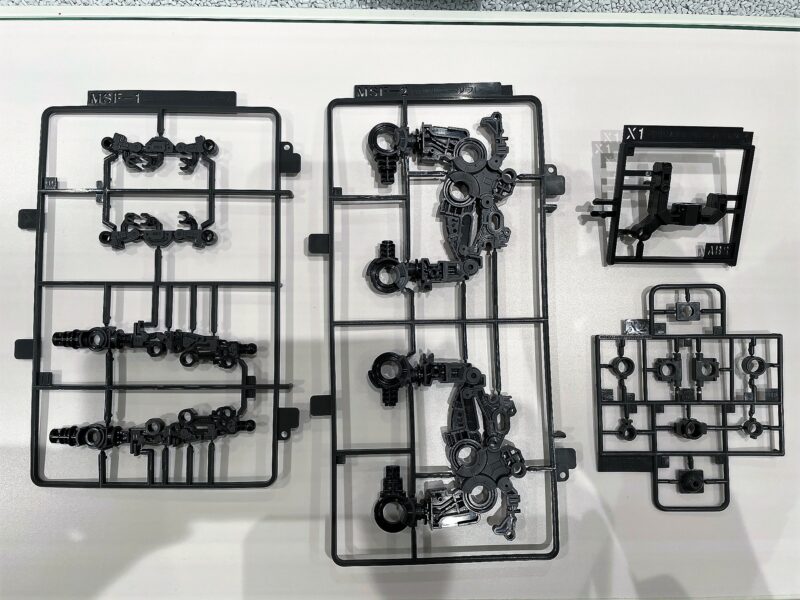
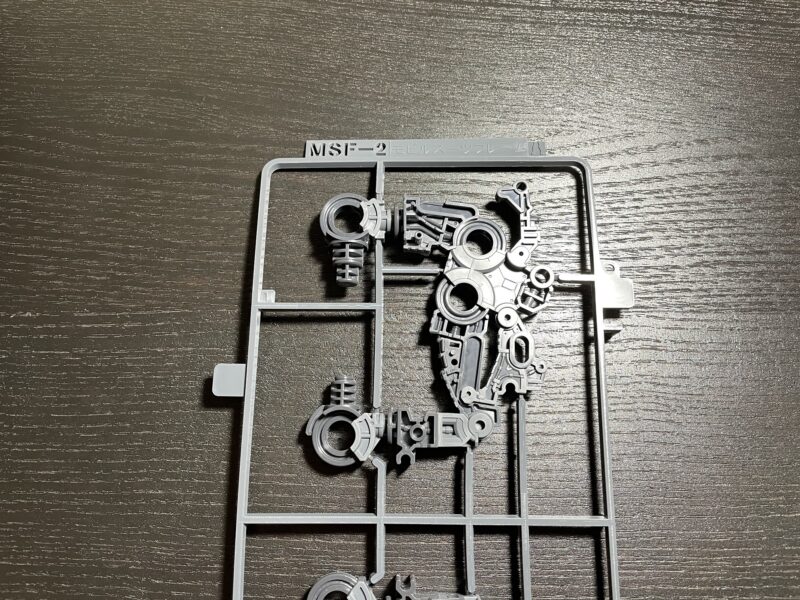
This gray runner is the inner frame of the torso and arms.
This is the inner frame of the leg.
Here are the leg and fist armor parts.
This silver metallic molding color runner is a part of the truss frame.
Three types of parts, silver-plated, matte-plated, and chrome-plated, express the difference in texture!
This is a backpack and weapons runner.
This is a clear part. There are parts to improve the light guide efficiency of the LED unit!
Here are the metal parts and LED units. It is individually wrapped to prevent loss.
Here are the stickers. Foil seal, Tetron seal
And a metallic 3D sticker and an etching sticker !!
Here is the instruction manual. It is a large volume with a total of 72 pages!
The parts composition is also easy to understand with CG! Pursuit of FINE BUILD!
In addition, there are announcements of the parts that are mainly used, making it easier to pick up only the runners you need !!
In addition, each runner has a kind design with an illustration of the part molded! This is also the pursuit of FINE BUILD!
“GUNPLA EVOLUTION LINK SYSTEM”
We will introduce each of the five phases of “assembly,” “movability,” “structure,” “exterior,” and “directing.”
PHASE01 “Assembly” is a semi-finished skeleton frame with an insert frame.
First from the legs!
Cut out the large insert frame and attach the joint cover.
Assemble the inner frame of the toe part.
The legs are complete!
The movable range is wide, and the two-color insert molding reproduces the color coding of the details !!
Next is the lumbar frame.
The waist can be expanded by pulling out the inside!
The connection part of the skirt armor is insert molded and the movable range is wide !!
The lower body is complete!
Next is the chest frame.
This is a simple structure with nothing attached yet.
Next is the core block.
In addition to the core fighter, a non-deformed core block is also included!
The hatch of the core block opens and closes, and the scope part of the cockpit moves!
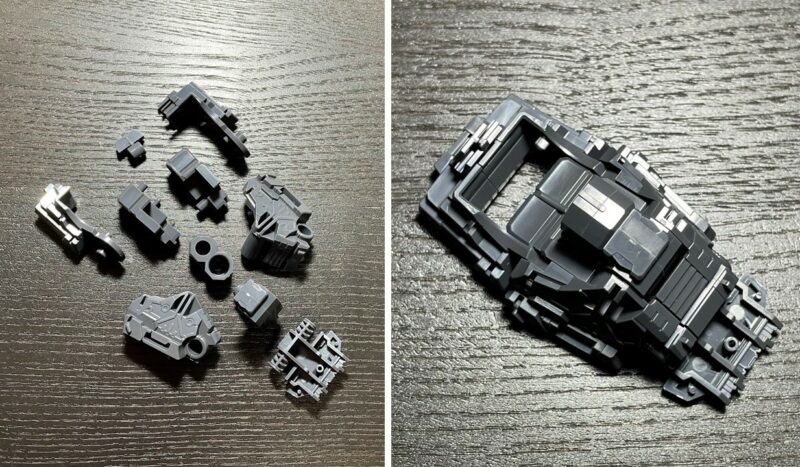
Next is the arm!
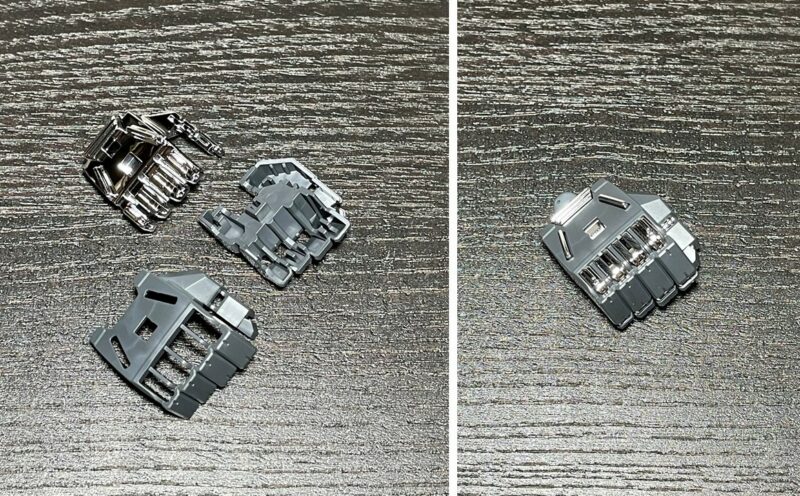
The inside of the fist parts is plated parts, and the structure is such that a part is exposed by attaching armor.
Just like the legs, the joint cover is attached to the insert frame and it is complete!
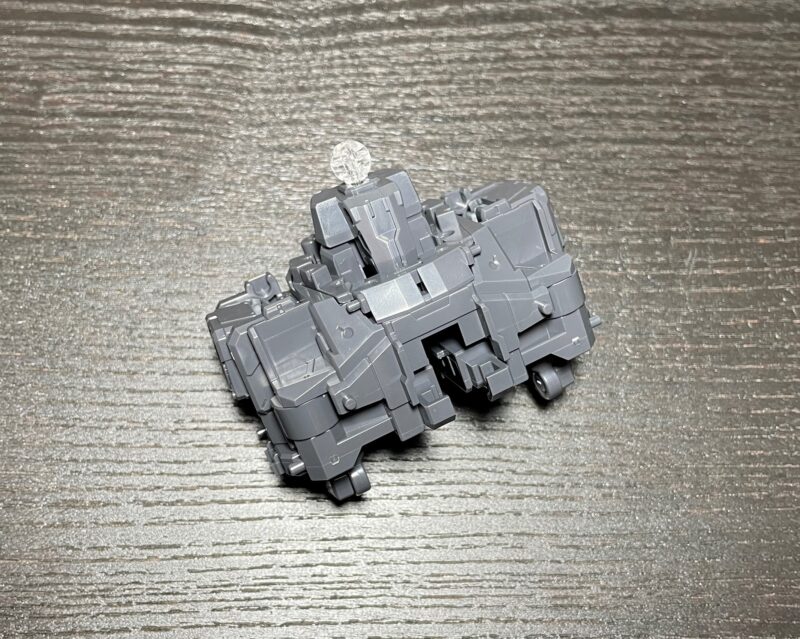
The head also has a simple structure in Phase 1.
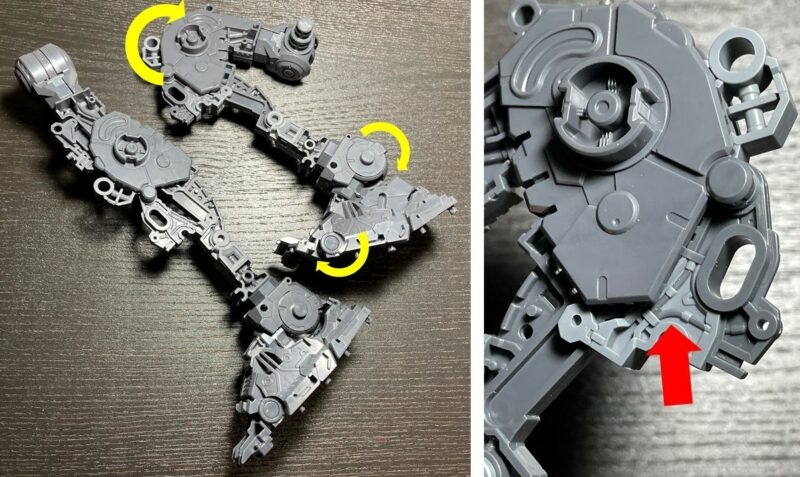
By connecting each part, the upper body is completed!
Dock the core block between the upper and lower body! …
PHASE01 is completed !!!!
The skeleton frame is complete !!
PHASE02 “Movable”
Incorporate a movable mechanism with an interlocking gimmick around the torso and waist into the frame that is the skeleton !!
First from the legs!
I will install various parts !!
Plated parts are used for the cylinder and joints !!
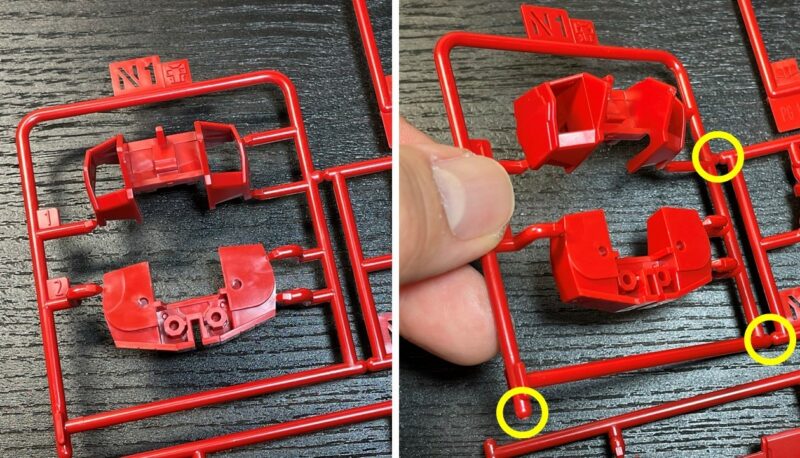
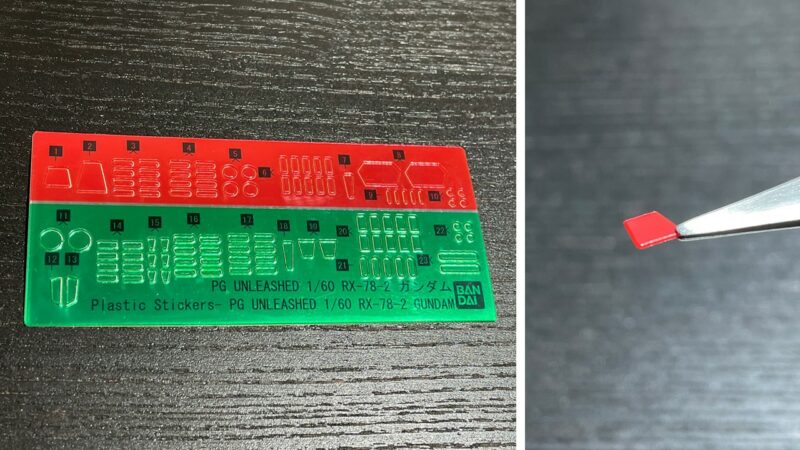
And from here, the newly developed etching seal comes into play !!
A metal seal developed for PG UNLEASHED using a variety of materials!
Since the handling is different from the normal seal, we will prepare the etching seal described in the instruction manual!
Peel off the protective sheet and then the metal sheet.
You’re ready to go!
Paste the etching sticker.
There is glue on the surface that is the “front” when the metal sheet is peeled off!
The cover parts are attached on the etching seal, and the legs are completed!
Attach the skirt armor frame to the waist!
I also attached frame parts to the chest!
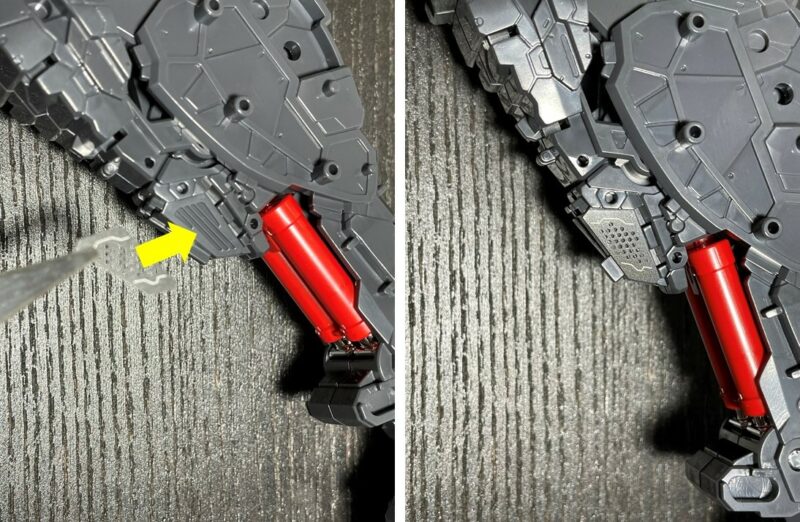
Here comes the backpack!
The backpack vernier is a metal part!
The various materials that are characteristic of PG UNLEASHED, and the difference in weight and texture unique to metal are coming out
The inside of the vernier is a clear red part, and the connection part is a clear part to improve the light guide efficiency.
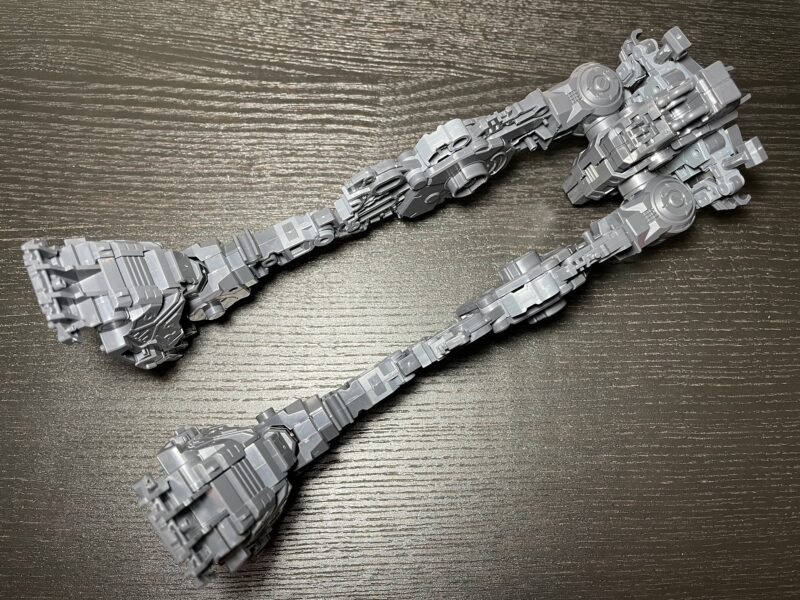
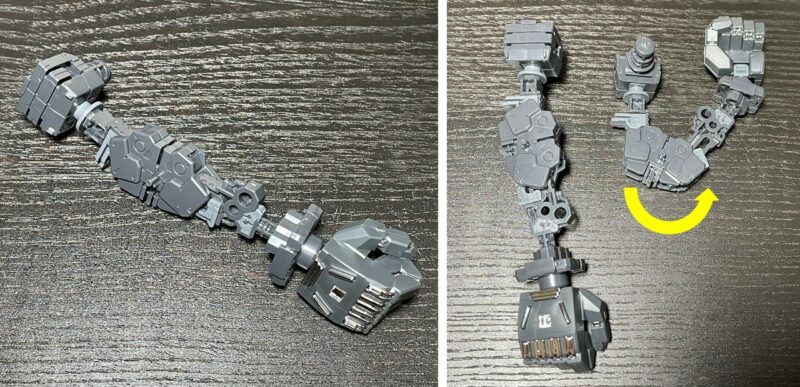
Next is the arm, there are also metal parts on the arm, and a great gimmick.
The newly installed cylinder will work together according to the movement when you hold or twist your fist
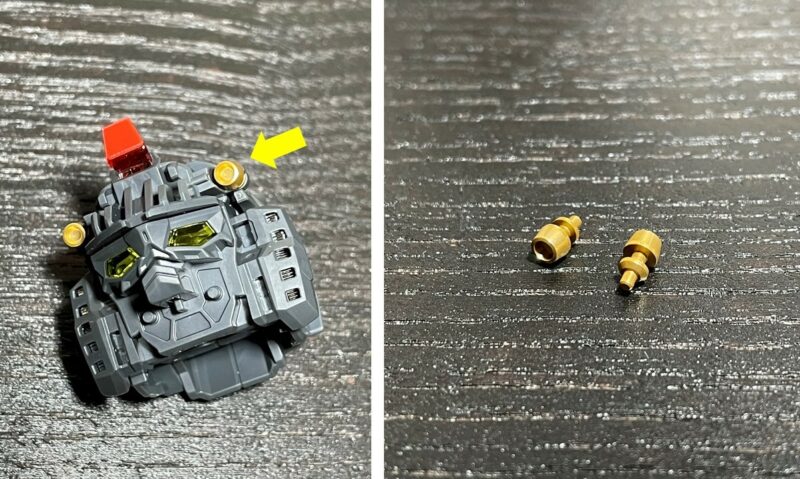
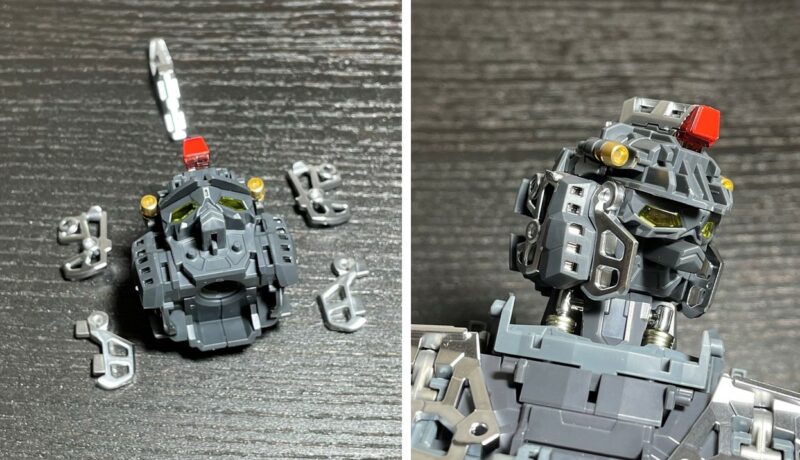
Next is the head.
The muzzle of the head Balkan is also made of metal parts
A metallic 3D sticker is used for the head sensor part
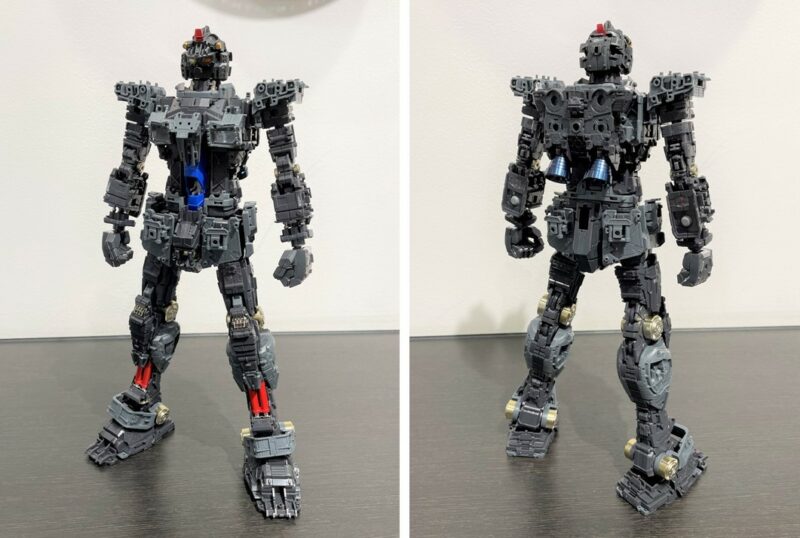
This completes PHASE02
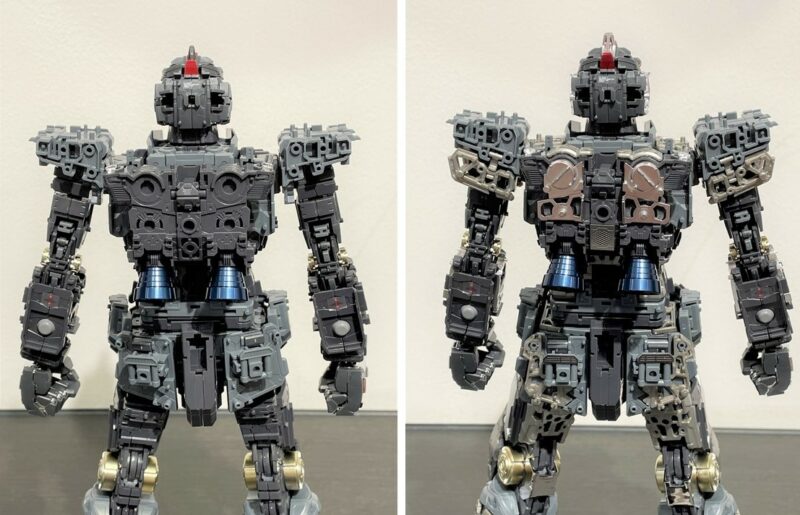
By adding cylinders and sensors to the skeleton frame, we are gradually approaching the shape of Gundam
Crouching poses and standing on one leg are also possible
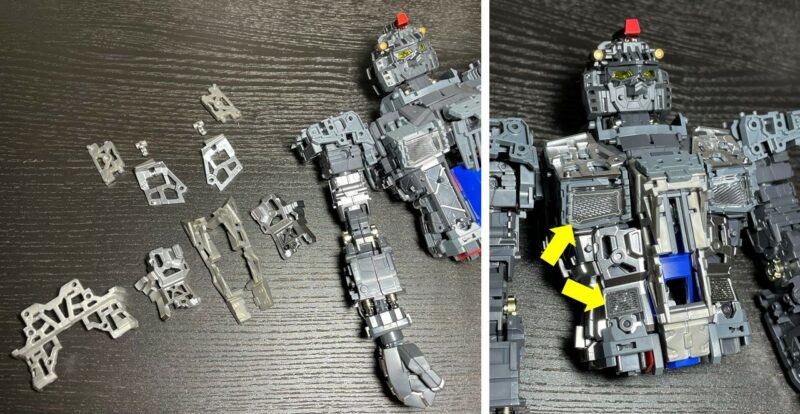
PHASE03 Enters “Structure” !!
In PHASE03, the amount of information is further increased by the internal structure of the truss frame, further enhancing the presence as a product
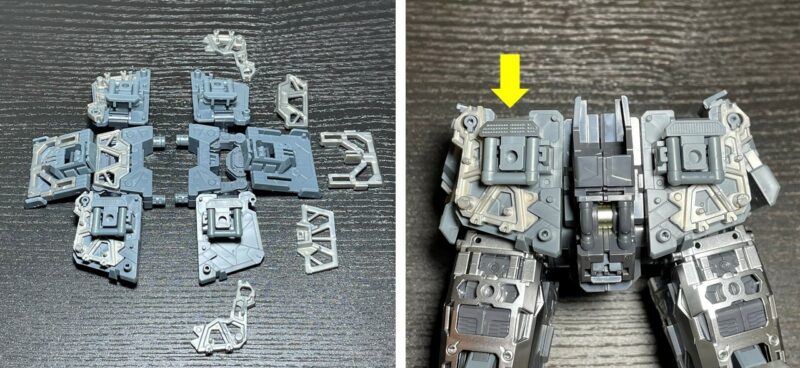
First of all, I will attach the truss frame of metallic molding color, which is the leg part
Next is the waist, and I will also attach an etching sticker
Similarly, use truss frames and etching stickers for the chest, backpack, arms, and head.
All parts have been installed.
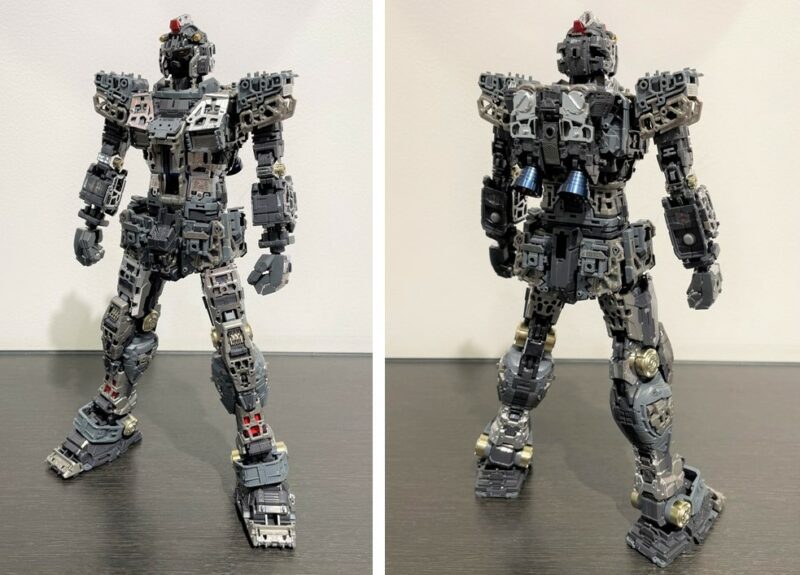
PHASE03 is completeted
The internal structure that can be seen and hidden through the gaps in the frame
That’s all for now
PHASE 04 “exterior” with the main armor of Gundam
PHASE05 “Direction”
By THE GUNDAM BASE