Custom build, improved: HGUC GM-86R GM III Squad Automatic Weapon Ver. (Images, FULL Info)
From the Modeler:
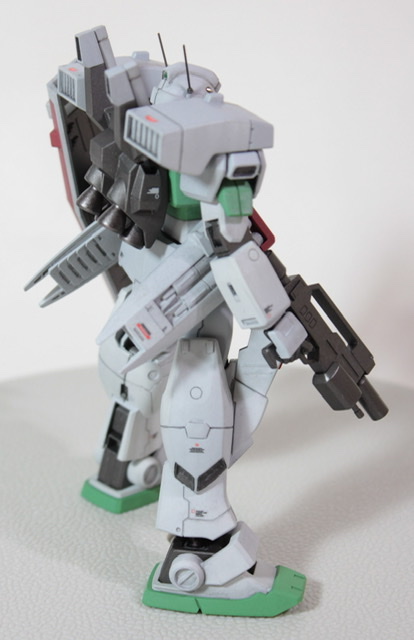
The main body of the kit is almost normal with only minor modifications, but equipped with additional armed squad automatic weapon “Beam Machine Gun”.
Craft:
This time, the work of the MS body is a small modification focusing on the points.
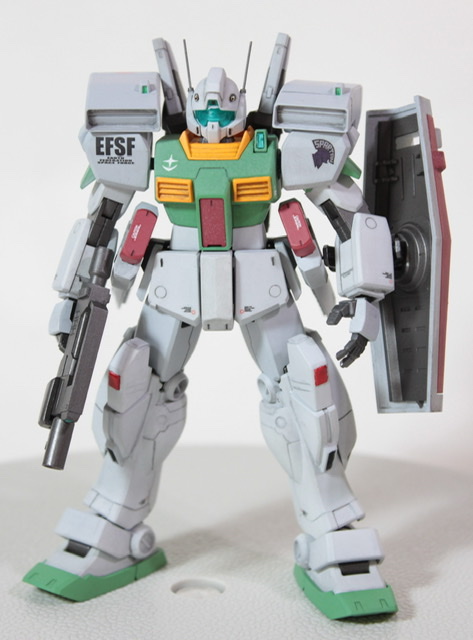
head:
When viewed from the side, I felt that the front and back length was short, so I extended it by 2 mm with a plastic plate in between. The head vulcan is carved and HIQ PARTS metal parts are used. The antenna is cut at the base and replaced with a metal wire.
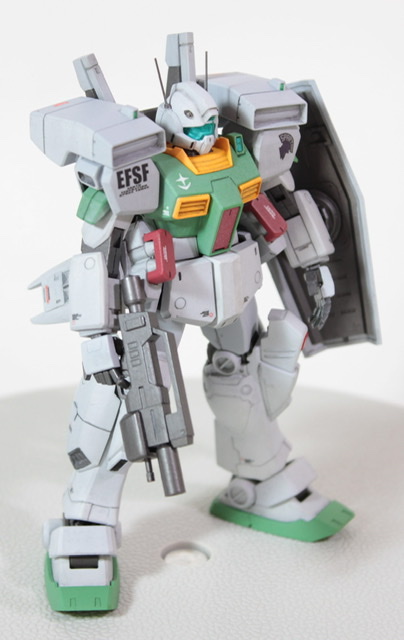
Sensor on the left shoulder
The back side is closed, and the front side is cut out from the clear green runner of the goggles parts and embedded with clear parts.
Waist front armor:
Since the left and right are integrally molded, the shaft is cut at the center and the left and right can be moved independently. Easy but effective.
Add a mold to the back of the waist armor
I don’t think it’s almost visible after completion, but this time I experimentally made a reinforced rib-like one with a plastic plate. This is an experiment to prevent the appearance of flickering during action poses.
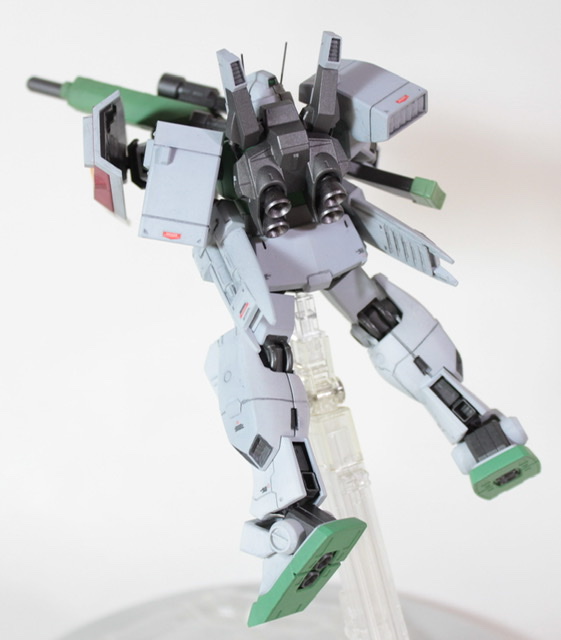
Lining of the vernier on the outside of the calf
Backpack:
Cut the saber rack vernier pipe and replace it with a lead wire. Color-code the tip according to personal preference. Sharpen the edges of the four vernier nozzles to improve the thinness.
Addition of streaks on the whole
I was digging with a plastic cutter at first, but I couldn’t carve it cleanly, and the vernier part on the outside of the calf had rattling lines until the end. After that, I bought a tool for streaks, “Mr. Line Chisel Spare Blade 0.2mm”, and now I can carve it quite beautifully. Line chisel is used for the original mold re-digging and the added streaks and clean parts.
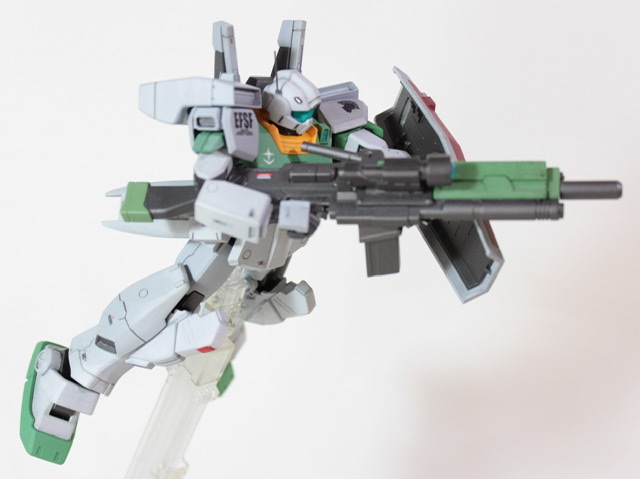
Armed:
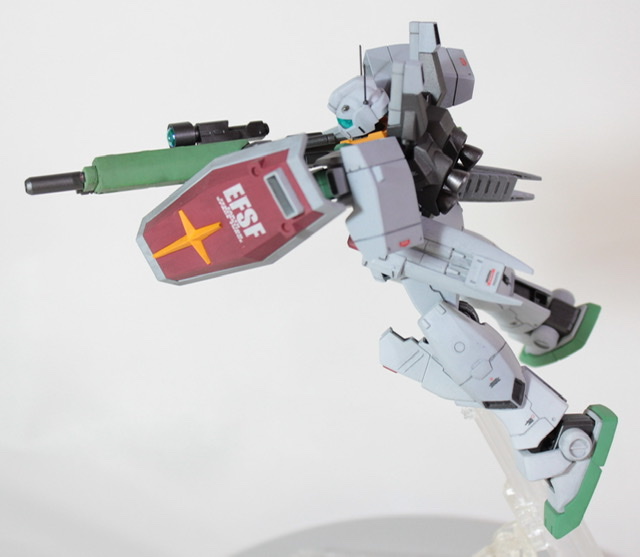
Beam machine gun
Two types of Kotobukiya weapon unit rifles are used to make the main body, and the barrel, stock, and carrying handle are added. HIQ PARTS Green L is used for the sensor section.
Beam rifle:
Since the main additional armament is large, I made it smaller for comparison. Since it is a good idea, I tried to bring it to the beam spray gun as an image. The clear parts of the sensor part still use a clear green runner.
Painting
The basis is Creos lacquer. For the time being, I am conscious of the coloring of the Gundam UC appearance MS, but the details are different as usual.
This time as well, the colors are mixed and changed in places according to personal impression priority. (The colors used will be described later)
Basically, airbrush painting is applied to each part. Only the back of the shield is masked after painting the gray part and sprayed with mechanical color. It’s a simple line, but I paid attention to masking.
After painting with an airbrush, the top coat is matte to unify the glossiness except for the mechanical color parts such as weapons and backpacks.
Finishing etc.
I used Creos water-based hobby color (matte black) for inking and stains this time as well.
Dilute the water-based hobby color with water and add ink before the top coat. I washed it very lightly after the top coat.
The marking stickers come from Gundam Decal Thunderbolt General Purpose 1 sold separately.
Color recipe
Body Green> White + No.66 Daytona Green + No.312 Green SF34227
Body gray> White + No.306 Gray FS36270
Cockpit hatch, shield and other red parts> No.81 Maroon + No.68 Monza Red + White + Black
Collar, chest duct, etc. Yellow part> No.58 Yellow pink.
Arms, joints, etc.> No.28 Black iron color + No.78 Metal black (semi-glossy)
Backpack vernier nozzle> No.61 Burnt iron color (semi-glossy)
Work by: TAKAHiCo_