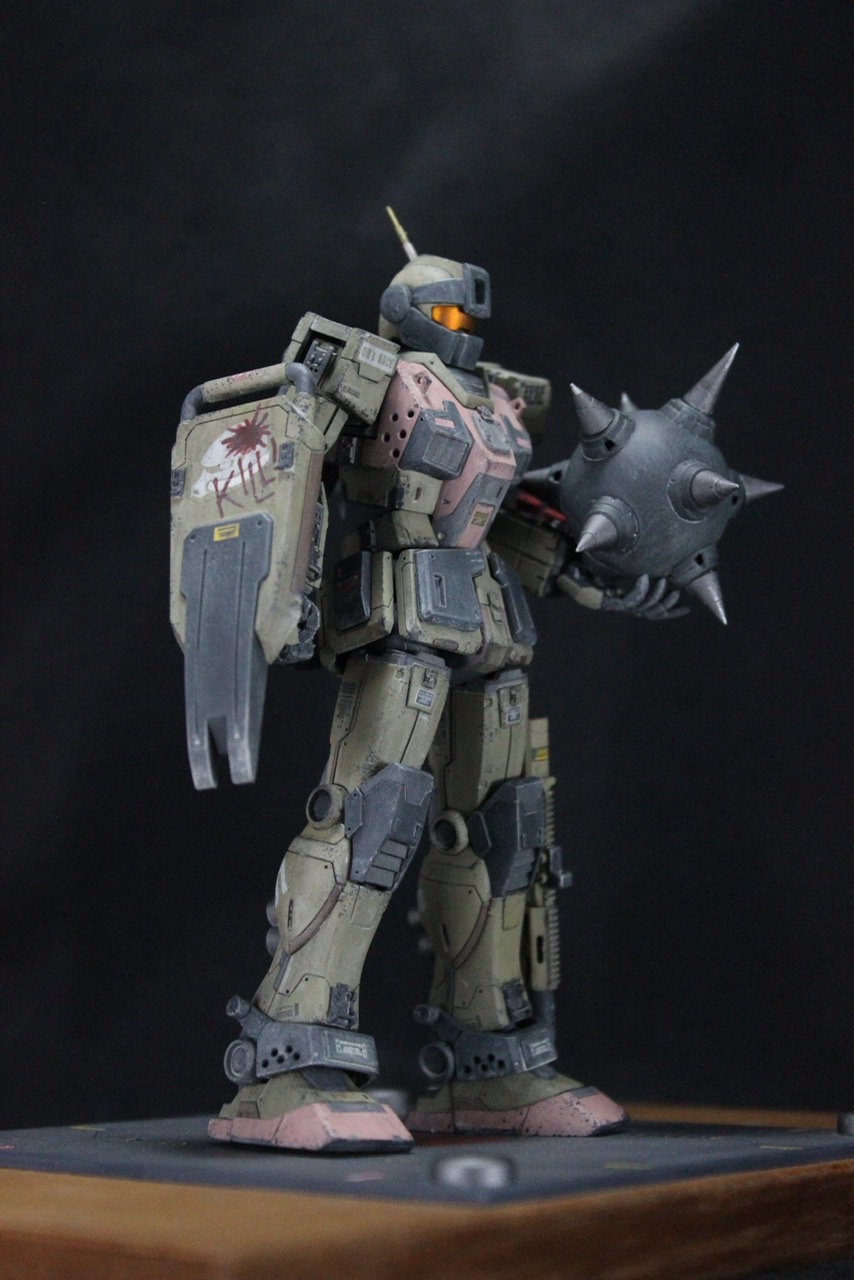
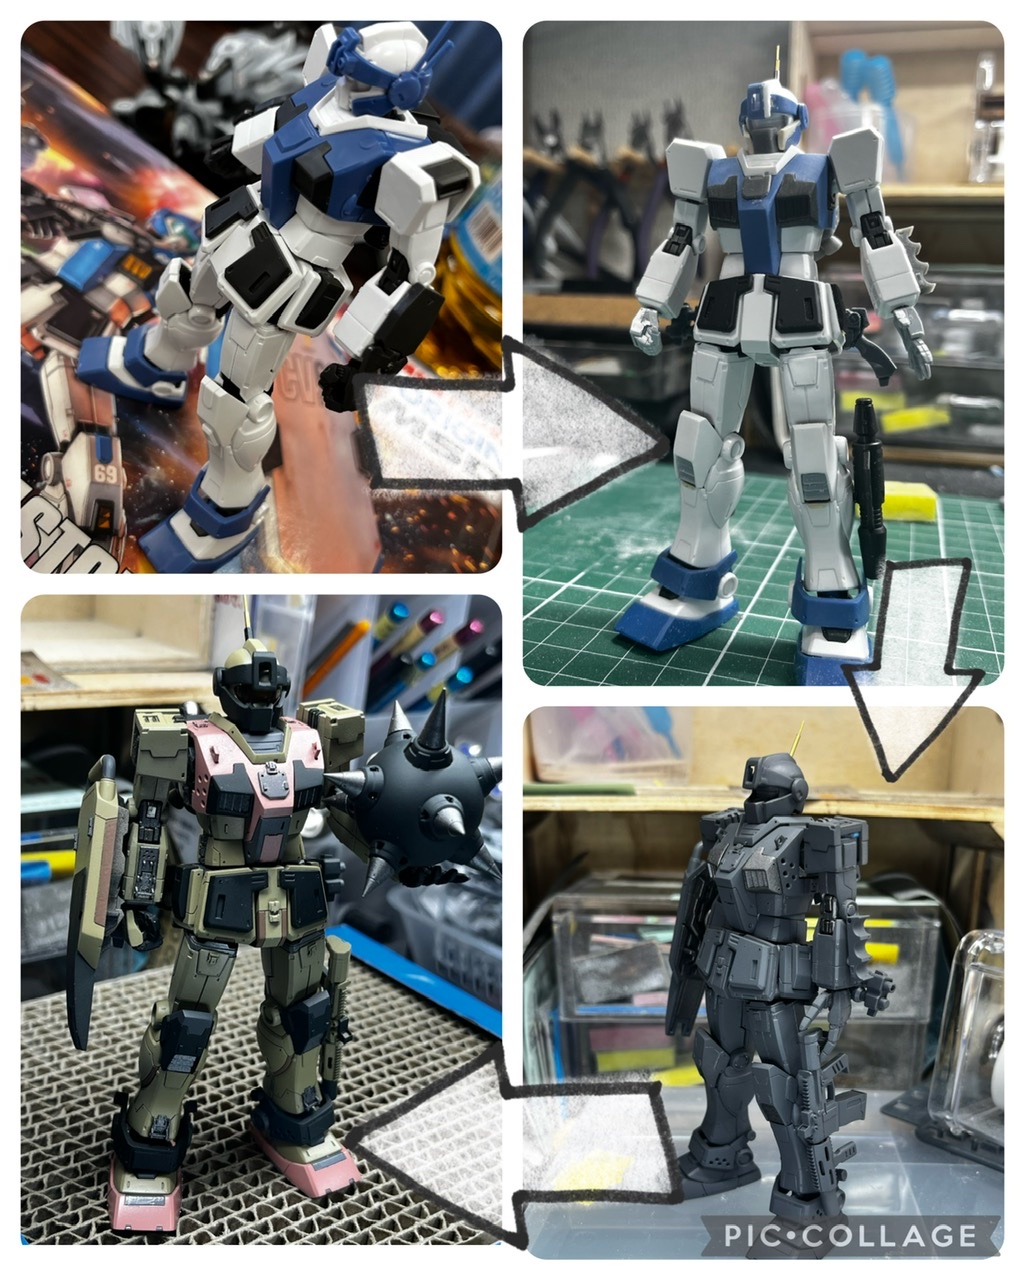
DB’s Custom Build HGUC 1/144 GM Sniper Desert kai: many images, work in progress too, full info and credits
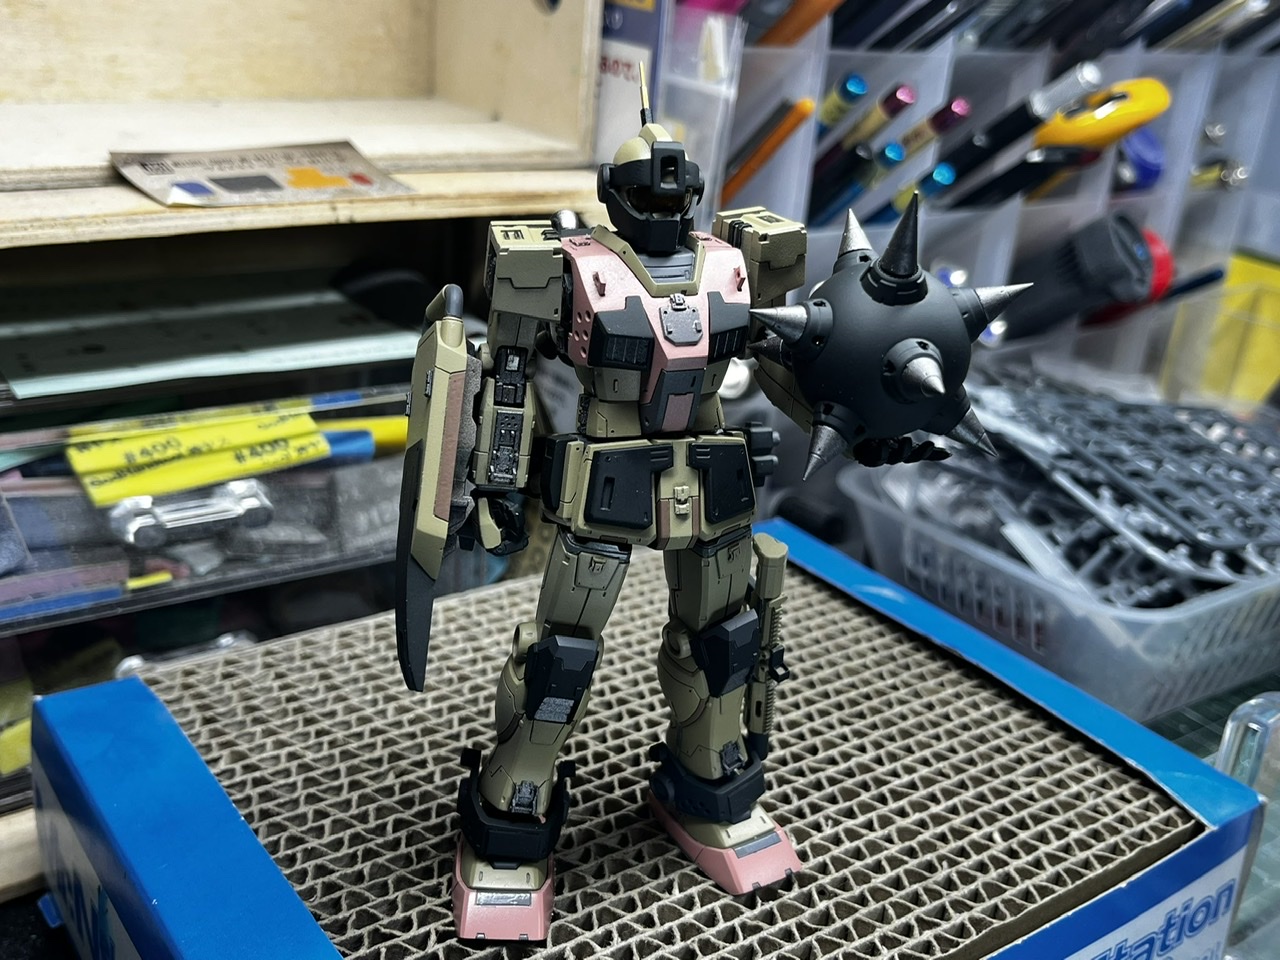
I created a GM Sniper Custom with the setting deployed on the African front.
MS settings.
Roughly speaking, I imagine it to be a “freaky GM” and a unit of Federation army rogues.
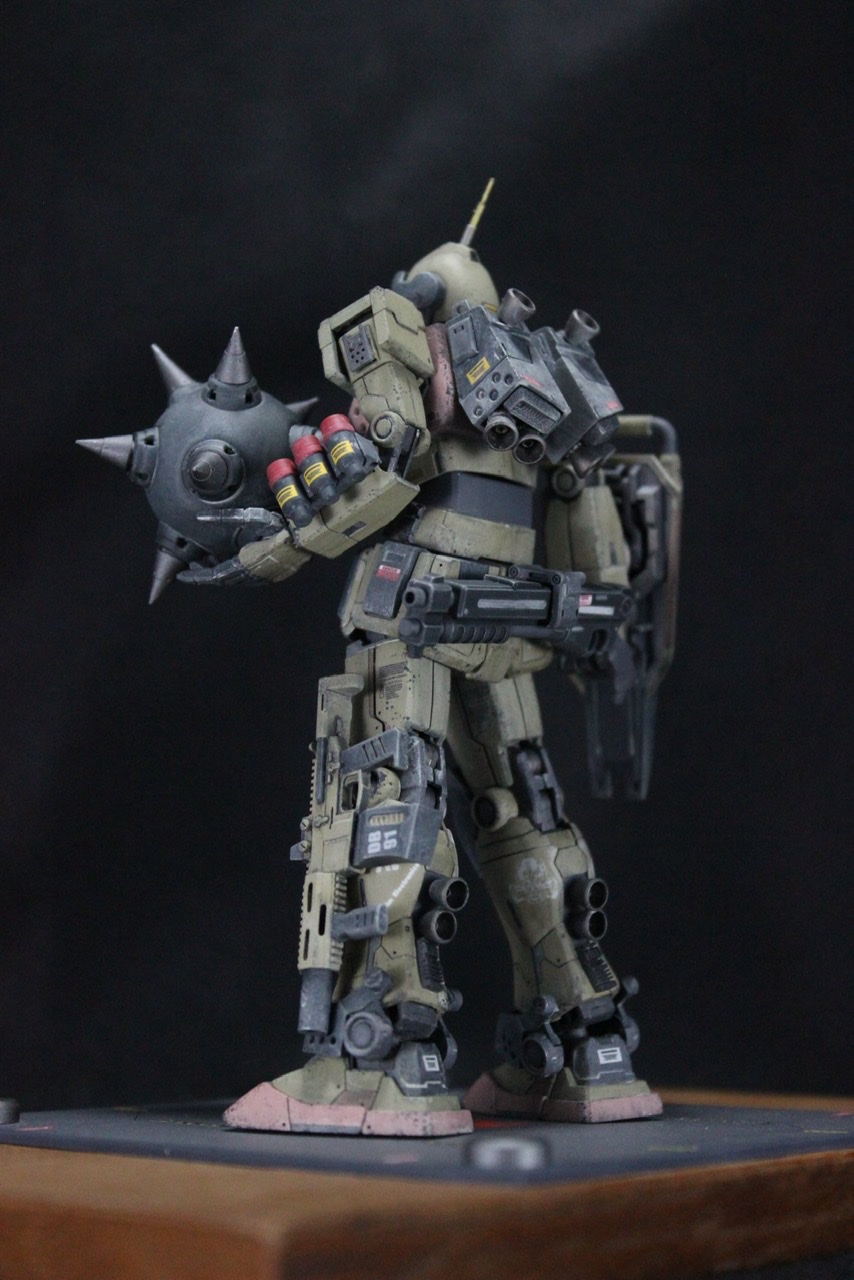
Regarding the coloring, I learned that there are tanks painted pink in the desert, so I tried what is called desert pink. I learned a lot about color toning in this area, and I think I got a good look by mixing Creos’ pink and Gaia’s Dark Yellow
1. The main colors other than desert pink are Gaia’s Dark Yellow 2.
I’ve tried several desert colors so far, and I finally found it…! That’s what it feels like. Dark Yellow 2 has been successfully registered as a starting lineup.
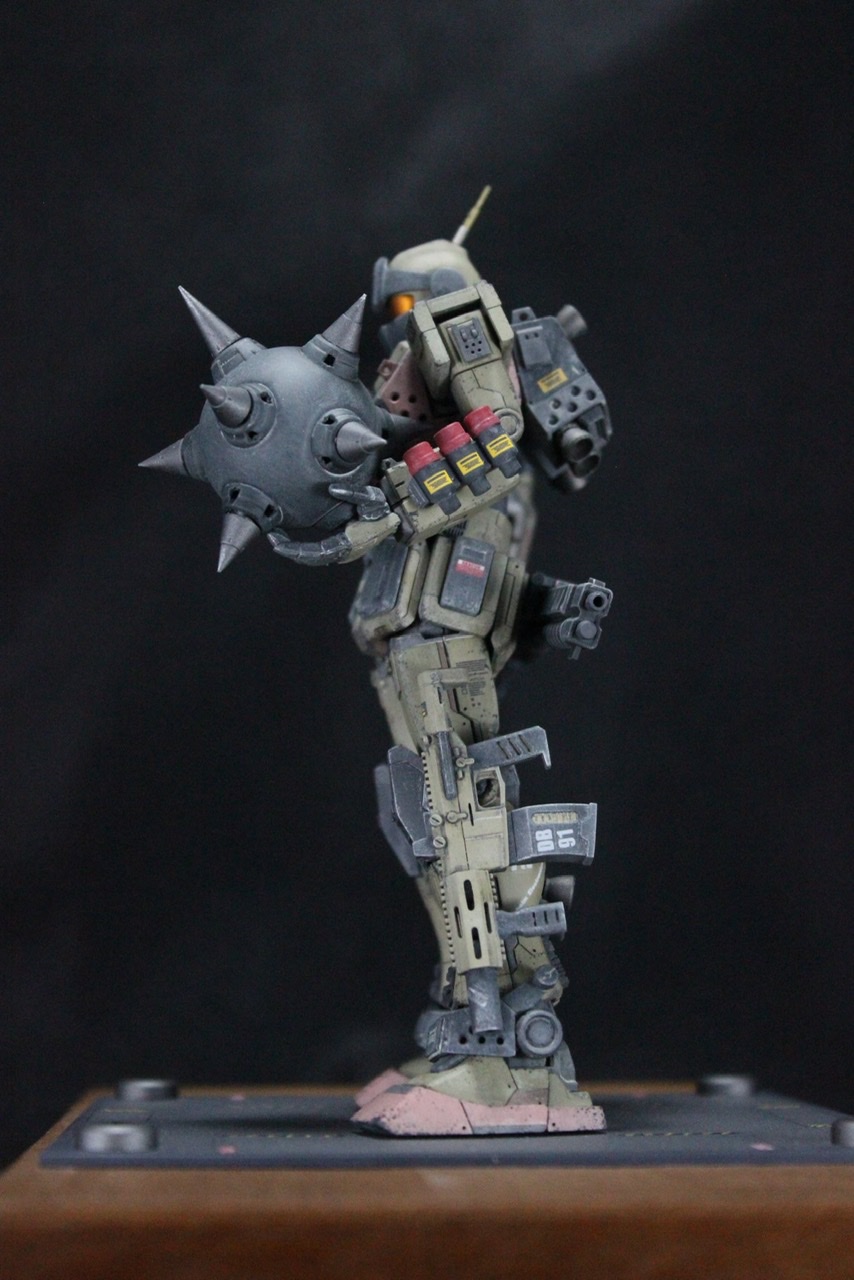
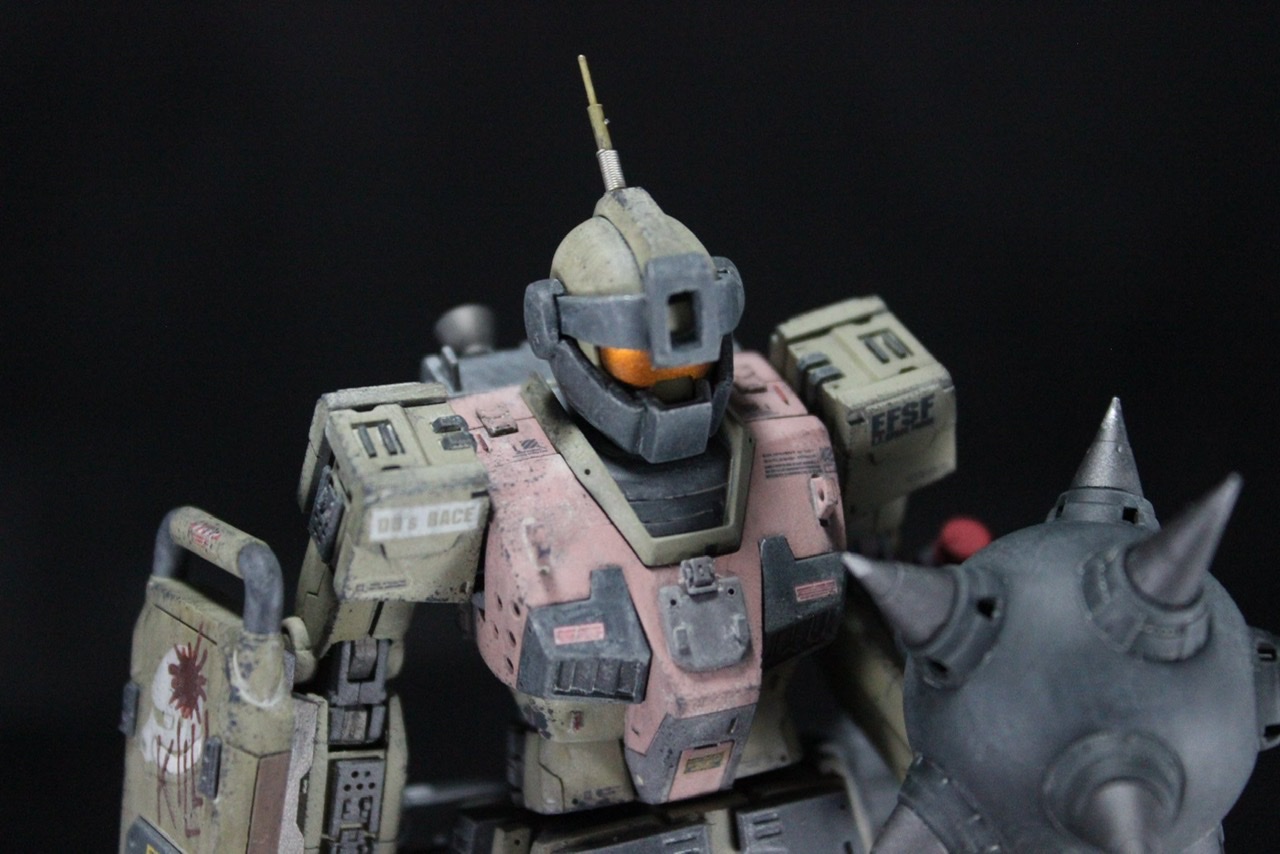
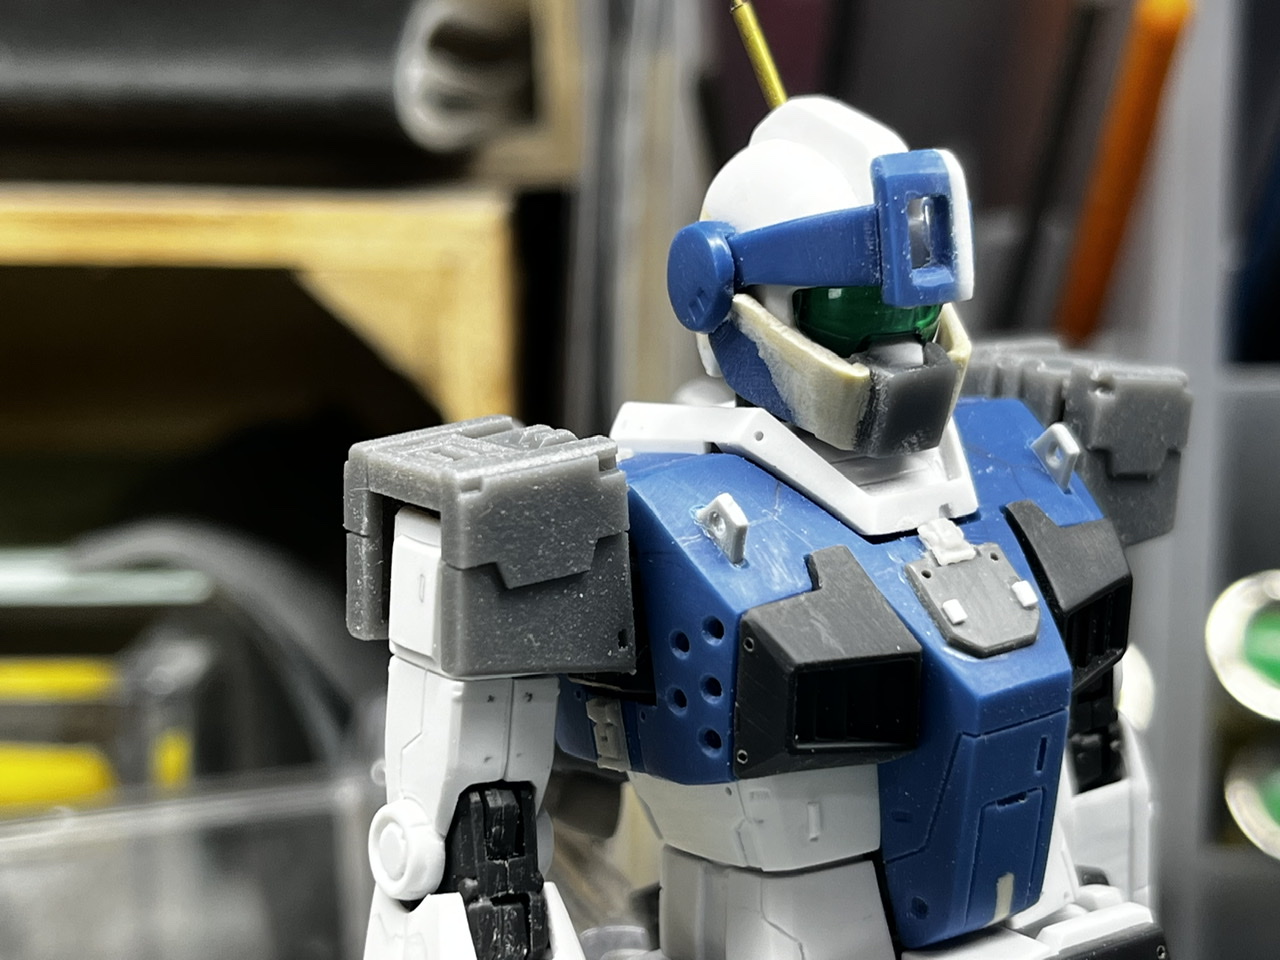
It’s the upper body.
I changed the shape of the visor, made a new scratch for the mask around the mouth, and created the shoulder part based on the image of the old kit.
The Guard Custom has an antenna on the side of the visor, but I cut it off and have the usual brass wire antenna growing from the center of the head.
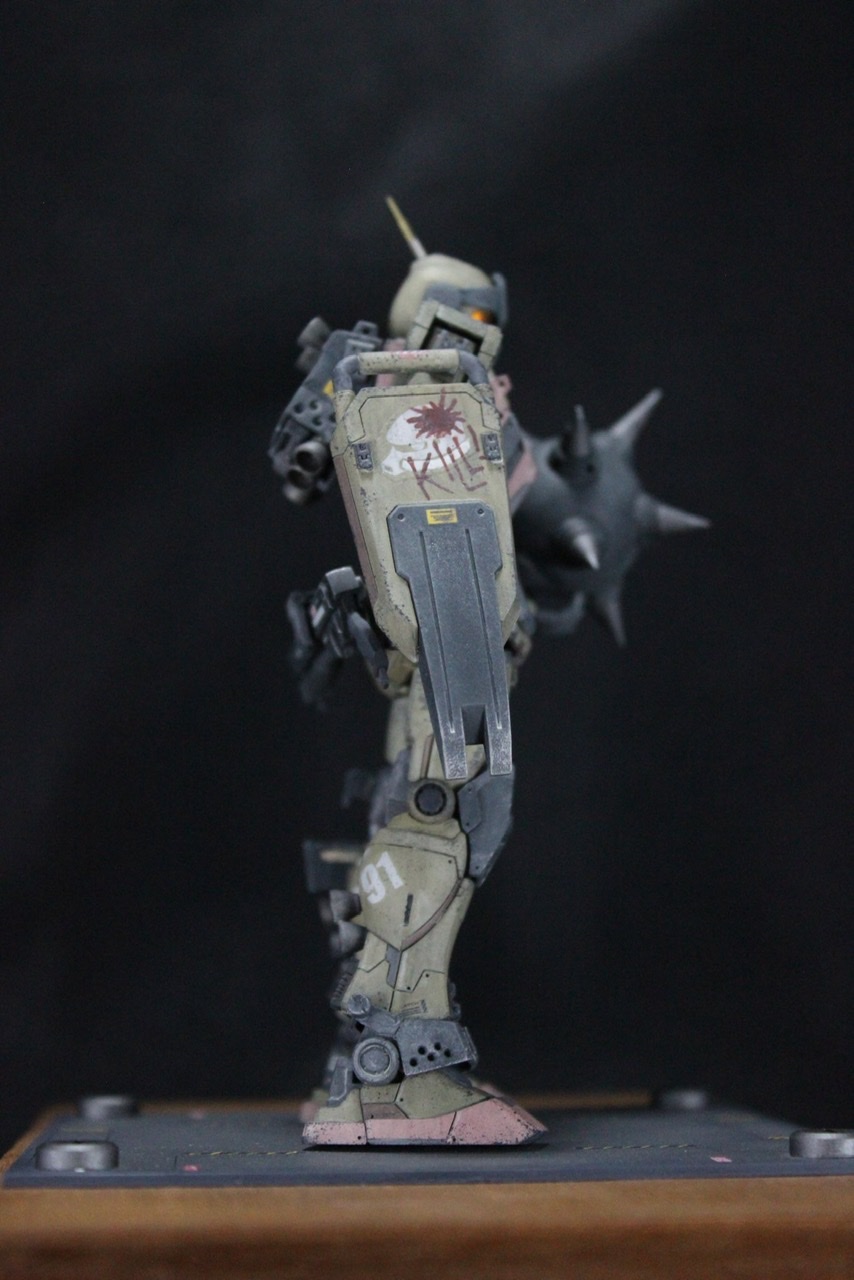
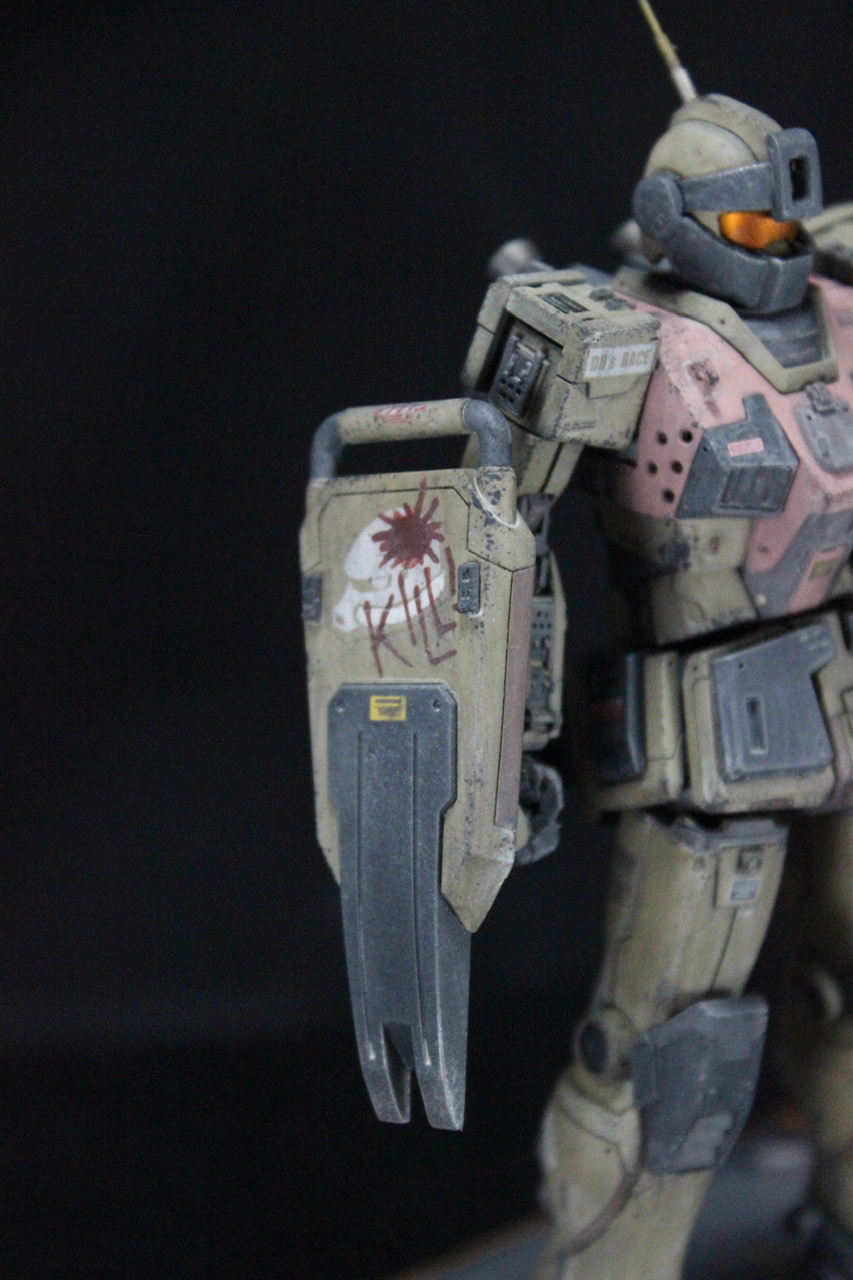
The biggest thing I wanted to create was the shield.
The markings on the Zaku are a souvenir from an off-line party I previously attended, and I did my best to hand-draw the words “KILL!” and the blood spatter.
As for the color of blood, mixing a small amount of green with red creates the color.
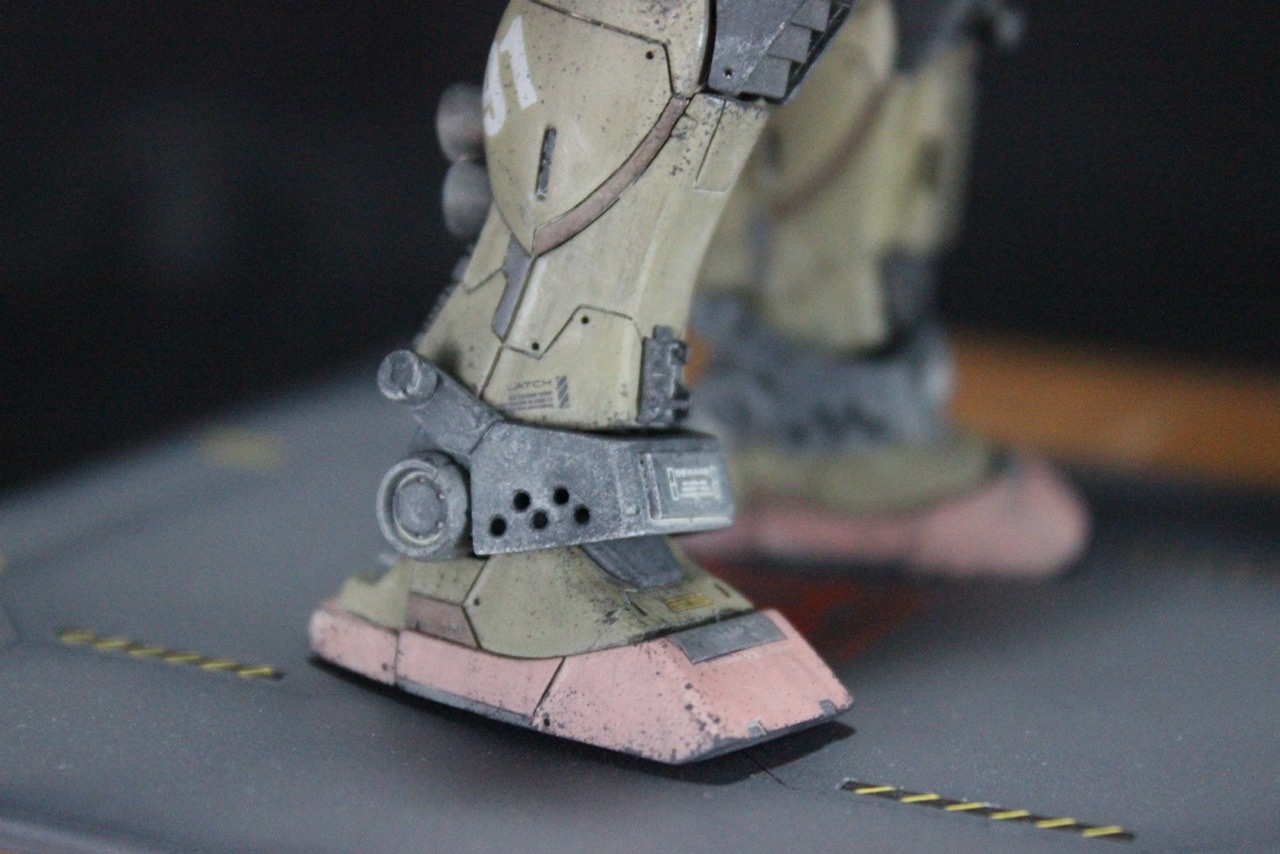
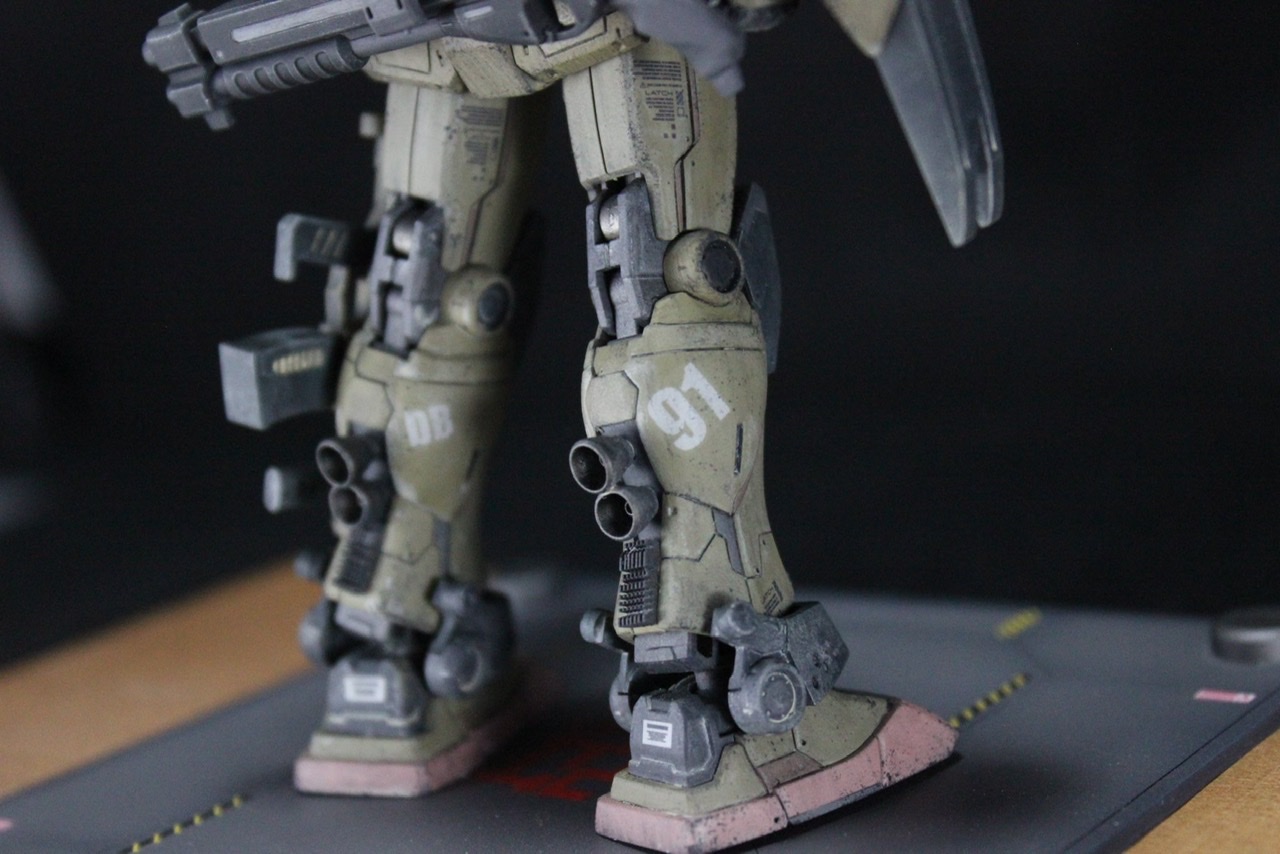
Since it’s an original MS, there are a lot of panel lines, but it’s still the modeler’s nature to want to carve them. There are a lot of lines up to the calf, but I felt like there were quite a few lines below that, so I added lines using various images as a reference.
And this time too, it’s a hole. This time there was space on the side of the ankle guard so I went there. If I put too much on the front, it gets noisy, so I feel like putting it on the side is just right.
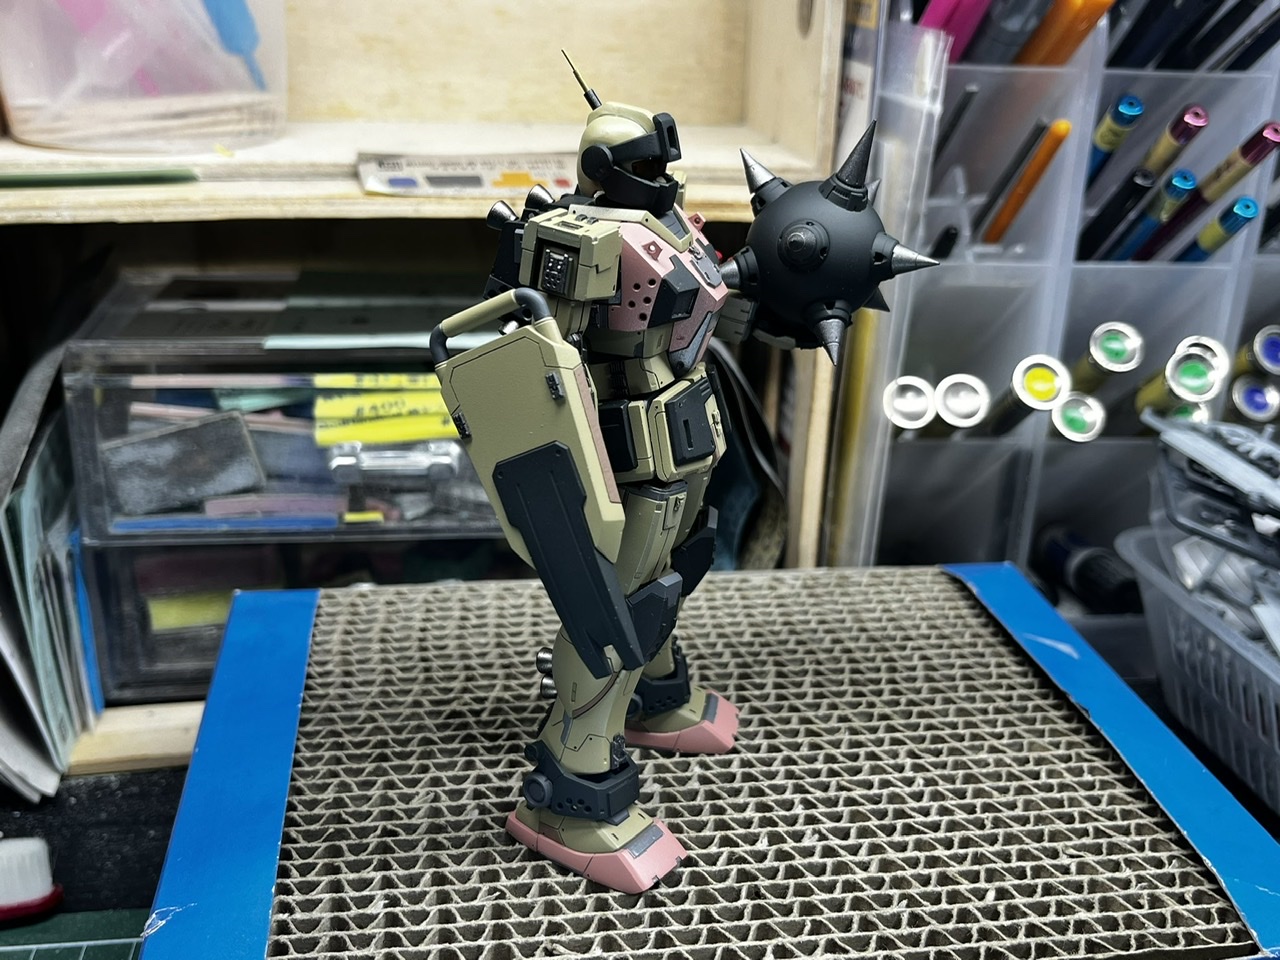
As always, I love the back shots of the legs so much that you can see the number and your own letters when you look at it from behind.
Guard Custom does not have a vernier on the back of the calf, so I filed the connection part to make a step, drilled a hole, and made a new vernier.
Recently, it seems that I have developed heat sink disease as well as spot hole disease, and whenever I see a rectangular step that looks just right, I end up putting it in.
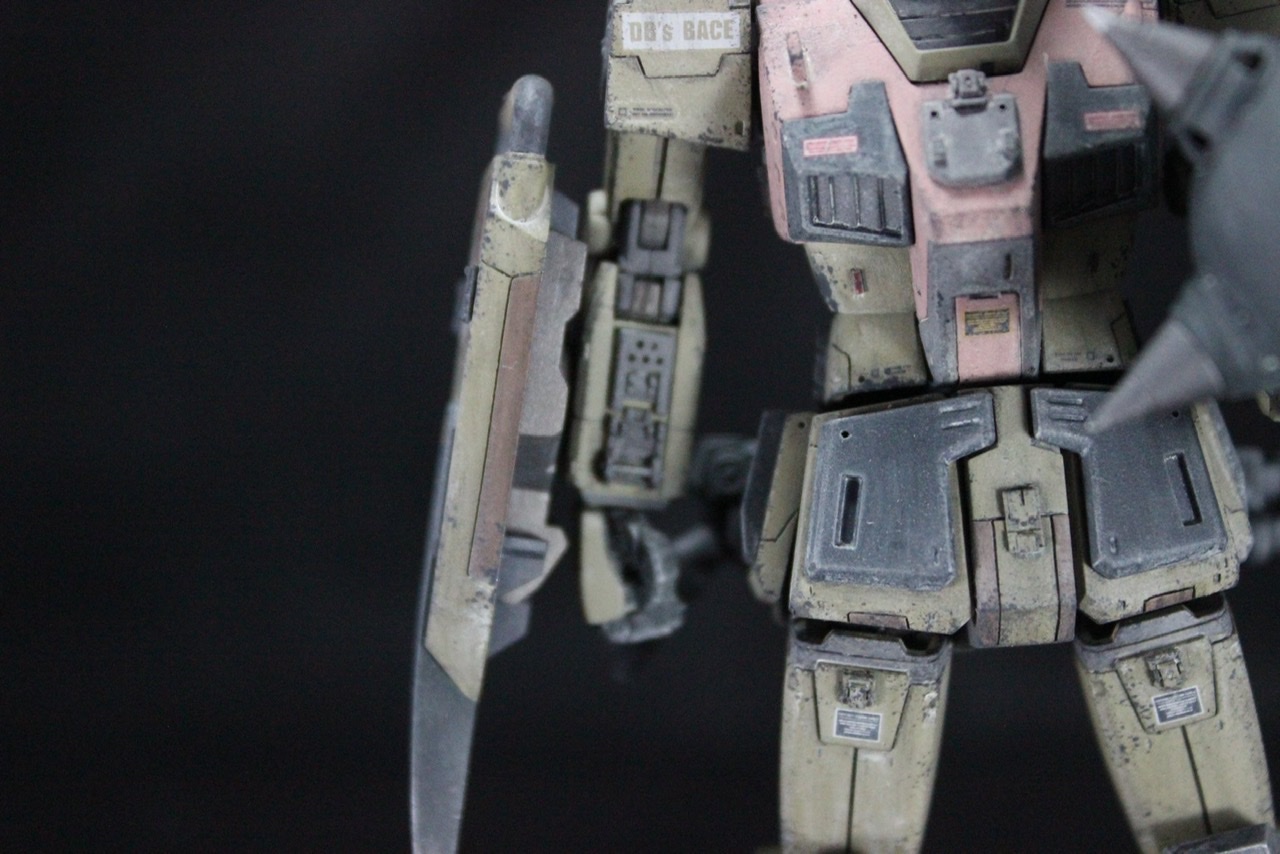
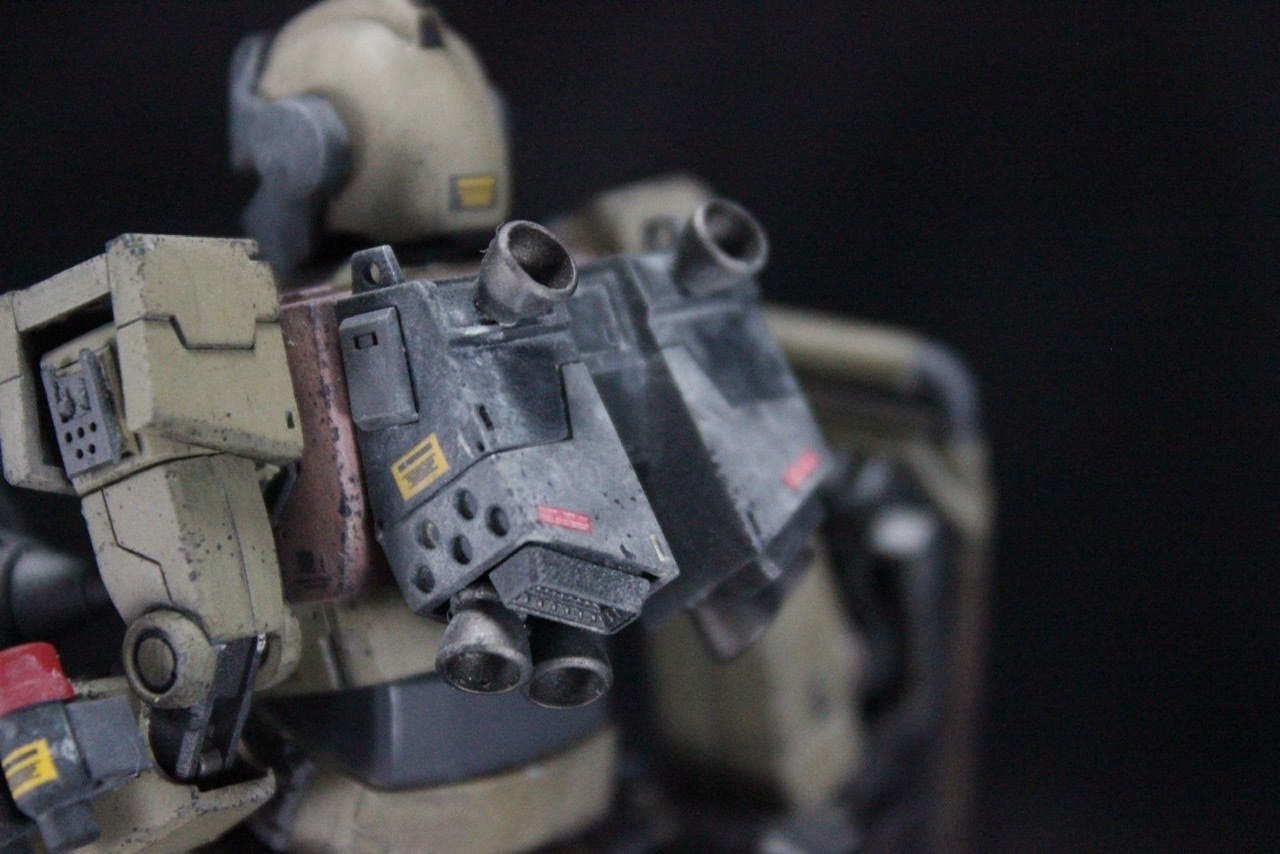
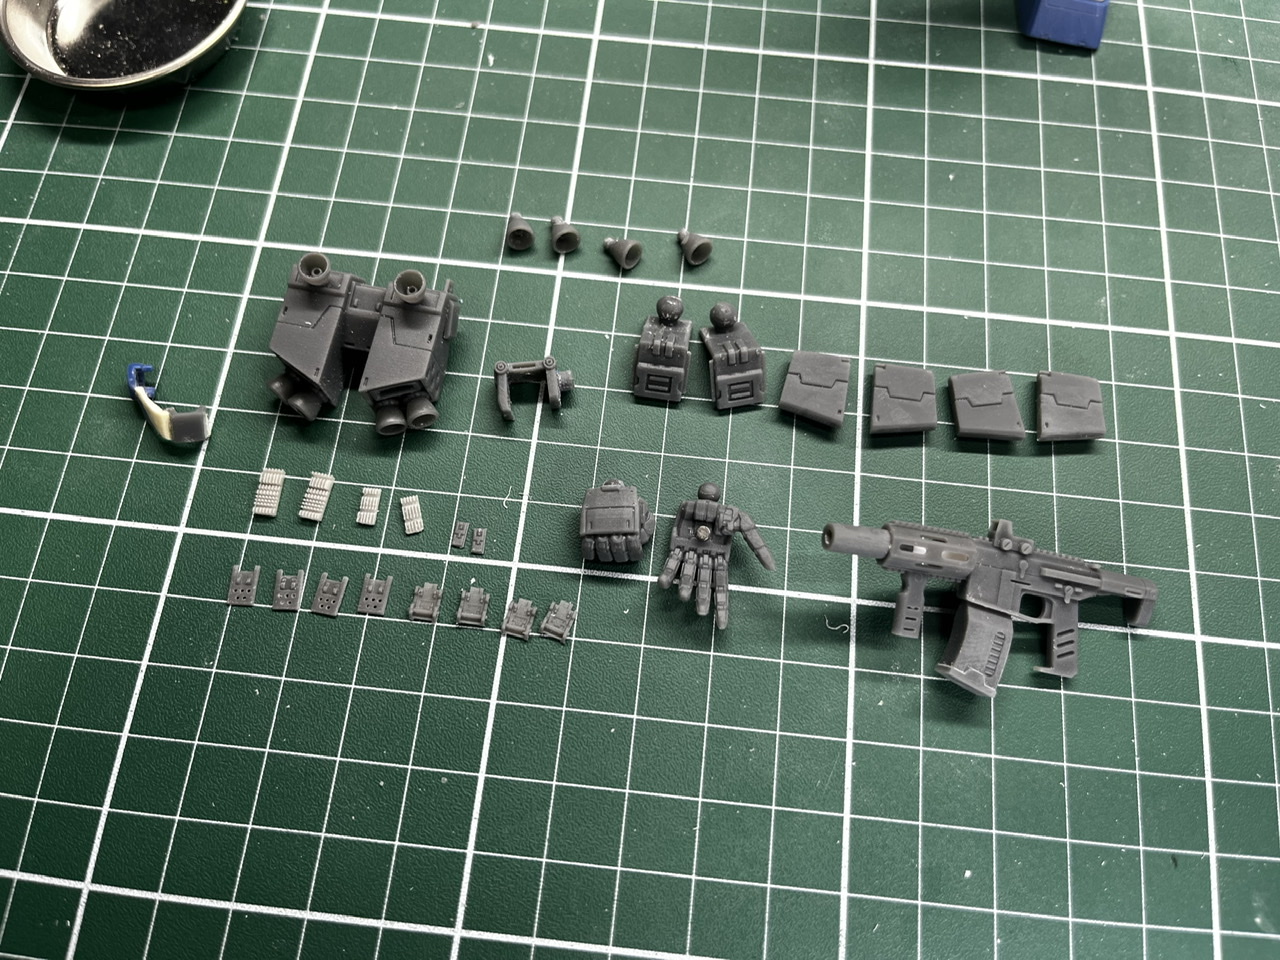
This is a backpack that I put a lot of effort into making.
I made it from scratch.
I once made a square vernier, but the shape didn’t work out so I had to use a commercially available product.
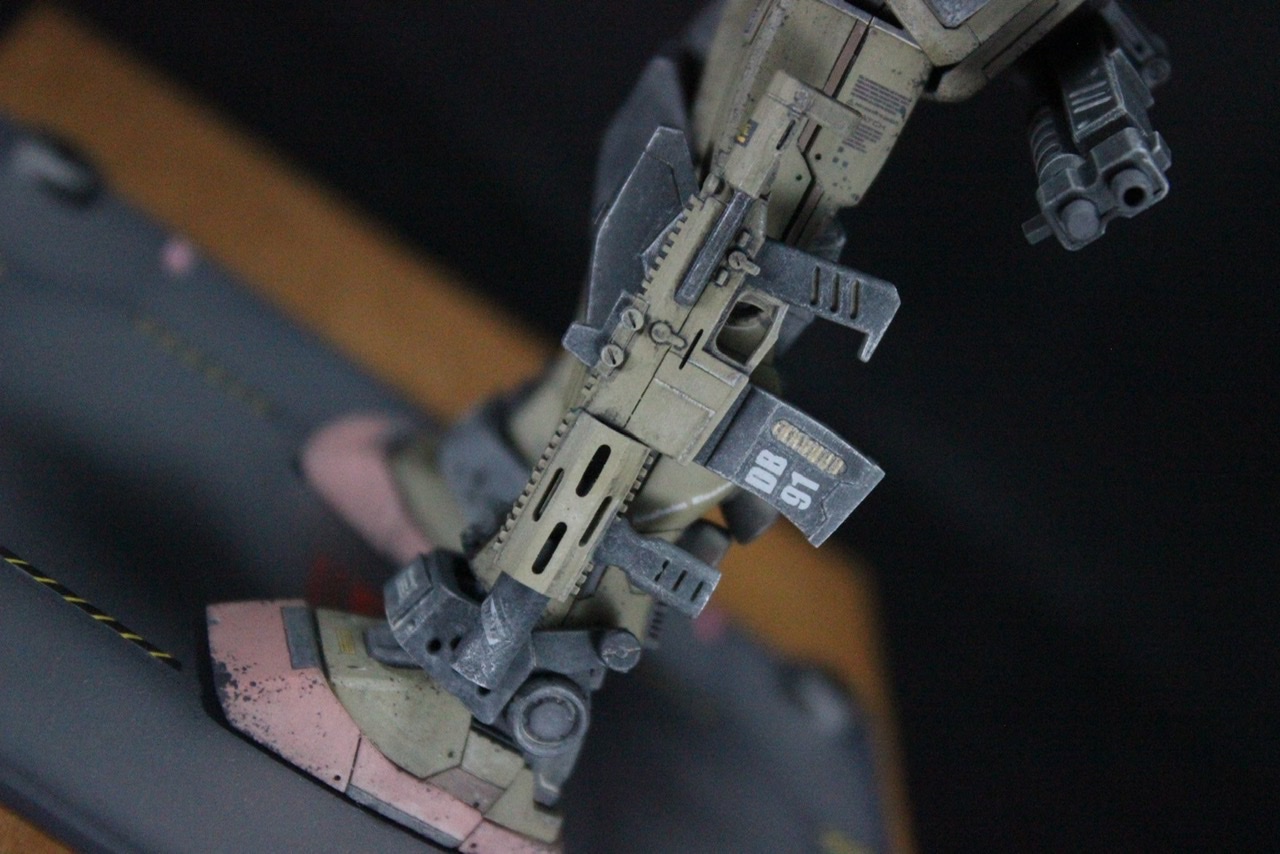
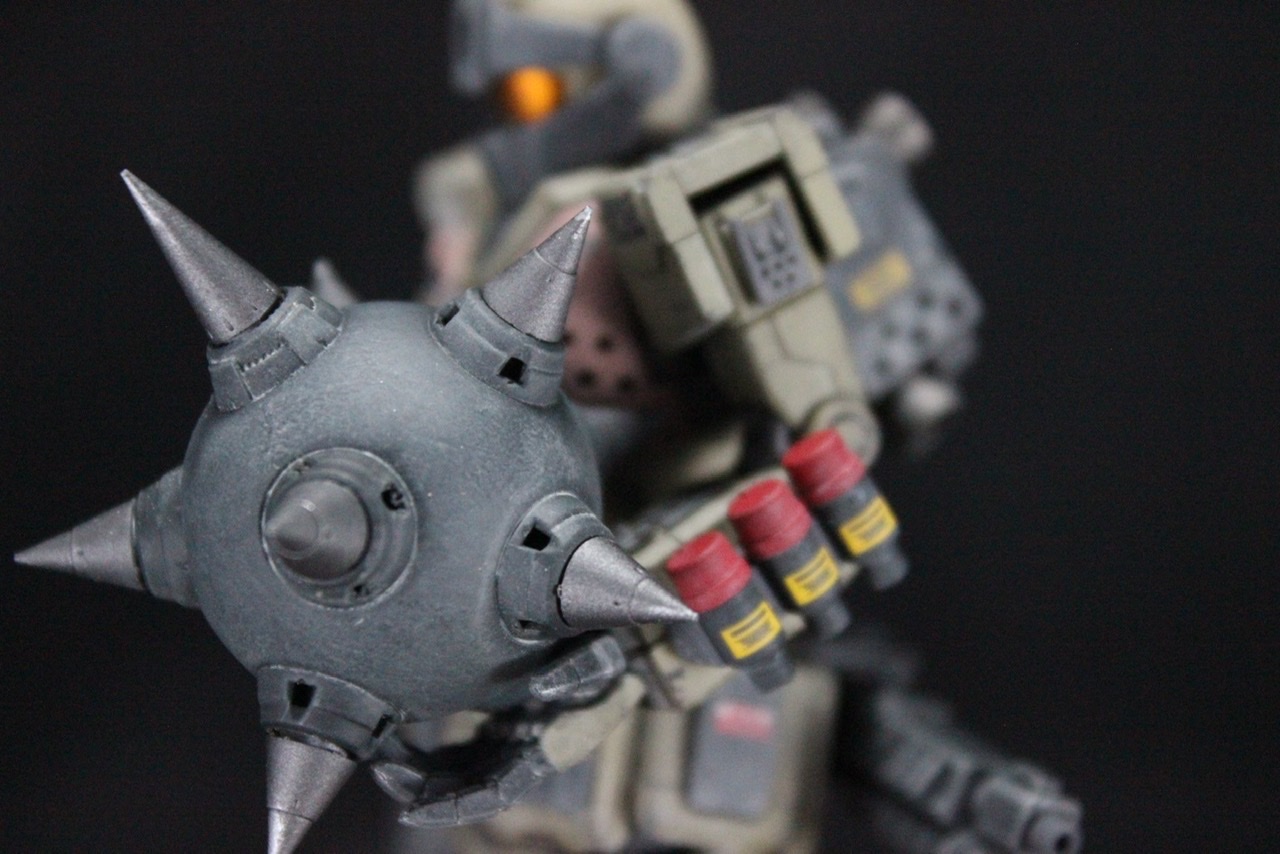
Armed part 1
I was grateful that Builders Parts’ HG spikes were a Cinderella fit for the MG Gundam Hammer.
You’re a sniper, so if you throw this iron ball and aim at it, you’ll be safe, right? I’m going to push this theory.
The grenade-like thing on the side of the arm was mass-produced from the Gouf Hunter I made for the diorama last time. (I just used the one that was output a lot for testing lol)
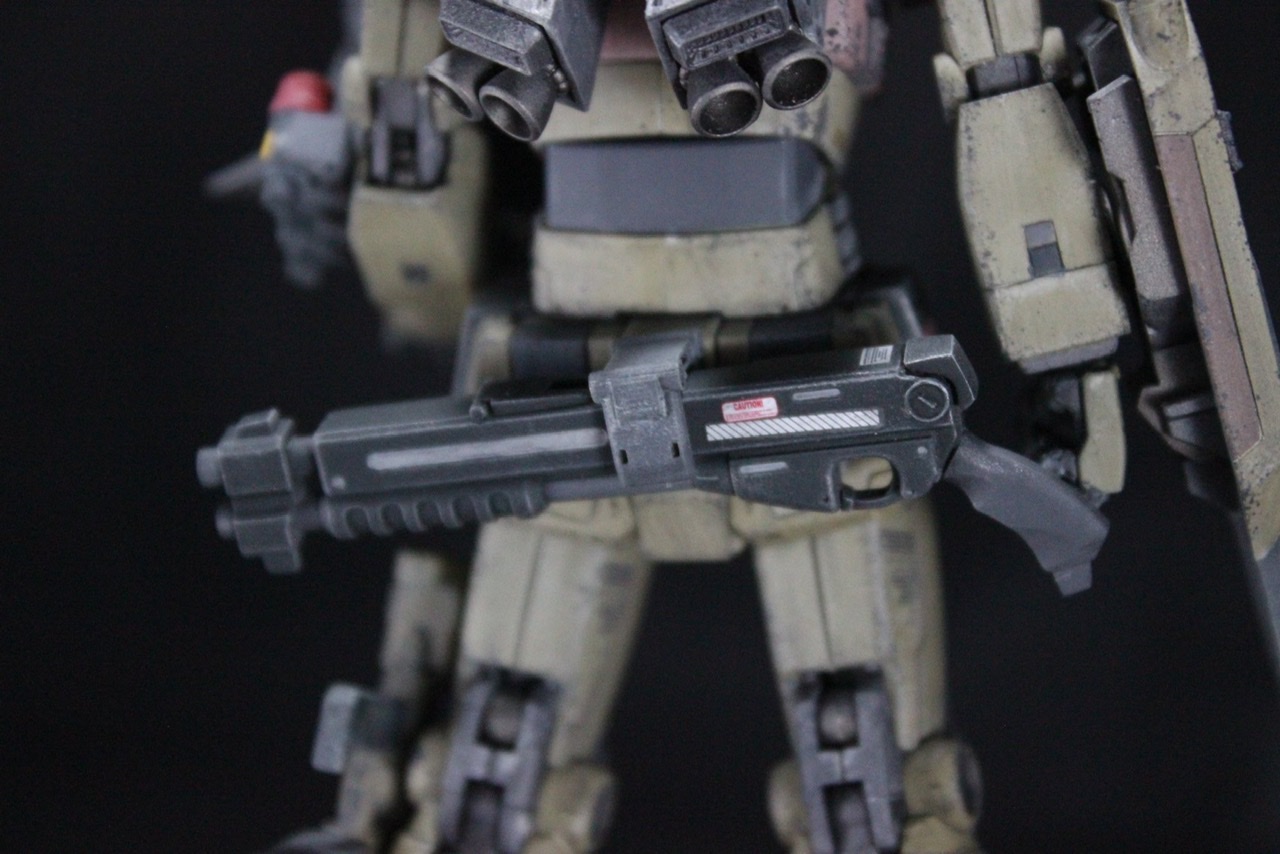
Armed part 2
I made a short-barreled version of a gun called the Honey Badger
This is weapon number 3.
I used the leftover shotgun from making Kampfer.
It is connected to the rack I made using a magnet.
Personally, I’m not good at dry brushing, especially when it comes to silver-based colors, I tend to end up with too much paint and end up failing, and I’m always reluctant to do so, but I found that I had the feeling of “wiping off twice as much as I thought I would”. succeeded. I was able to achieve what I had envisioned, with a faint silver coating on the edges of the parts.
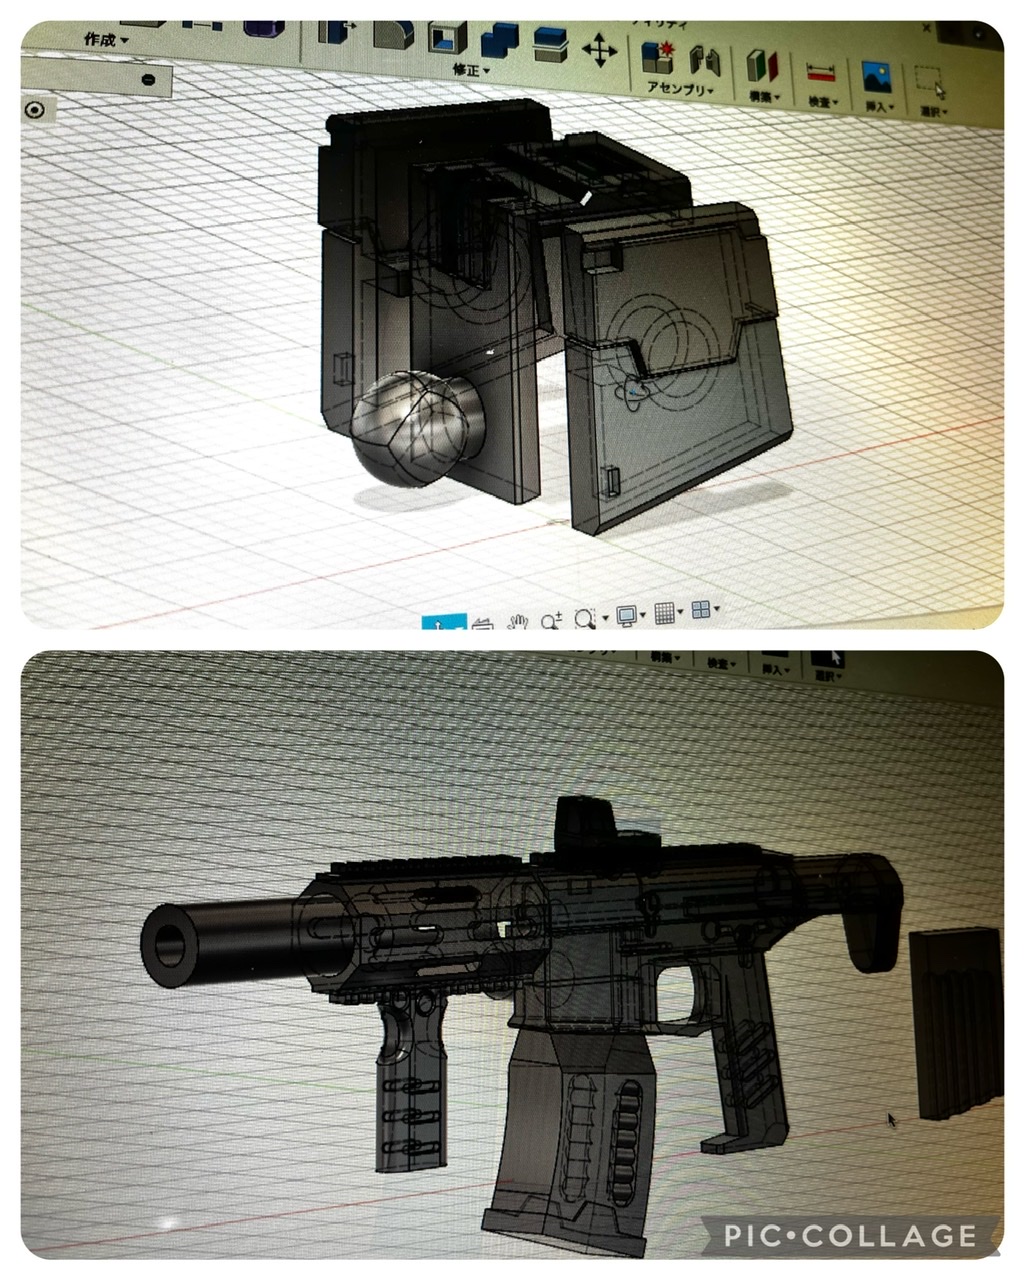
In order to avoid wasting the 3D printer I had purchased, I had made it a rule to use 3D modeling to produce as many parts as I thought were necessary.
The backpack had to be connected, and even after I designed it and printed it, there were many times when I thought the size was a little off, so I had to redo it about 7 times.
On the other hand, although the gun looks elaborate, there was almost no need to redo the balance etc., and it was completed in about 2 or 3 outputs.
For the vernier, I mass-produced a simple one to give it a shape. In the future, I would like to try making amazing verniers with added details.
People with 3D printers are sneaky! I’ve seen some arguments like this, but the opinion of those who have actually tried it is that even if you have a printer, it’s meaningless if you don’t have 3D CAD skills, so in the end, it’s the same as the skill of scratching on a plastic board. I think so. I thought both were great scratches.
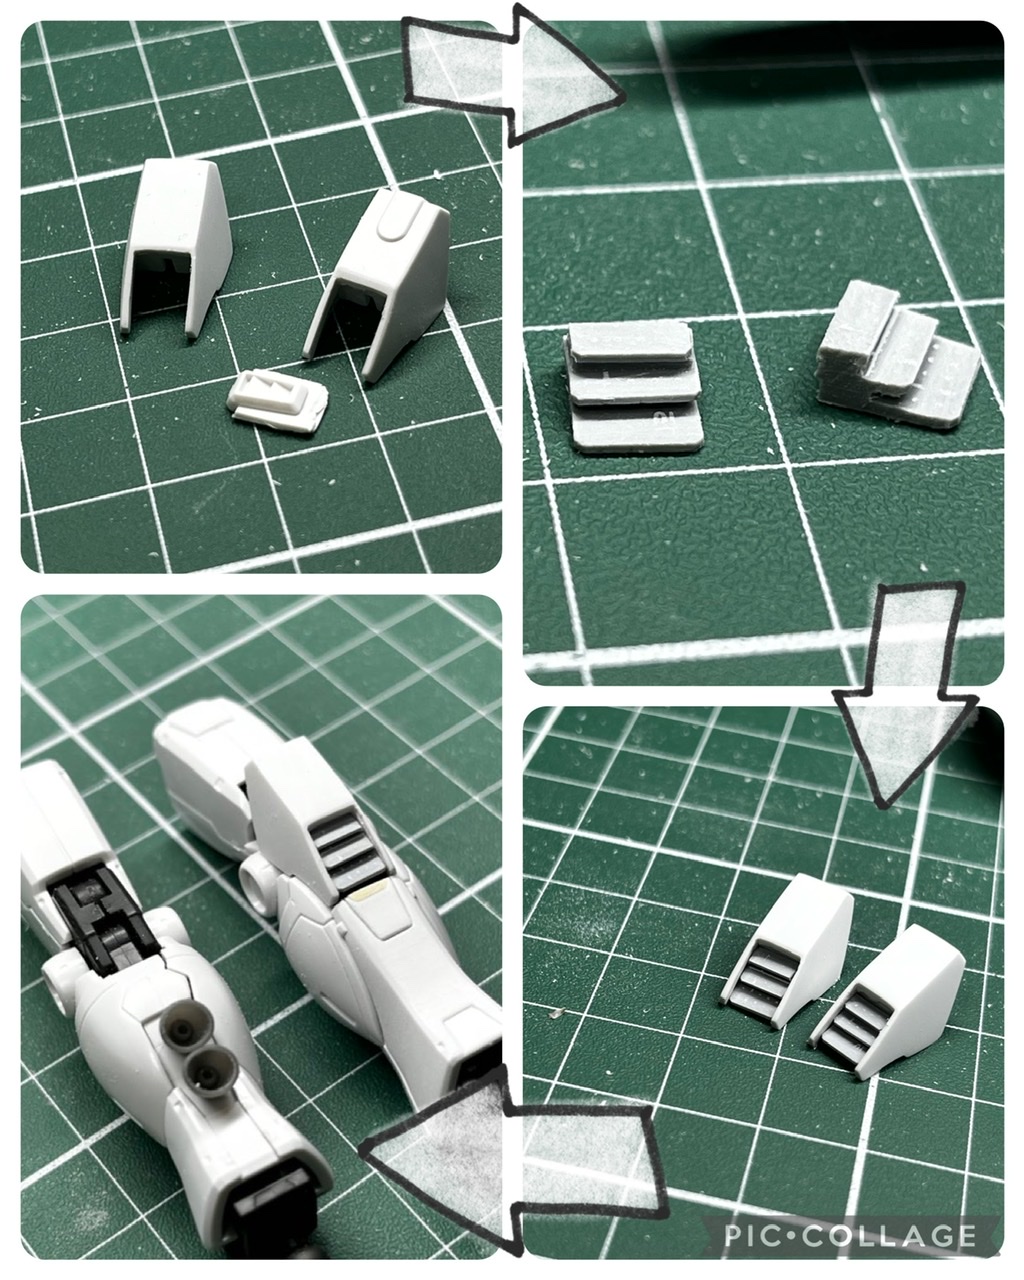
The shoulder armor was the most difficult part, as it was a combination of three parts and also had to fit the arm parts.
I felt that the trick was to just take measurements, and without rushing ahead, to make preliminary outputs many times and add details after making adjustments.
This time, I made a small hook and attached it in an instant, so in the future I would like to calculate and design the dowel holes so that temporary assembly will be easier.
For 3D modeling, I use a software called Fusion360.
If you look into PCs that run CAD software, you’ll find many articles that say they require crazy specs, but that’s for business use, such as when making actual industrial products, so it’s not as easy as making gunpla parts. A Mac book that is over 10 years old will work fine.
This is the information I was able to learn by not only building Gunpla at home but also going out and interacting with others. When you meet and talk face-to-face, you can feel free to discuss things and ask questions.
This is also a warning to myself, but even though I set the theme of “facing 3D modeling,” I couldn’t imagine modeling this part, so I ended up processing it directly.
Work by DB
aka: @ DB_modeler2nd on X (ex Twitter)