万丈’s RG 1/144 Sazabi Ver. White modified: images, full info and credits
I’ve been longing for a white Sazabi for over 10 years, so I tried RG Sazabi.
This time there is no mixing element and it is a renovation. I didn’t use a plastic plate because the material was good. At the end, there are some tips for carving lines, so please refer to them if you like.
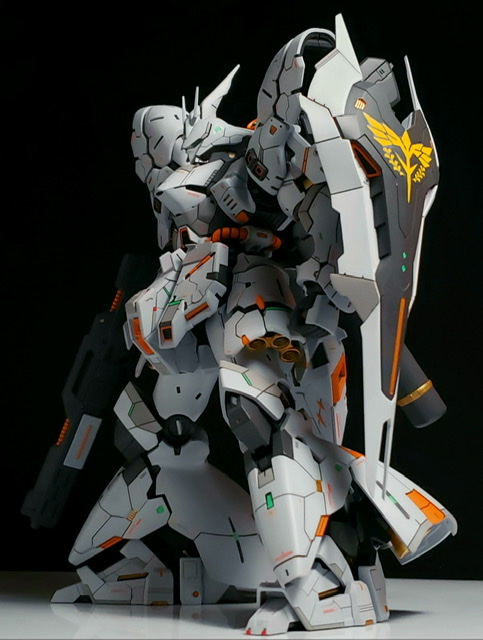
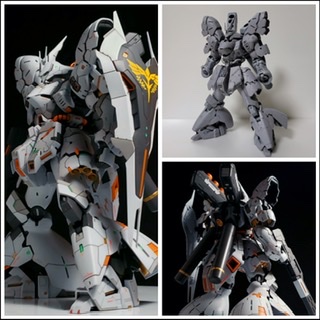
main shot. By changing the shooting environment, we succeeded in improving the quality of the photos.
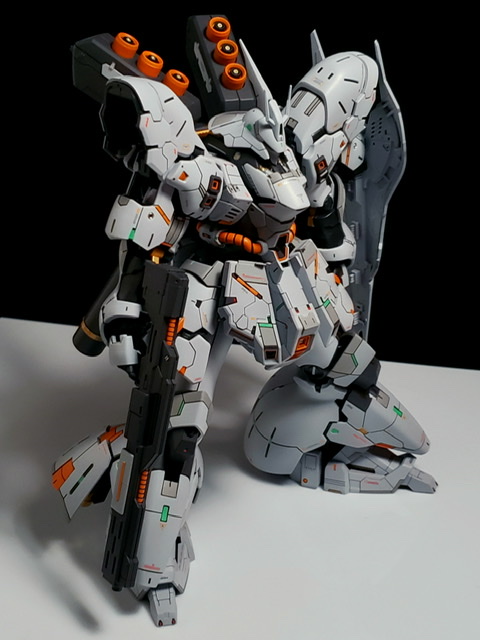
from an angle. Is it easier to see all the details this way?
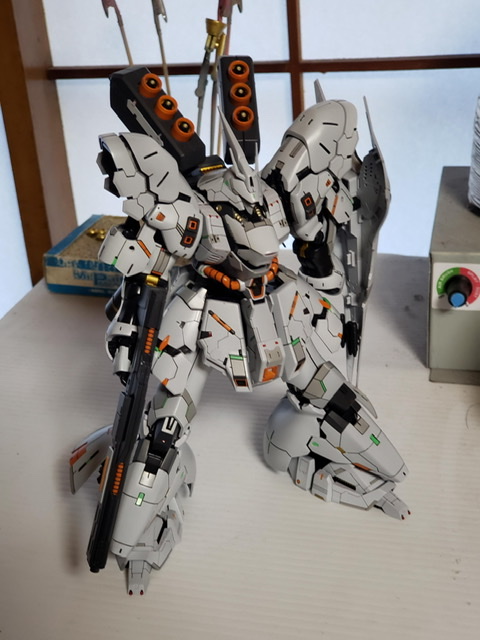
I personally thought that the way the shadows were applied was the best.
It was taken in natural light before the decal.
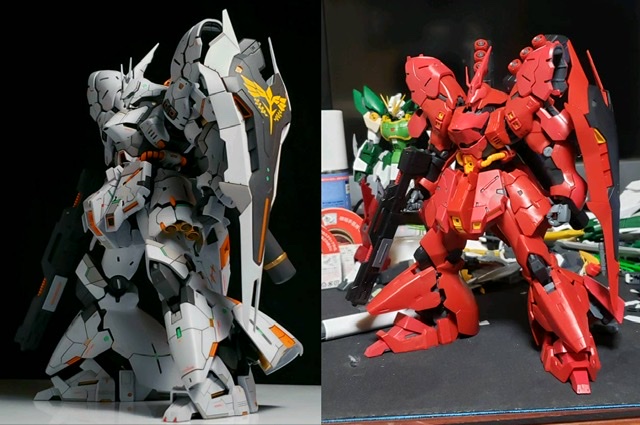
Comparison image. I have circled the parts that I like.
・ Cut out part of the shield and head to change the shape
・Addition of detail by carving
The first priority is to increase the density of the elongated parts of the carving, and I tried to create a natural line that does not make you feel that the carving is really appealing.
It’s easy to see where the carving is in the surface state.
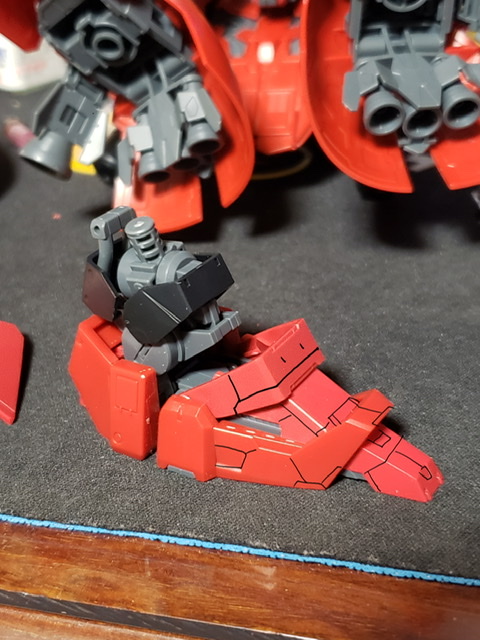
The following is like a muscle carving course. Ignore if not interested!
When I carve the outline, I take a picture of the parts and then write down the general image before proceeding.
I actually carve a few pieces and temporarily assemble them, then adjust them while checking the balance, and repeat until I’m satisfied.
Drafts are important!
Although it is from a different kit, when carving symmetrically, decide the starting point of the guide tape. in this case
Purple line → along the outline
Blue line → so that it is parallel from the center of the detail
Red line → Connect the detail corner and the center of the round mold
By doing this, you can apply the guide tape symmetrically.
When carving the same part multiple times, take a picture of the masked part so you don’t forget the position!
By the way, I mainly use [HG masking tape] for masking tape.
It is now symmetrical.
The tool used this time is streak carbide 3mm. I carve about 25 to 35 times for each line. Be careful not to apply force as much as possible as the groove will be rough.
If the carving is shallow, the carved part will be buried when painting, and it will not be possible to even inking.
When carving, burrs occur, so remove them with a file or a toothpick. If you rub too much with the toothpick, the edge of the carved part will be lost, so be careful with the amount of force.
Posture is also important. Find a posture that keeps your hands from shaking. You’ll need to concentrate, so it’s a good idea to dig while chanting!
It’s been a long time, but that’s all for now. I would be happy if I could help those who want to challenge carving from now on!
[Recent Status] I changed jobs at the beginning of the year, so I’m away from Twitter and models until I get used to it. It’s been a pretty terrible environment so far, so I’m going to rebuild my life rhythm, so I’m looking forward to seeing you.
This work is made by 万丈
@ Banjo_Luxiall on Twitter