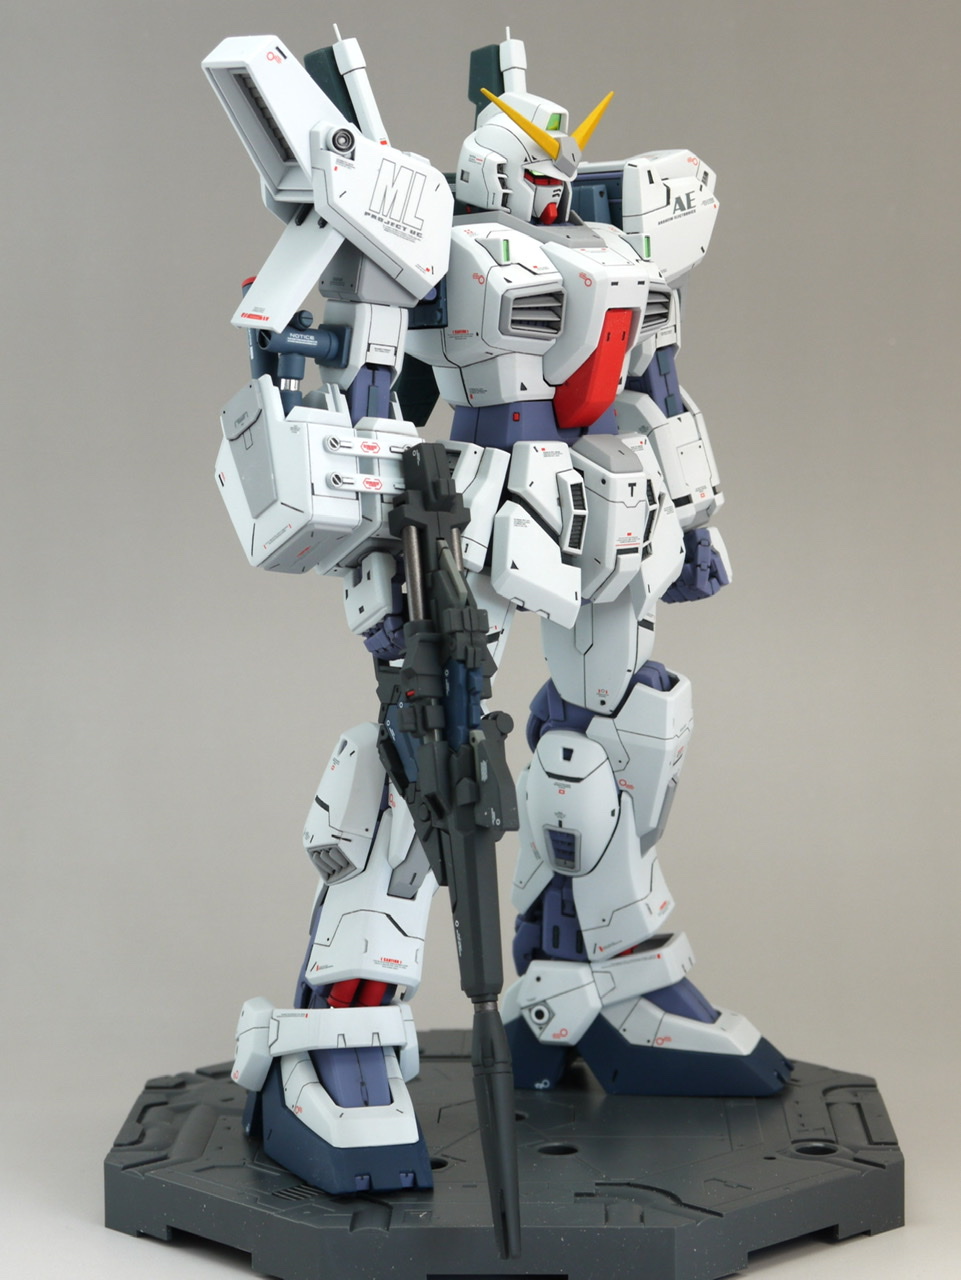
yasutatsu’s MG 1/100 Gundam Mk-II Banagher custom from the manga “Mobile Suit Gundam Unicorn episode EX2: Return of the Lion” Images, credits and full info
Scheduled to be listed on Yahoo! Auctions! (2024/03/16-03/23)
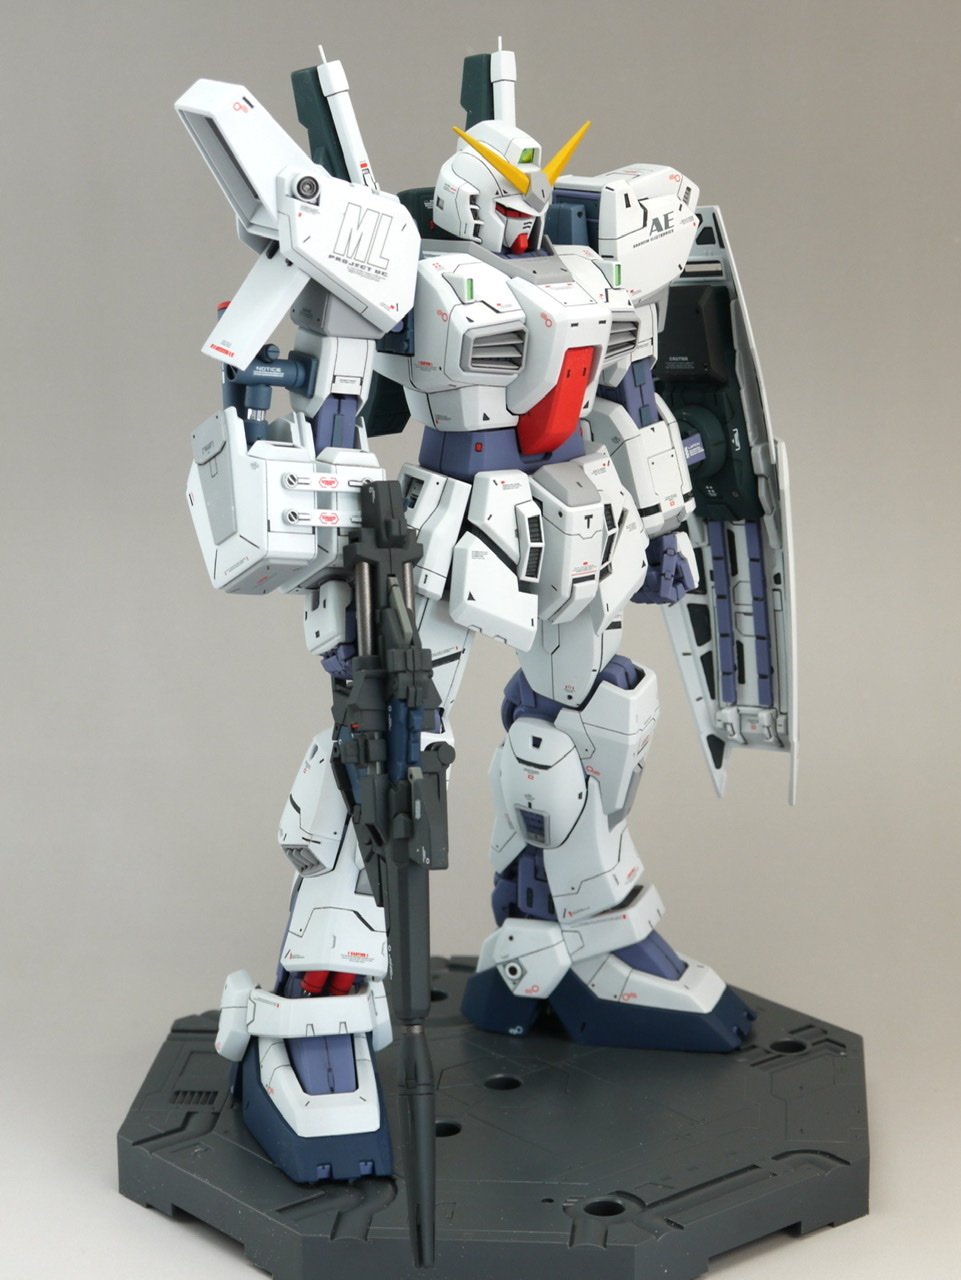
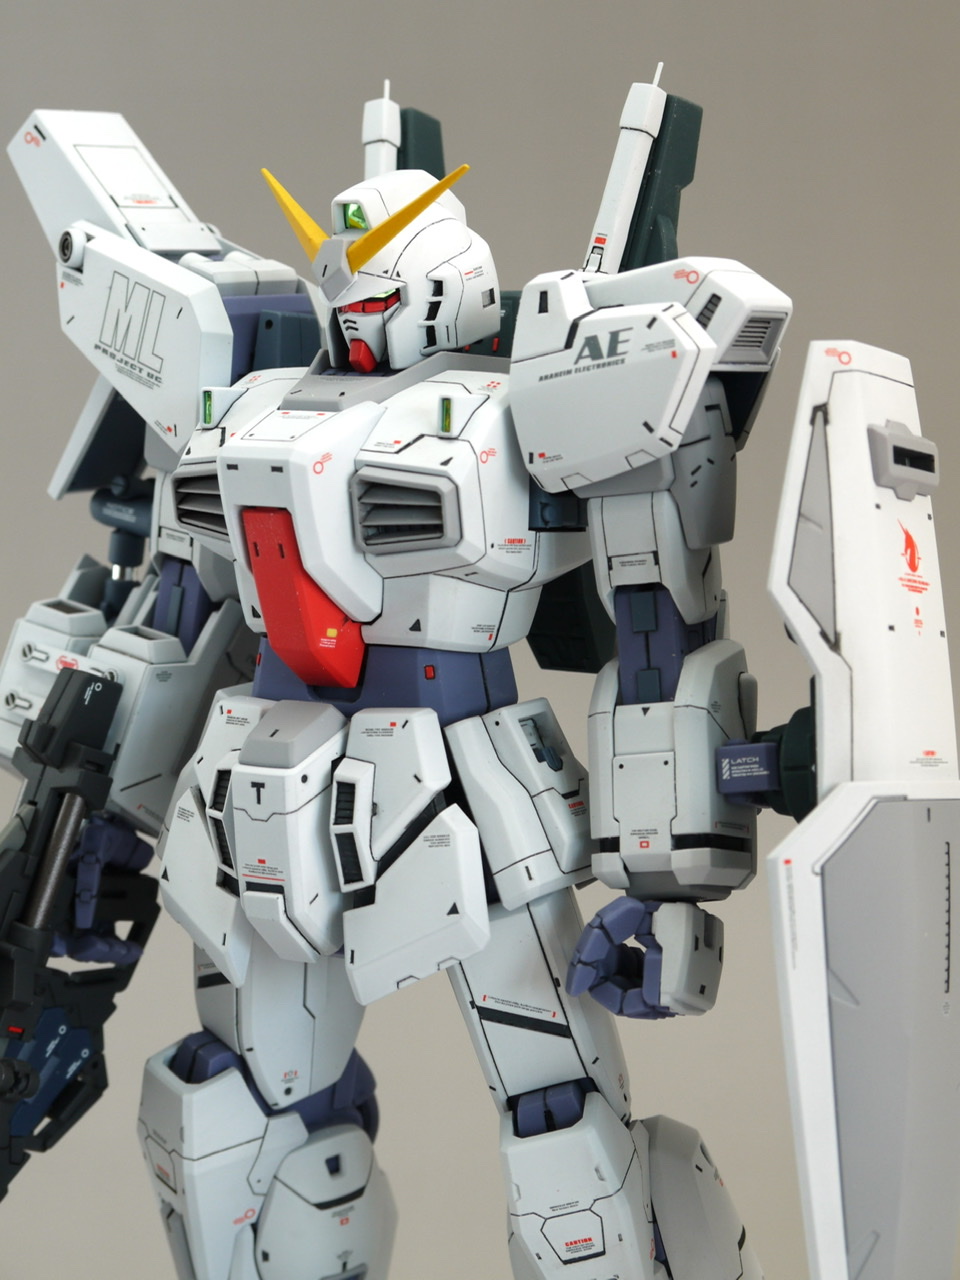
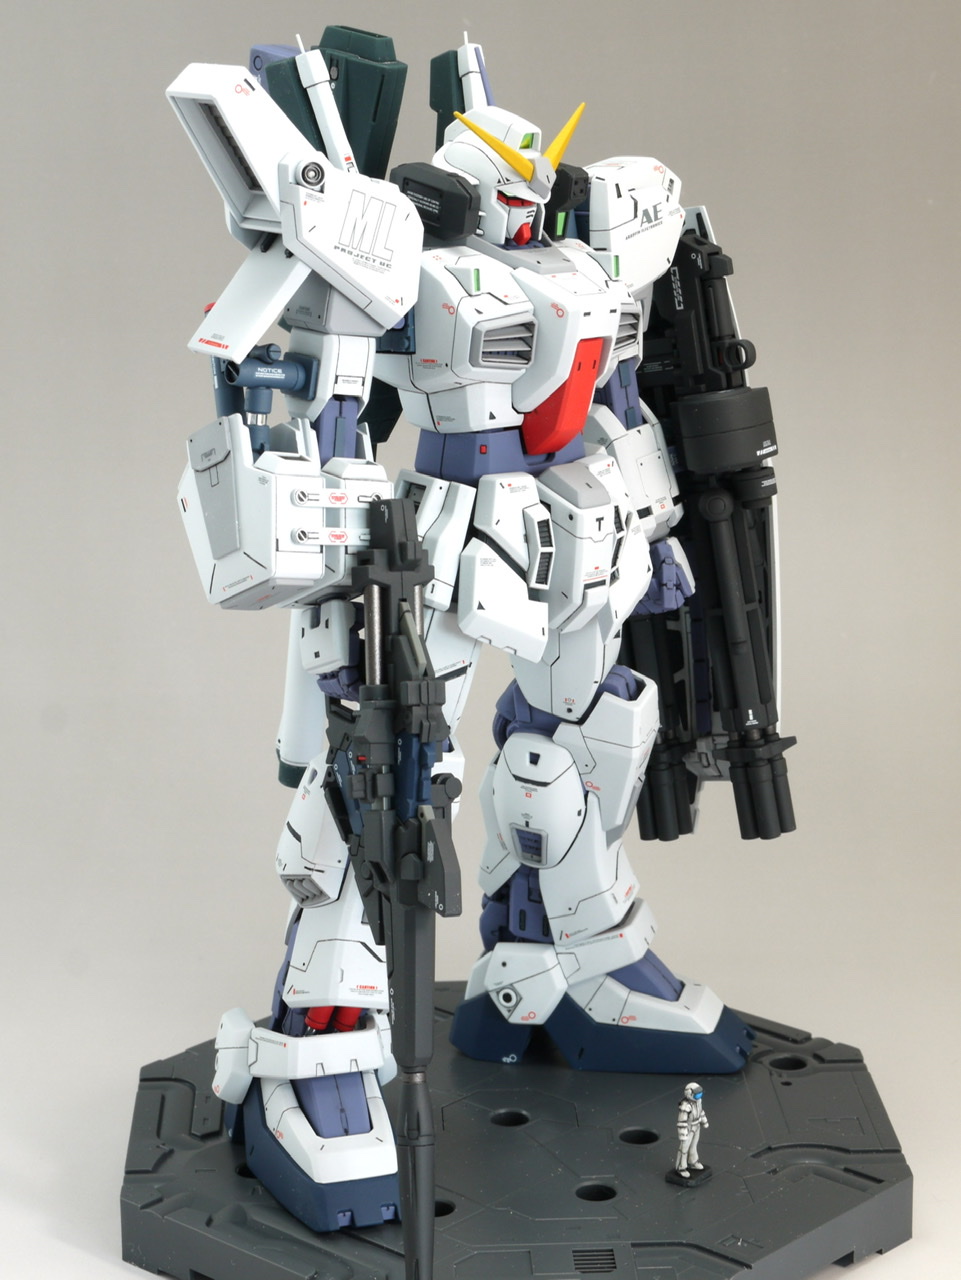
I modified MG’s Gundam Mk-II Ver.2.0 to create the Banagher machine that appears in the manga “Gundam UC episode EX2: Return of the Lion.”
As usual, the frame was easily finished by partially painting, the dark colored parts of the backpack and bazooka were also easily finished, and the rest of the exterior was completely painted, lots of water transfer decals were applied, and a matte top coat was applied.
Rapi tape is pasted on the twin eyes and sensor area, and metal parts are pasted on the details.
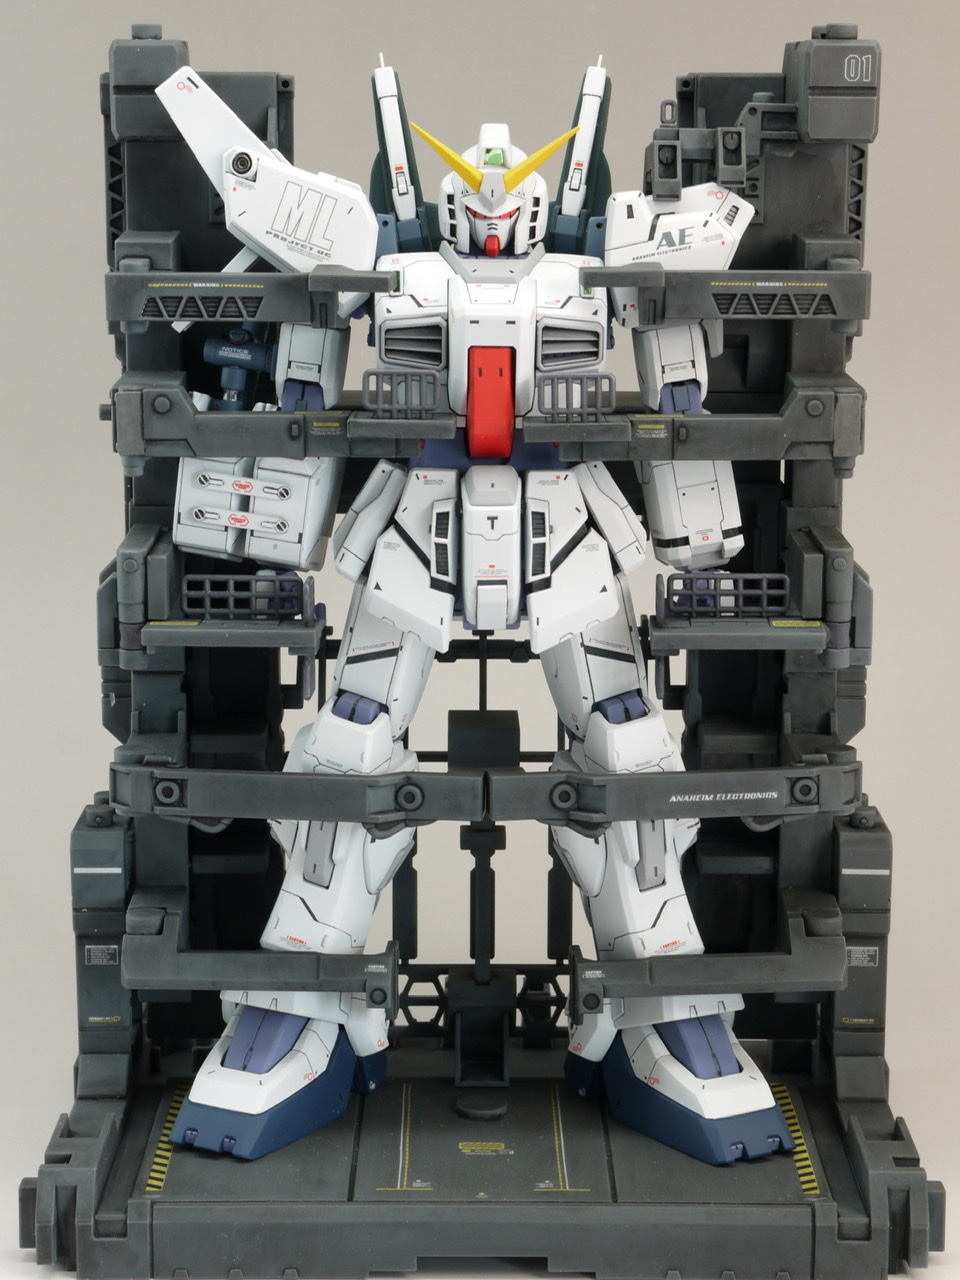
The original kit has a muscular body type, so I have modified it to make it smarter.
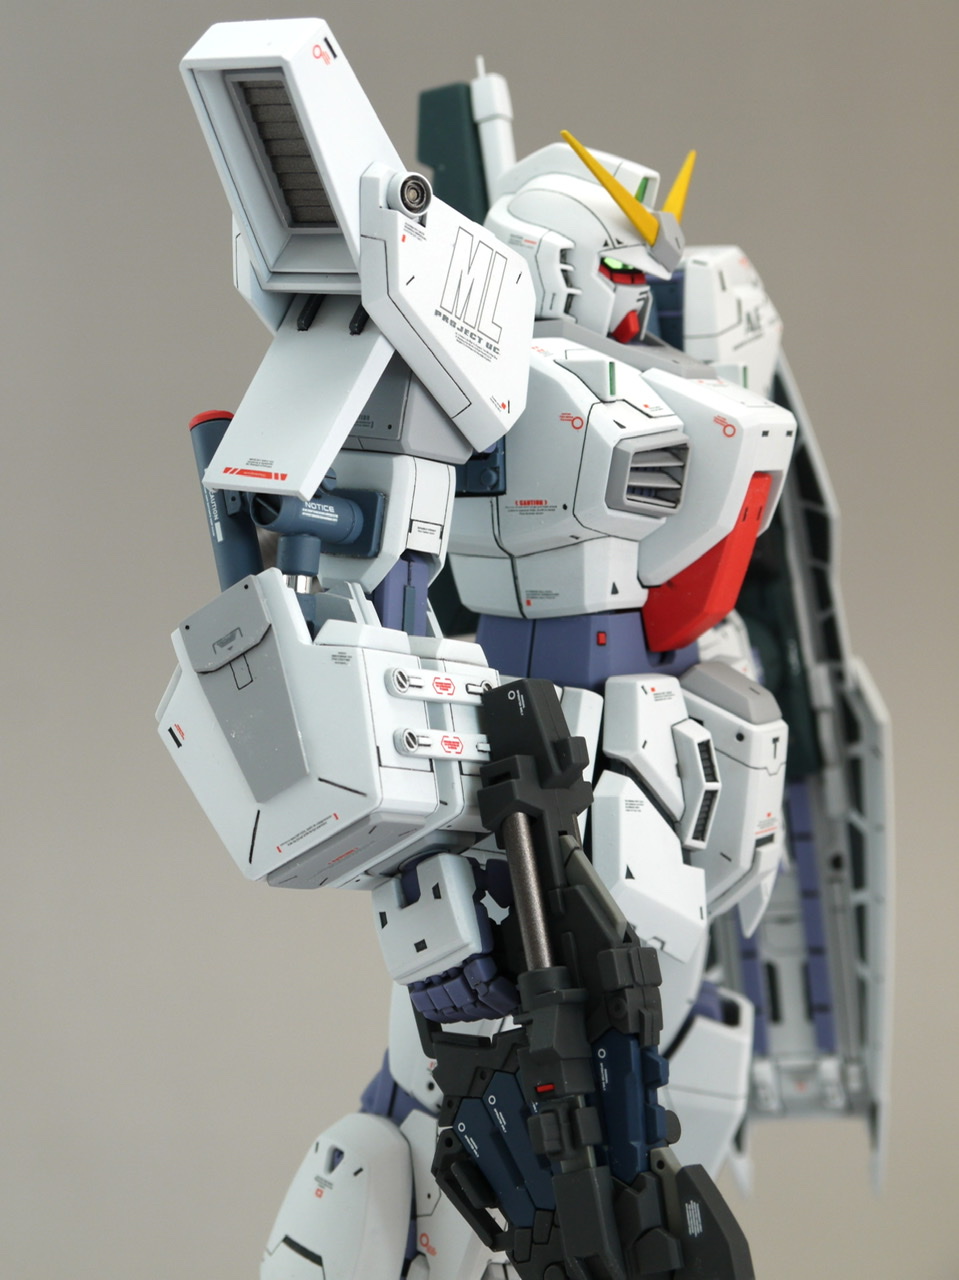
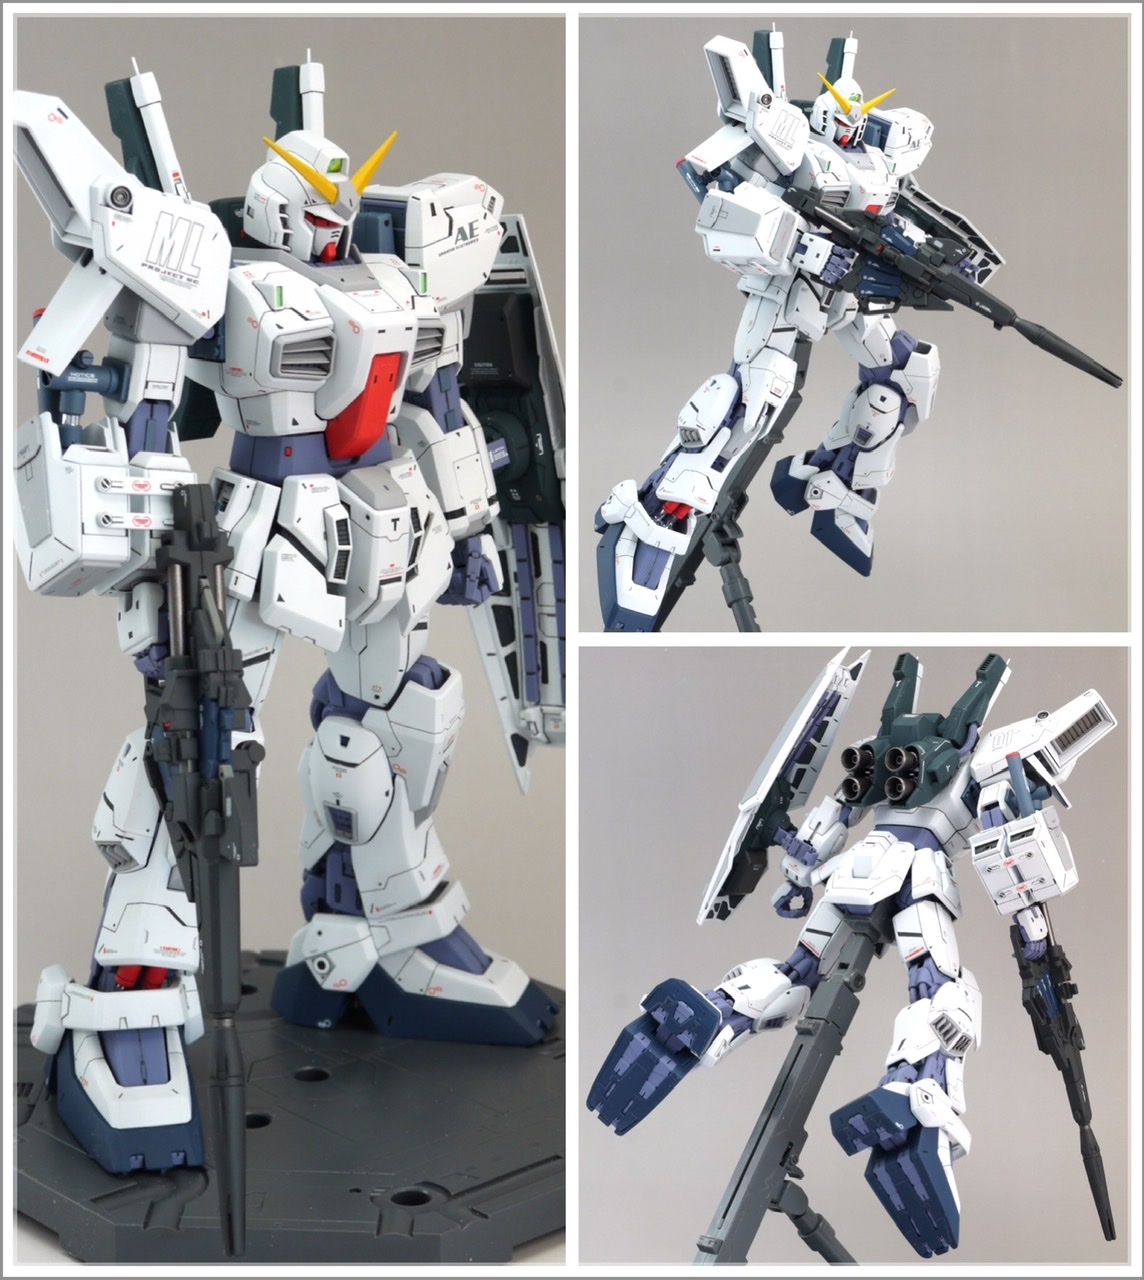
The beam magnum was borrowed from Unicorn Ver.Ka, and Doven Wolf’s right arm was semi-scratched using the kit as its core.
Please refer to the story for the status of the product in progress.
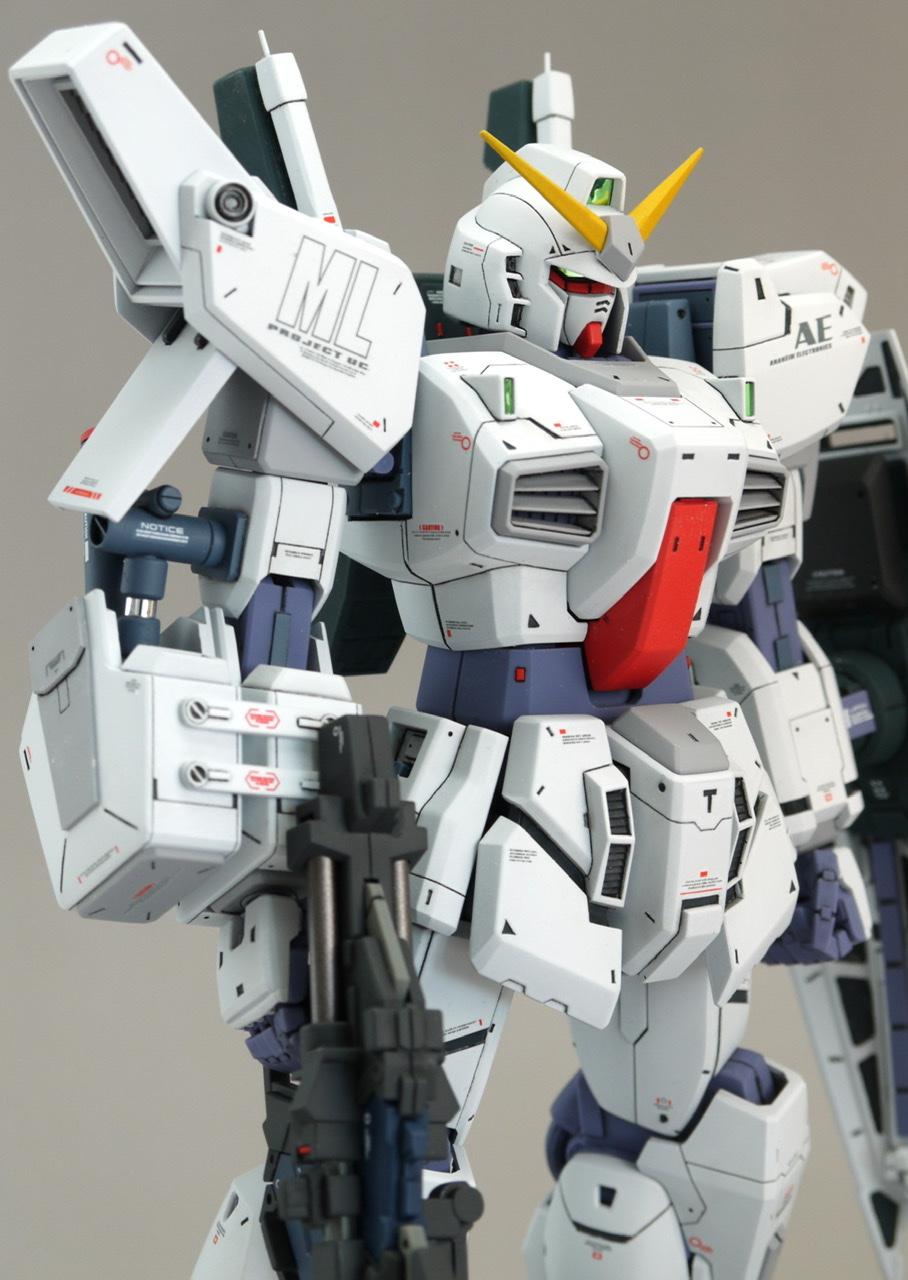
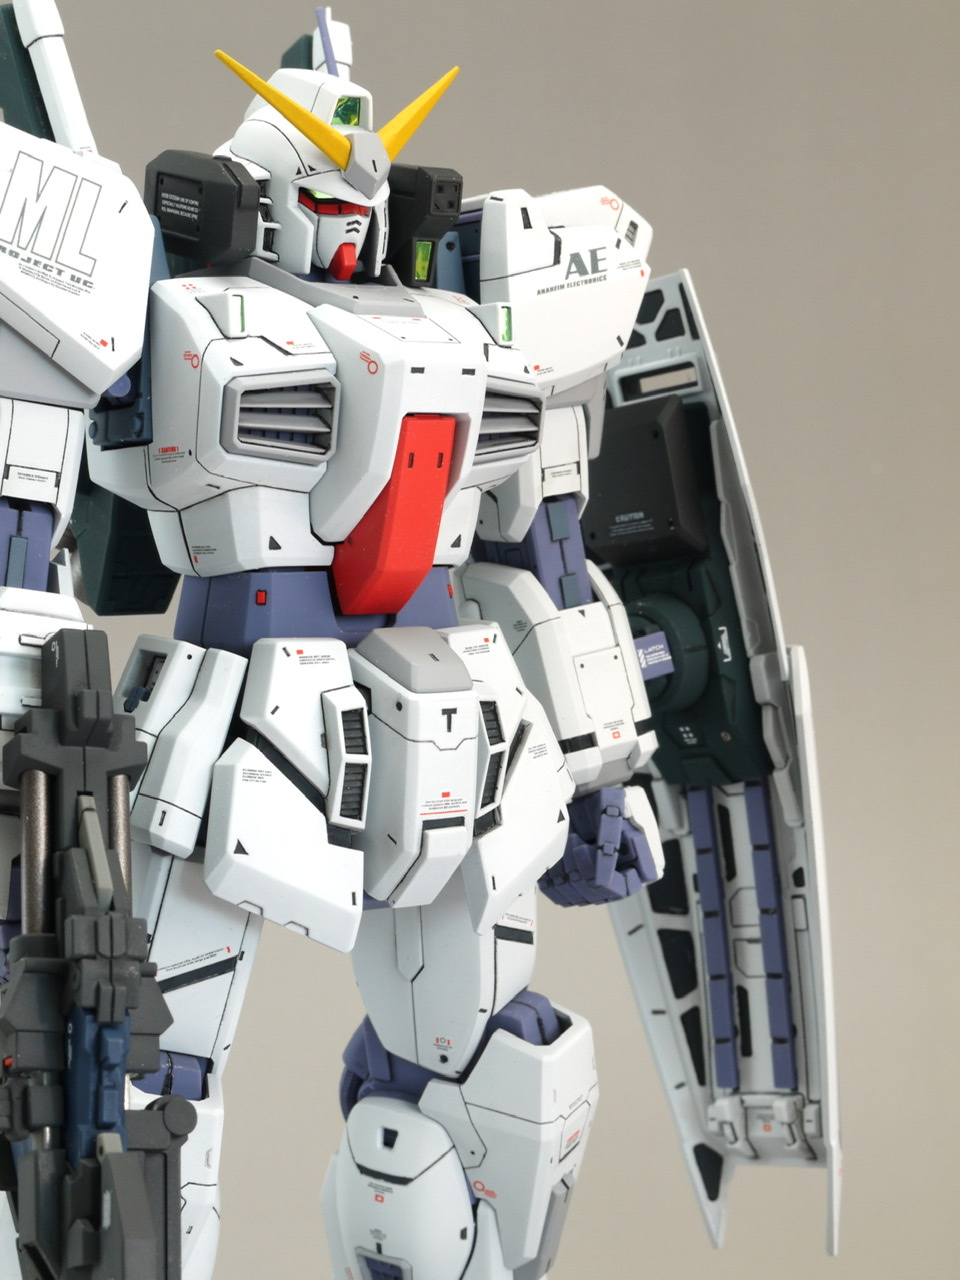
●Head Since the head is big, I based it on the head of the first generation MG that I had on hand.・Since it feels too tight, I extended it by 2mm from front to back ・The tip of the eaves is slightly rounded and the draft surface on the back is shaved to make it flat ・The antenna part is sharpened from 2.0 ・The mask is based on Gundam Ver.Ka’s chin Install smaller
●Chest
The chest has a muscular impression, so it has been processed to look smart.・Cut the shoulder width by about 2mm on each side ・Cut the stopper part of the shaft by about 2mm so that the arms are closer to the torso ・Short the neck by 2mm and cut the interference part so that you can pull your chin ・Cut the outside of the chest duct by less than 0.5mm・Increased the size of the block at the base of the shoulder
– Left arm – Assemble the gray parts upside down so that the shoulder is closer to the body – Cut the internal parts of the shoulder so that the arm is closer to the body – As a result, the shoulder width is about 4 to 5 mm narrower.・Separate the duct part on the outside of the shoulder, lower it and re-glue it to reduce the overhang. ・Since the lower side of the shoulder duct is not enclosed, add a board. ・Reduce the width by about 0.5mm by scraping the outside of the front and back exterior of the shoulder. ・Forearm Extend by 2mm
●Right arm
I semi-scratched the kit using plastic board, Epo putty, and plastic pipe. The outer arm cylinder does not expand or contract with the movement of the elbow.
Dobenwolf might be a little bigger, but I chose this size for balance.
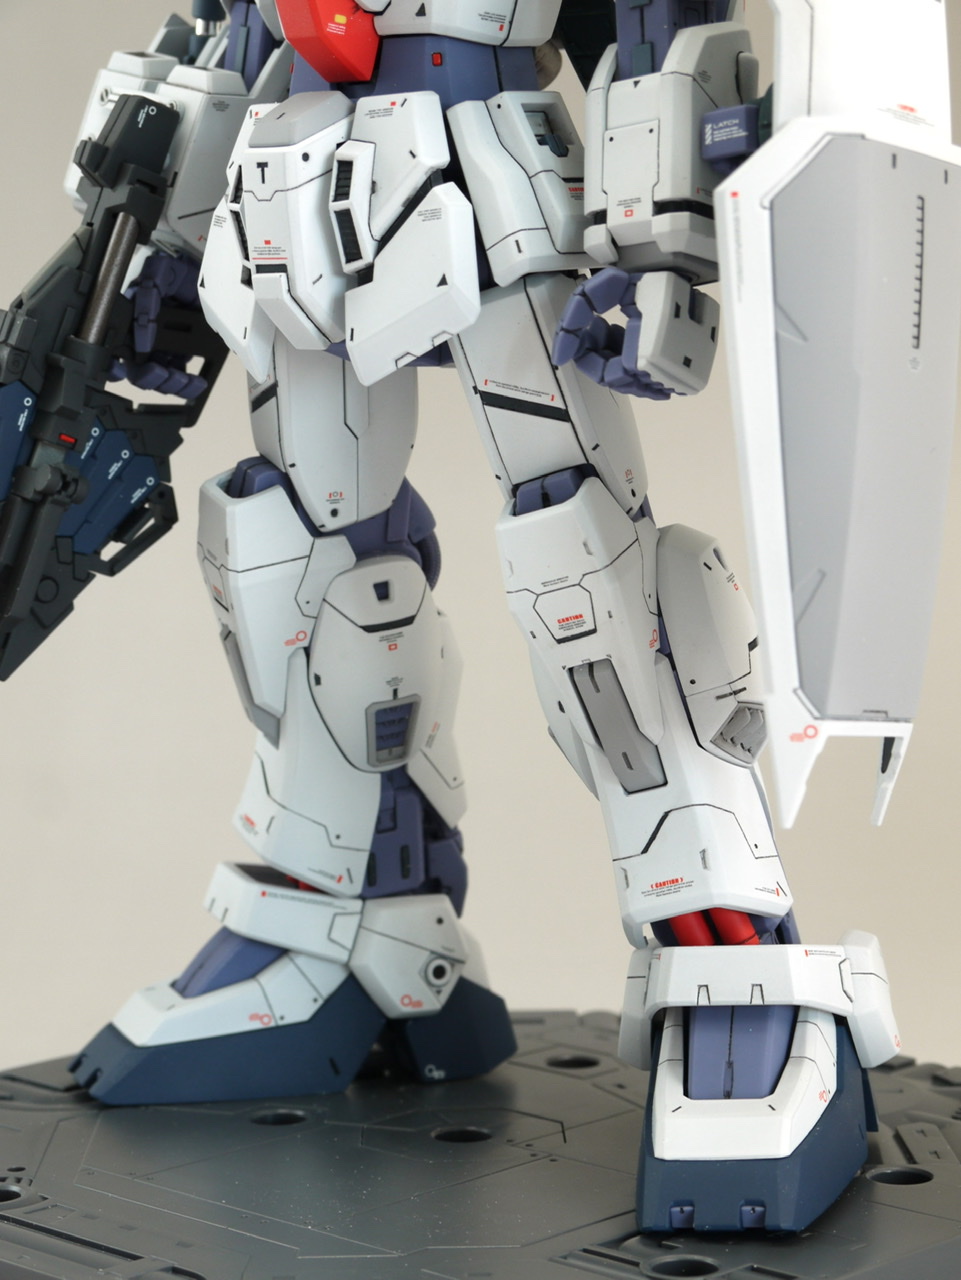
●The waist and front skirt have been extended by 2mm. The same goes for the forearms, but we intentionally left the extended part as a slit-like detail.
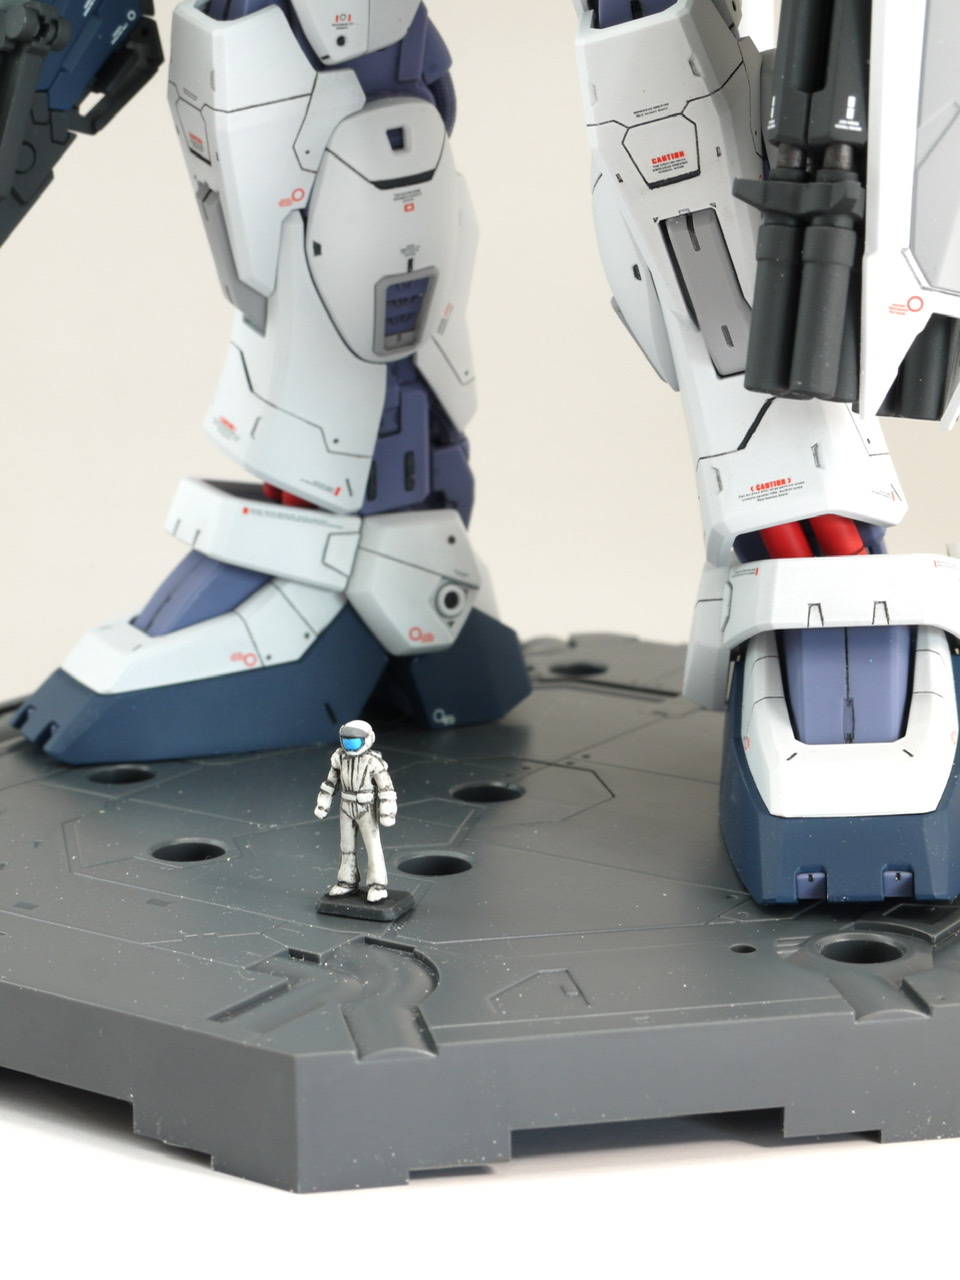
– Legs – The slippers are large, so cut the front by a little more than 2mm – It gives a flat impression, so fix the gray part of the top of the foot 1mm above.
●Beam Magnum Ver.Ka was used as is. Seams in conspicuous areas have been erased. The magazine is glued on, and the gimmick to remove it is omitted.
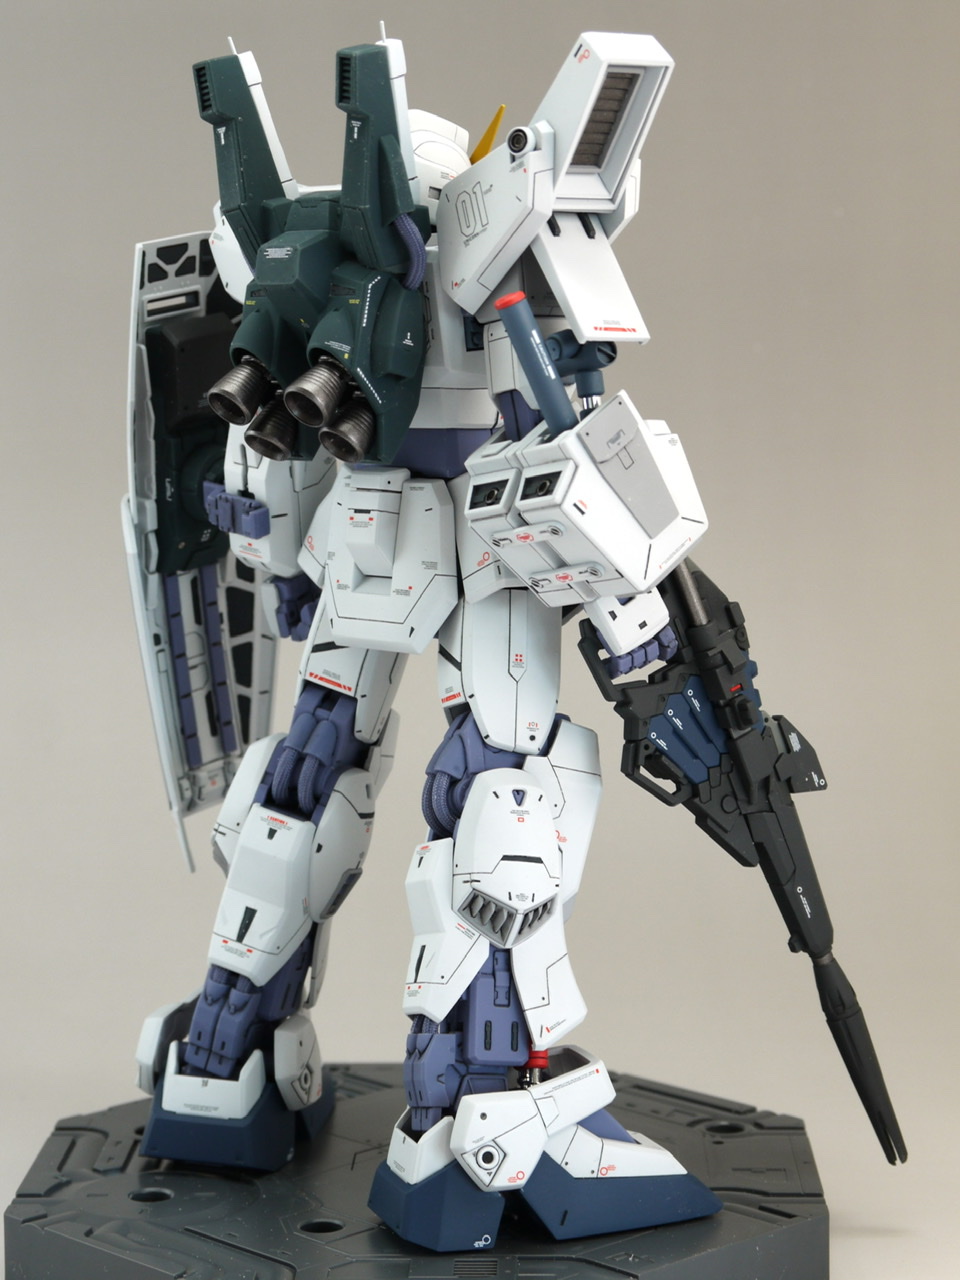
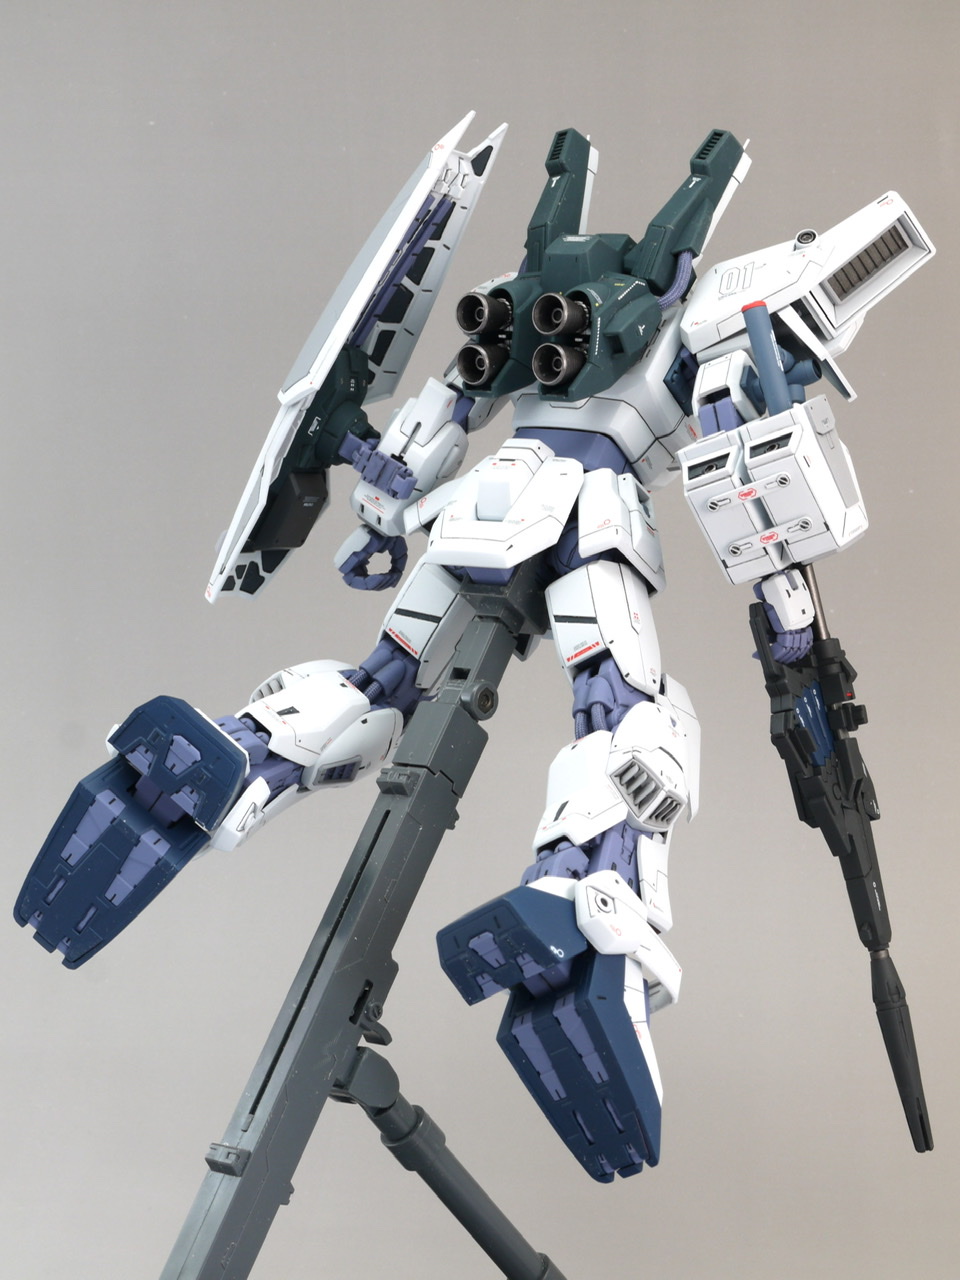
●Bazooka
I made it as is from the kit. The seams are V-grooved. It can also be attached to the rack on your butt, but it would interfere with your right arm, etc., so we decided to attach it to your backpack with a magnet. The holding power is not very strong.
●A cover has been added to the area where the spare magazine of the shield beam rifle is attached. It can be removed with a magnet.・The connecting part to the arm is U-shaped and large, so I cut it and changed it to an L-shape.
●Vulcan pod ・Mixing the first generation and 2.0 to match the head ・The right side of the seam is erased, and the left side is treated with a V groove
Unicorn is a beam gatling gun, so we made it so that it can be attached to the back of the shield with a magnet. Remove the cover added in the previous photo and install it instead.
This kit has a wide gap between the arm and the shield, but thanks to that I was able to fit it in.
When equipped with all weapons, it becomes quite heavily armed.
The pilot is partially painted from the kit and has a matte top coat.
The pilot inside the cockpit was also finished in the same way. It’s almost invisible…
The range of movement is almost the same as the kit.
Due to the design, the bending angle of the right elbow joint is slightly narrower.
The painting is done using a water-based hobby color using an airbrush.
・Exterior: Deactive white ・Gray part: Safty color ・Antenna: Orange yellow ・Cockpit etc.: Salmon pink ・Joints: Blue gray ・Slippers: Navy blue + blue ・Vernier etc.: Burnt iron color ・Weapon: Titans Blue 1・Top coat: UV cut smooth clear
This time, the modification of the upper body, especially changing the head to the original MG, worked.
I previously tried modifying the entire body of the same kit, but I think this is a less complicated and more effective modification than that. The difficulty is availability…
I thought it had delicate legs, but its head and upper body seem to be too bulky.
I felt that the Mk-II had a three-dimensional design. I would like to make it again.
Actually, I haven’t read this manga, so I don’t know what kind of role it plays, but it’s an interesting MS with an interesting setting.
I have seen examples of 1/144 models, but I think they are rare in MG. I tried to make the details of each part look like a unicorn.
I think it turned out to be the smart Mk-2 that I had in mind. However, the right arm makes it look rugged, but I think that’s the point of this MS.
Work by yasutatsu